Making your own vacuum sealer at home can be a game-changer for food storage and preservation. With the right materials and a bit of know-how, you can create a DIY vacuum sealer that's just as effective as a store-bought one.
To start, you'll need a few basic supplies, including a vacuum pump, a container or bag to seal, and some tubing to connect the two. The vacuum pump is the heart of your DIY vacuum sealer, and it's available at most hardware stores or online.
Having the right materials is just the beginning - you'll also need to understand the basics of vacuum sealing. This involves removing air from the container or bag to prevent spoilage and keep food fresh for longer.
Related reading: How to Make a Shelf from Pallets
Building a Chamber
Building a chamber for your vacuum sealer requires careful consideration of the materials and design. The chamber should be able to withstand the force exerted by the vacuum pump.
On a similar theme: Chamber Vacuum Sealing Machine
A 0.7mm thick roasting pan was initially used, but it warped like wet spaghetti due to the pressure of 1030lbs (460kg) on the bottom. This is a crucial lesson to learn from.
A sturdier material is needed to ensure the chamber remains intact. A 8mm thick steel bottom plate and 3mm x 50mm side walls are a much better option.
The top cap strip should be 3mm x 20mm to provide a secure seating point for the silicone seal. This design has already been tested and should be more than adequate for the task.
It took a 10 ton press to straighten out the curve caused by welding the steel plate, so it's clear that this design is robust and reliable.
Step 1: Chamber Construction
Start with a sturdy material for the chamber, as the author learned the hard way. A 0.7mm thick roasting pan is not a good choice, as it warped like wet spaghetti under the force of 460kg, or approximately 1030lbs.
You'll want to choose a material that can withstand the pressure. The author recommends an 8mm thick steel bottom plate, which should be more than adequate for the task.
Consider adding some reinforcement to prevent warping. The author used a section of angle iron underneath the pan to reduce warping, but be aware that the sharp edge of the angle iron can be problematic.
Don't forget to make the chamber easy to access. The author used brake tubing epoxied into the pan so that they could access the vacuum pump without having to open the box every time.
A top cap strip of 3mm x 20mm for the silicone seal to seat against is a good idea. This will ensure a smooth and secure seal.
Discover more: Hot Glue Gun Wax Seal
Choosing Plastic Bags
For this method, you'll want to use brand name zip-top plastic freezer bags. I personally use Ziploc Freezer Bags, which are more sturdy and have stronger seals than off-brand bags or regular zip-top bags.
These bags are designed to last through repeated re-use, making them a great choice for storing lunch sandwiches, snacks, leftovers, and other items.
You might enjoy: Vacuum Pack Freezer Bags
Vacuum Sealing Process
To start the vacuum sealing process, you'll need to gather your items and prepare them for sealing. First, put your linen, blankets or clothing into an extra strong garbage bag.
Next, you'll need to create a tight seal around the opening of the bag. To do this, pull the open end of the bag together and form a small circle shape. It's essential to hold the circle shape firmly in place to ensure a good seal.
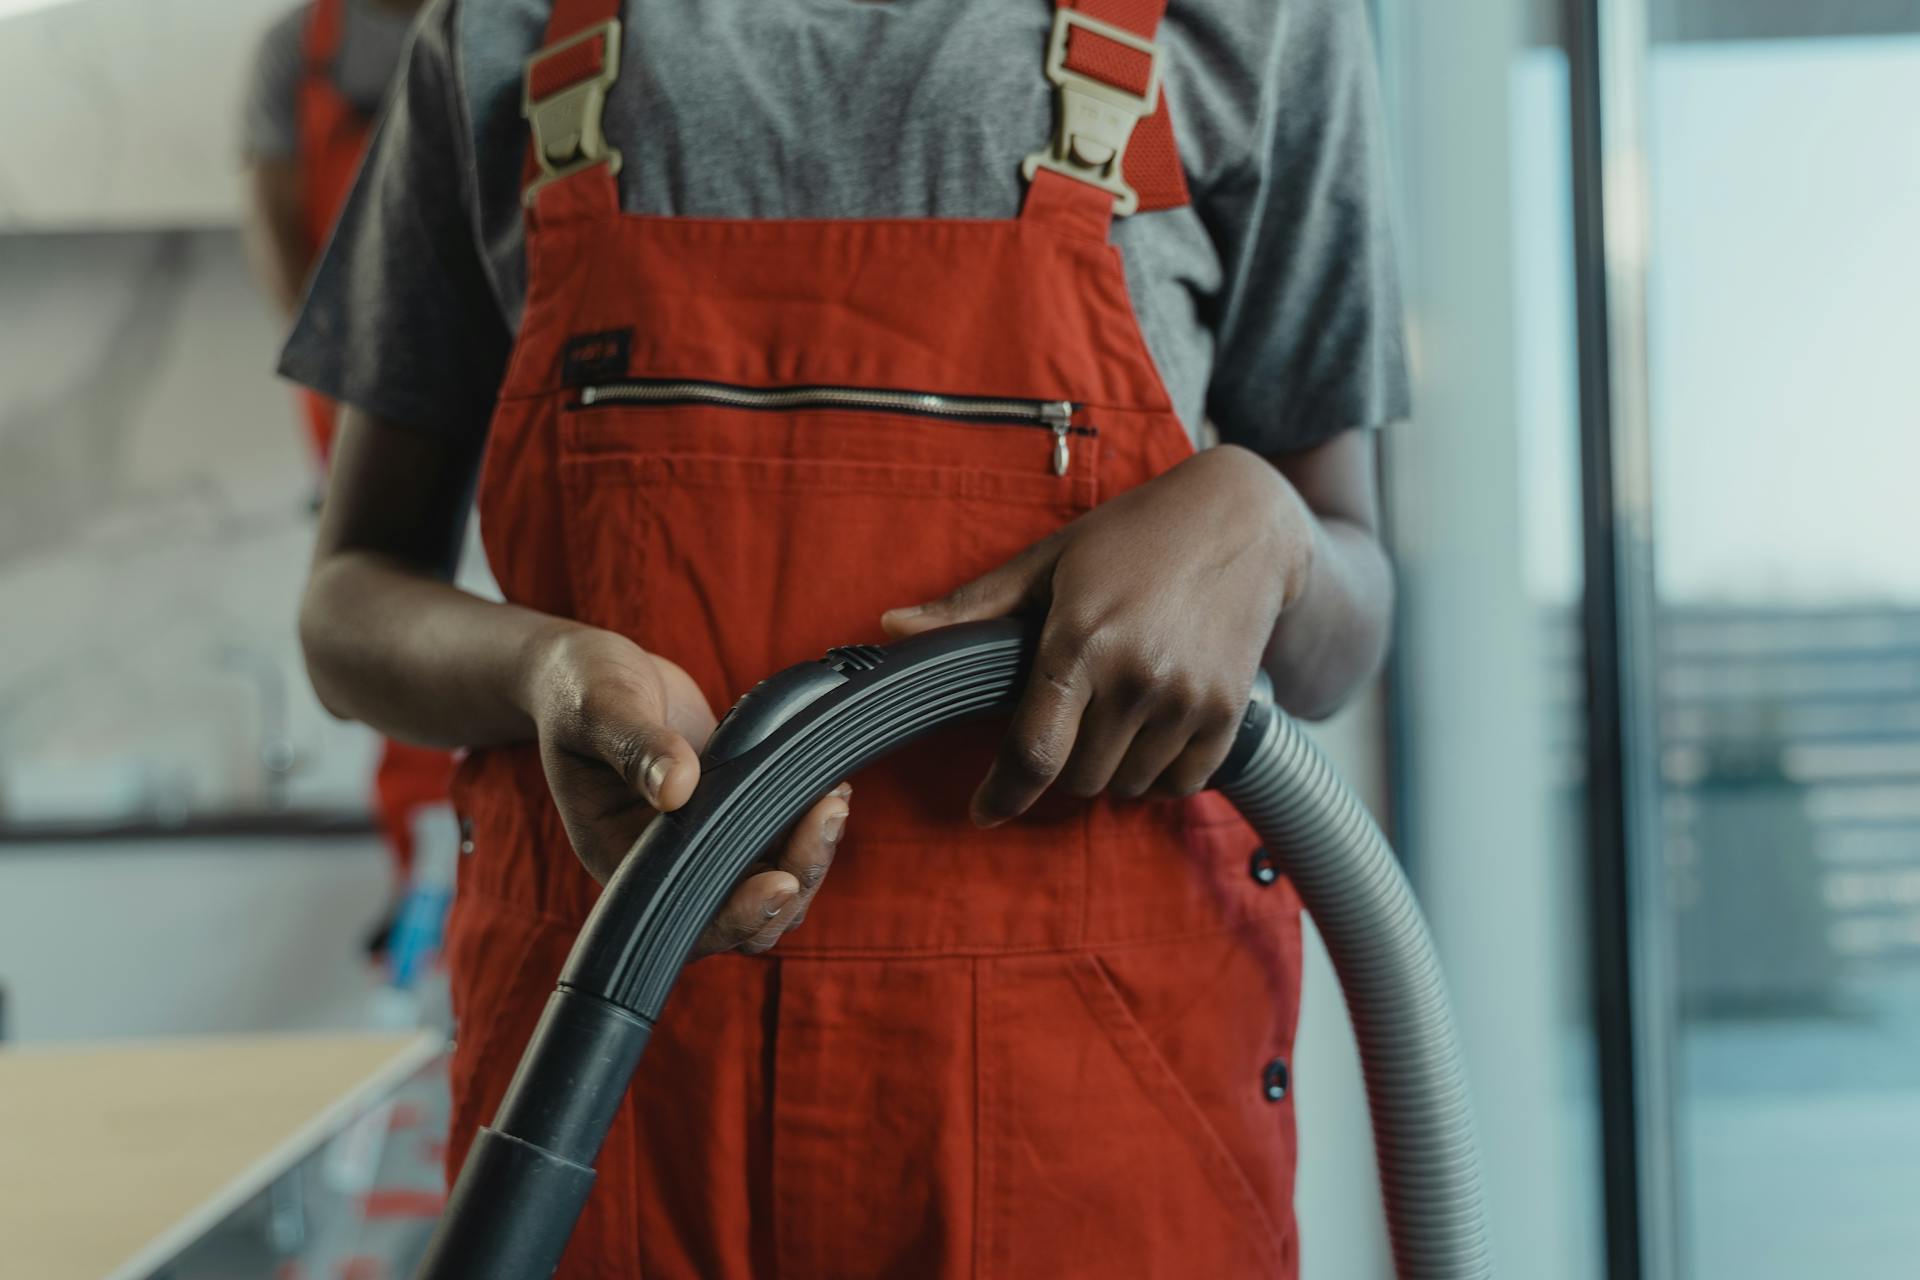
To remove the air from the bag, you'll need to use a vacuum cleaner pole. Place the pole into the circle shape and hold it firmly around the pole. Then, suck out the air by turning on the vacuum cleaner. This step is crucial to creating a proper seal.
Here's a step-by-step guide to the vacuum sealing process:
- Put your items into an extra strong garbage bag.
- Pull the open end of the bag together and form a small circle shape.
- Place the vacuum cleaner pole into the circle shape and hold it firmly around the pole.
- Suck out the air by turning on the vacuum cleaner.
Step 2: Pump
The pump is a crucial part of the vacuum sealing process, and it's essential to choose the right one. A laboratory diaphragm pump, such as the KNF Neuberger N022AN18, is a good option.
You might like: Vacuum Pack Pump
It's not uncommon for pumps to develop issues, like a broken reed valve or corrosion, which can affect performance. In one instance, a pump was repaired by cutting a new valve out of a feeler gauge with a Dremel, but this only provided a temporary fix.
A new set of valves can make a big difference, and it's worth waiting for them to arrive if necessary. The vac gauge is also an important component, and it's good to know that some gauges, like the one from the Vala DZ300, are compatible with other machines in the DZ range.
Here's a quick rundown of some pump-related specs:
In some cases, a pump can be integrated with other components, like a vacuum sealer, to create a more efficient system. This can be achieved by teeing the sealer supply into the switch panel of the pump, ensuring both devices have power when the unit is plugged into a socket.
Step 4: Element
In the vacuum sealing process, the element is a crucial component that requires careful consideration.
The element expands in length as it heats up, which can cause it to kink up if not properly secured.
A tension spring is needed to prevent this from happening, allowing the element to function correctly.
One solution for this issue is to use a coil return spring from a tape measure, as demonstrated by one DIY enthusiast.
Seal Bag Air-Tight
You can seal a bag air-tight without a vacuum sealer, and it's surprisingly easy.
SeriousEats, a YouTube channel with over 400,000 views, shows us how to DIY vacuum seal a bag in under one minute with no fancy equipment.
One way to celebrate food is to cut down on food waste by increasing how long you can keep your food fresh. Vacuum sealing your food can keep it tasting great for much longer than a plastic bag full of air.
Readers also liked: Custom Envelope Seal Stickers
To seal a bag air-tight, you'll need a Ziploc bag and a tub of water. This method won't be completely air-free, but it's perfect in a pinch.
You can also use this method on articles of clothing you're storing and want to keep tidy and moth-free.
Here are some tips for sealing a bag air-tight:
- Use a brand name zip-top plastic freezer bag, such as Ziploc Freezer Bags, which are more sturdy and have stronger seals than off-brand bags or regular zip-top bags.
- Wash and reuse your plastic bags until they literally fall apart, as they can last through repeated re-use.
Alternatively, you can use a vacuum cleaner to seal a bag air-tight. Simply put your linen, blankets or clothing into an extra strong garbage bag, pull the open end together to form a small circle shape, and place the vacuum cleaner pole into the circle shape. Suck out the air by turning on the vacuum cleaner, remove the pole while holding the opening tightly together, and affix a minimum of 6 rubber bands to seal the opening.
See what others are reading: Custom Tamper Seal Stickers
How-to Guide
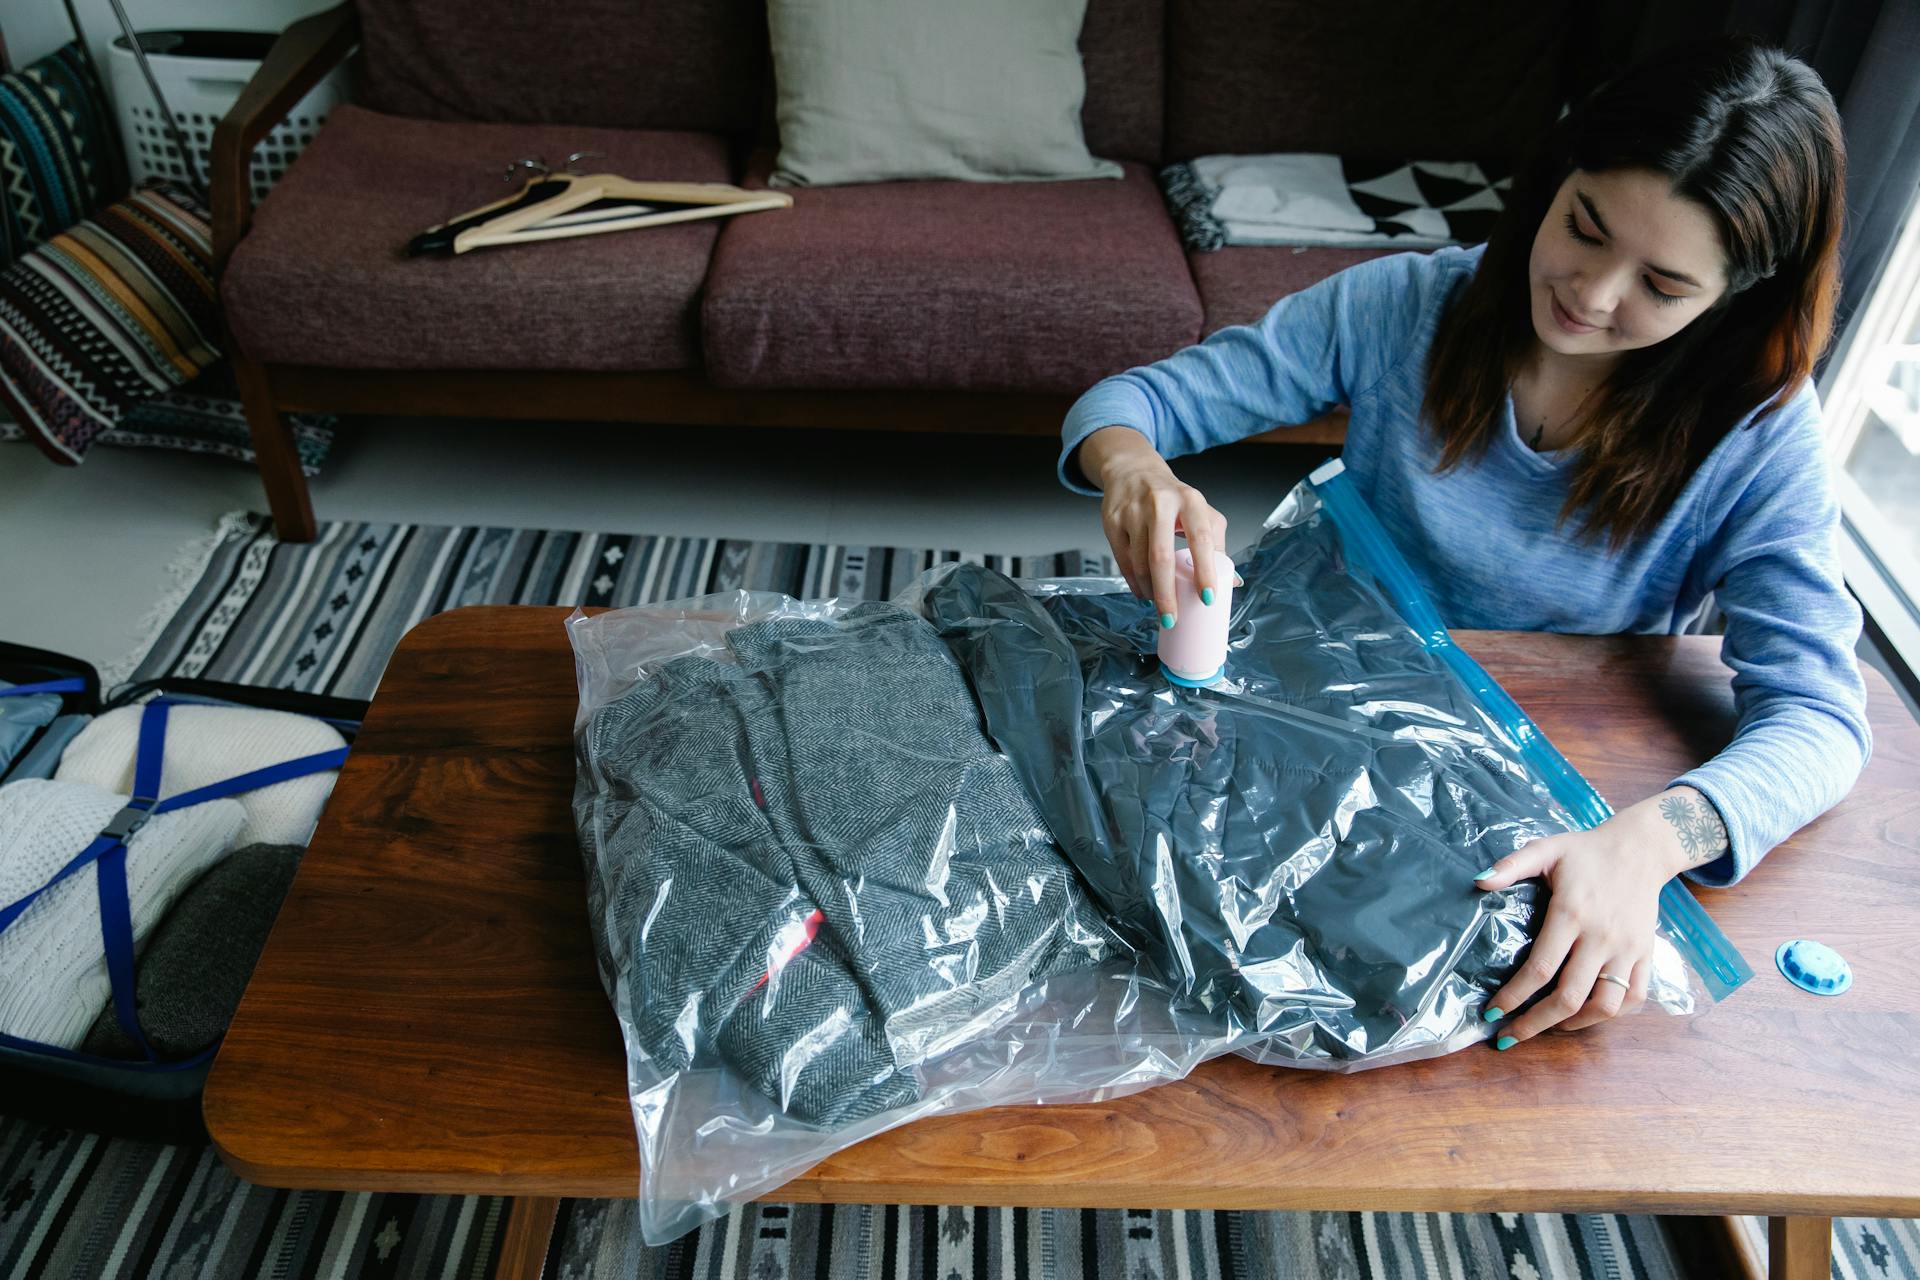
You can seal a bag air-tight without a vacuum sealer in just under a minute using a simple DIY method.
To start, place the item you want to preserve into a Ziploc bag. This method is perfect for those who don't want to invest in a vacuum sealer.
Seal the top of the bag, leaving about an inch for the air to escape. You can use this method for food, articles of clothing, or even dry goods.
To create a vacuum seal, dunk the bag into a tub of water, allowing the pressure of the water to press the air out of the bag. The top of the bag will be nearly submerged, but not fully.
Finish sealing the bag and voila! You have a vacuum-sealed bag that's ready to be stored in the fridge or pantry.
You might like: Sealed Air Corporation Bubble Wrap
Steps
To effectively store items like linen, blankets, or clothing in airtight containers, follow these steps. First, place your items into an extra strong garbage bag, as this will provide a sturdy seal.
Next, pull the open end of the bag together to form a small circle shape, which will serve as the foundation for the vacuum-sealed container.

You'll need to place the vacuum cleaner pole into the circle shape and hold it firmly around the pole.
Now, turn on the vacuum cleaner to suck out the air from the bag, creating a tight seal.
Once the air is removed, carefully remove the pole while holding the opening tightly together.
To ensure the seal remains tight, affix a minimum of 6 rubber bands around the opening.
Finally, label the container and place it into storage, where it will remain fresh and protected.
How to Vacuum Seal
Vacuum sealing is a great way to keep your food fresh for longer, and you don't need a fancy vacuum sealer to do it. In fact, there are a few simple methods you can try at home.
To vacuum seal a bag without a sealer, you can use a Ziploc bag and a tub of water. This method is surprisingly easy and eliminates any bacteria that might be left behind. It's perfect for preserving food and even storing clothing.
Here's a step-by-step guide to vacuum sealing a bag:
- Place the item you want to preserve into a zip-close style bag.
- Seal across the top, leaving about an inch for the air to escape.
- Dunk the bag into the water, allowing the pressure of the water to press the air out of the bag.
- Finish sealing the bag once the top is nearly submerged, but don't submerge it completely.
This method might not be completely air-free, but it's a great alternative to using a vacuum sealer. For storing dry goods for long periods, you can add an oxygen absorber or two to the bag before sealing. They can be found inexpensively at Amazon.
If you do have a vacuum sealer, you can also use the following steps to seal a bag:
- Put your linen, blankets, or clothing into an extra strong garbage bag.
- Pull the open end of the bag together and form a small circle shape.
- Place the vacuum cleaner pole into the circle shape and hold it firmly around the pole.
- Suck out the air by turning on the vacuum cleaner.
- Remove the pole while carefully holding the opening tightly together.
- Affix a minimum of 6 rubber bands to seal the opening.
- Label and place into storage.
Remember, vacuum sealing is a great way to reduce food waste and keep your food fresh for longer. Give it a try and see the difference for yourself!
Frequently Asked Questions
What can I use if I don't have a vacuum sealer?
You can use a zip-top plastic freezer bag and a bowl of water to vacuum seal your food at home. Learn the easy steps to do it without a vacuum sealer.
Sources
- https://www.instructables.com/Build-a-Chamber-Type-Vacuum-Sealer/
- https://www.wikihow.com/Make-Your-Own-Vacuum-Sealed-Storage-Bags
- https://texashillcountry.com/easy-diy-vacuum-sealed-bag/
- https://www.budget101.com/do-it-yourself/5245-how-to-vacuum-seal-without-a-sealer/
- https://www.simplyrecipes.com/how_to_seal_foods_without_using_a_vacuum_sealer/
Featured Images: pexels.com