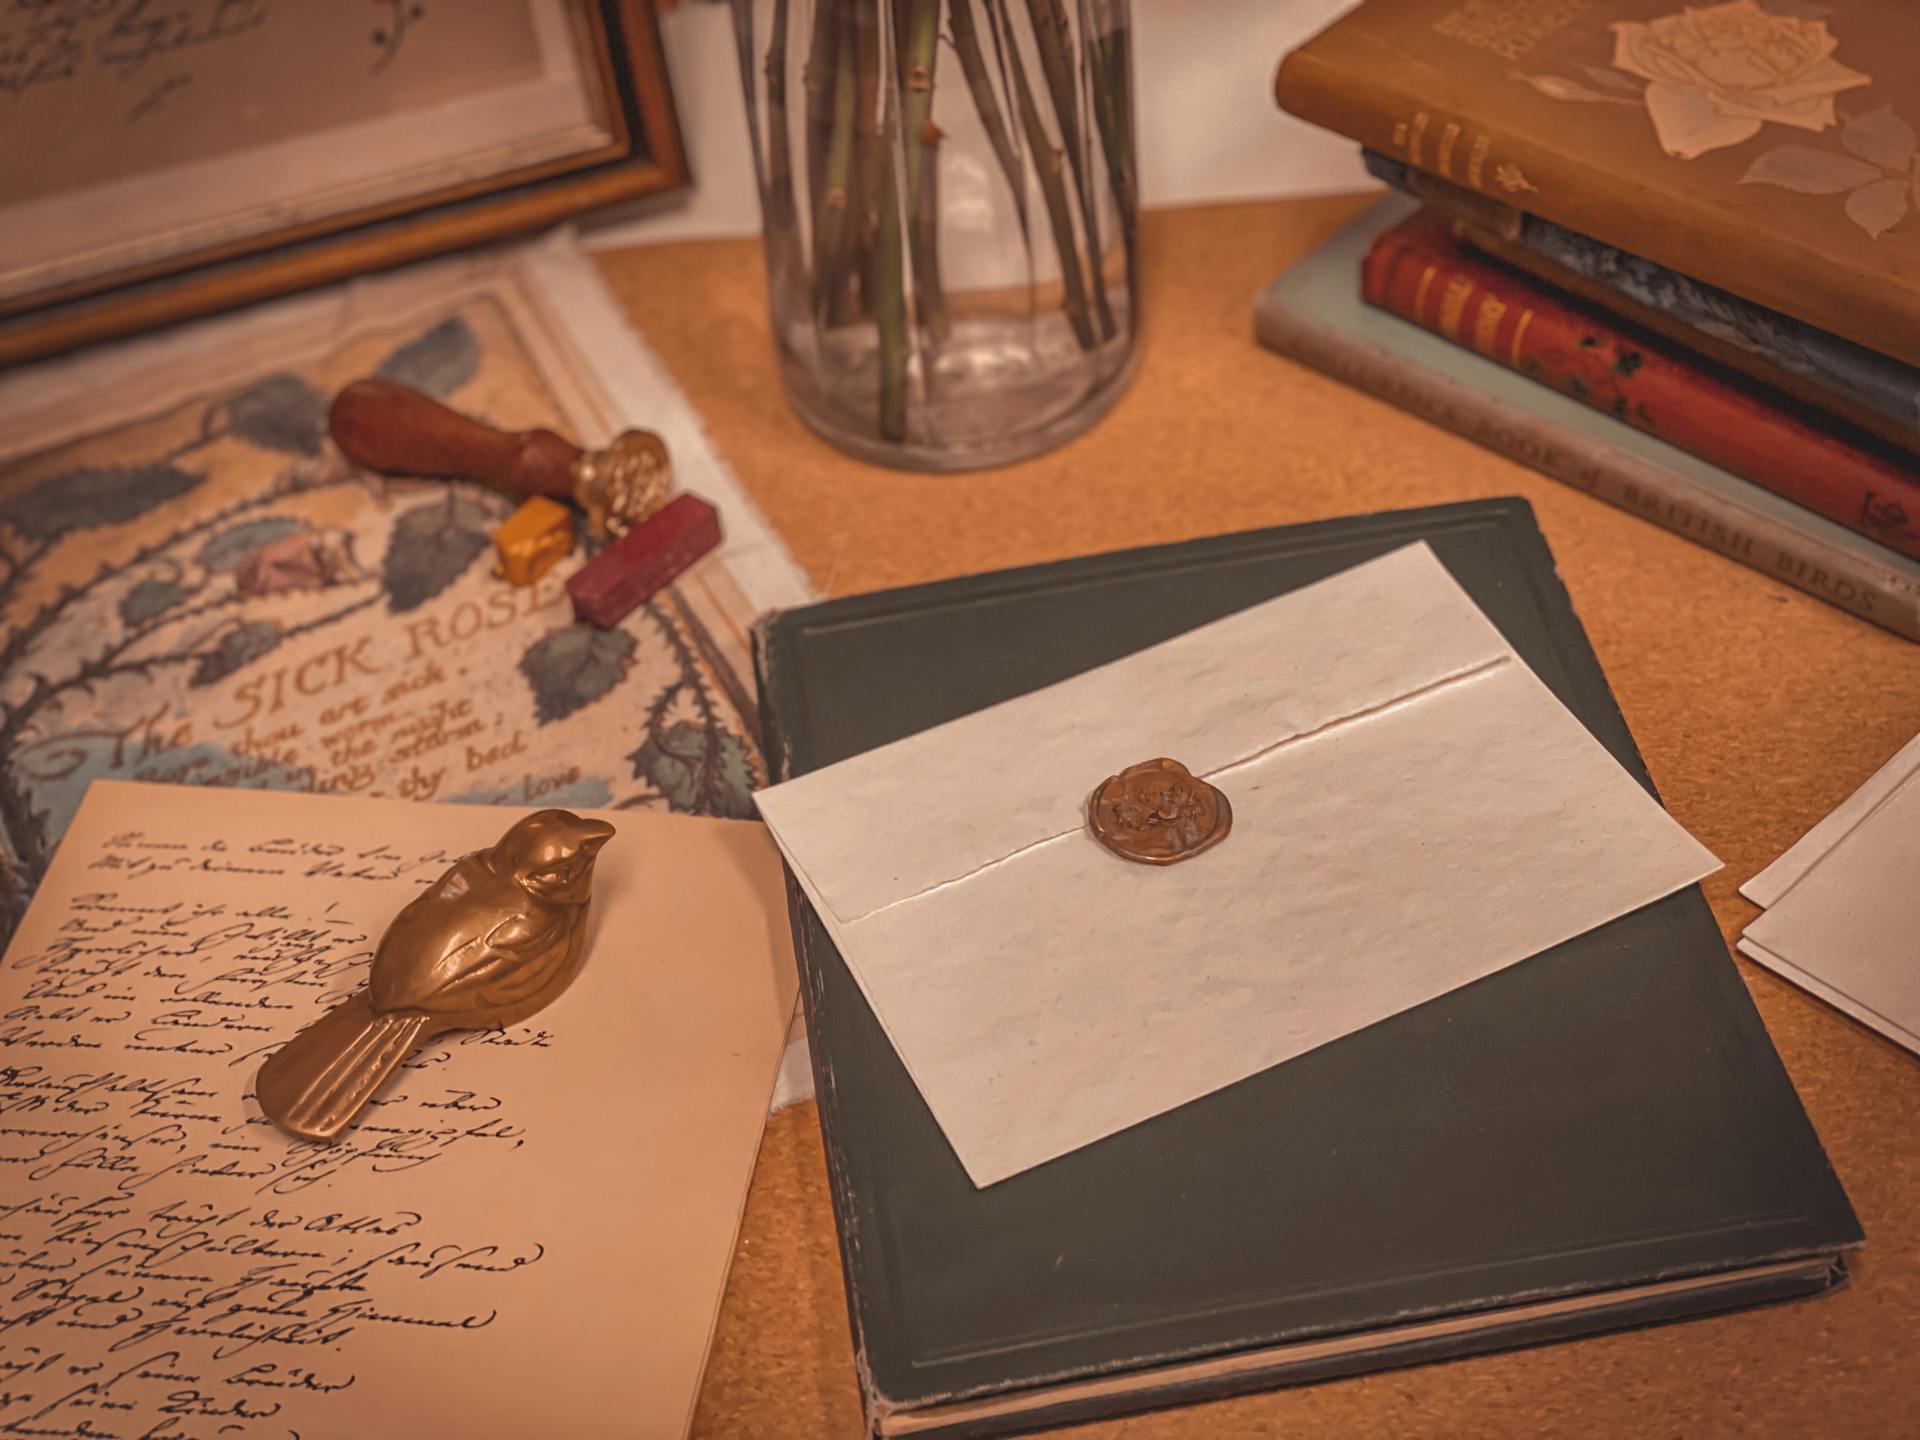
Custom envelope seal stickers make mail safer by providing an extra layer of security against tampering or identity theft.
These stickers are designed to seal the envelope shut, preventing anyone from opening it without leaving a visible mark.
According to a study, 70% of identity theft cases involve mail or email scams, highlighting the importance of secure mail practices.
Incorporating custom envelope seal stickers into your mail routine can significantly reduce the risk of your mail being intercepted or compromised.
Check this out: Custom Tamper Seal Stickers
Envelope Seal Stickers
If you're looking to add a personal touch to your envelopes, you can consider using envelope seal stickers. These stickers are available in various sizes, chosen specifically for envelopes, and can be ordered in quantities starting from 25 pieces.
The material used for these stickers is 80 g/m2 or 68 g/m2, depending on the size. You can choose from a sheet size of 26.5 x 33.3 cm.
If you want to make a statement with your design, you can choose full color print with white. However, you'll need to submit your design as a vector file to get the best results. White areas in your design will be transparent if you choose a transparent material.
To ensure your design looks its best, you can submit your artwork as a vector file if you choose white only printing.
Discover more: Custom Transparent Labels
Sanitized Mail
Seal stickers are a more hygienic option for sealing envelopes because they don't require moistening the adhesive, which can transfer bacteria and other harmful substances from one envelope to another.
You can be confident that your envelopes will remain clean and hygienic when using seal stickers.
With traditional envelope seals, you have to moisten the seal with saliva, which can be a breeding ground for bacteria and other unwanted substances.
A fresh viewpoint: Us Mail Envelopes
Importance of Sanitized Mail
Sanitized mail is a crucial aspect of our daily lives, and it's essential to understand its significance.
The risk of mail-borne infections is a real concern, with over 70% of mail handlers reporting symptoms of illness after handling contaminated mail.
Mail can harbor a wide range of pathogens, including bacteria, viruses, and fungi, which can cause diseases like influenza, tuberculosis, and even COVID-19.
The Centers for Disease Control and Prevention (CDC) recommend proper hand hygiene and use of personal protective equipment (PPE) when handling mail.
A unique perspective: Us Mail Customs Form

Proper disinfection and sanitation of mail can prevent the spread of diseases, and it's a responsibility that falls on both mail handlers and the public.
According to the article, the use of UV-C light technology can effectively kill 99.9% of bacteria and viruses on mail surfaces.
Regular mail sanitation practices can also reduce the risk of mail-borne infections by up to 90%.
For your interest: Us Mail Customs Tracking
How to Send Sanitized Mail
To send sanitized mail, use seal stickers that are incredibly easy to use - just peel and stick them onto the flap of the envelope. This eliminates the need to moisten the adhesive, which can transfer bacteria and other harmful substances from one envelope to another.
Seal stickers are a more hygienic option because they don't require you to moisten the seal with saliva, unlike traditional envelope seals. This makes them a great choice for sending mail to people who are sensitive to germs or have weakened immune systems.
Another advantage of seal stickers is that they are much more durable than traditional envelope seals. They can withstand rough handling during shipping and storage, and they are less likely to lose their adhesive strength over time.
Recommended read: Security Seal
DIY Envelope Making
Making your own envelopes can be a fun and rewarding DIY project. You can use a variety of materials, including paper, cardstock, or even recycled materials.
To get started, you'll need a piece of paper or cardstock that's at least 8.5 x 11 inches in size. This will give you enough room to fold and create the envelope shape.
One of the benefits of making your own envelopes is that you can customize them to match your custom envelope seal stickers.
Here's an interesting read: Brown Craft Paper Envelopes
How to Make DIY Envelopes
To make DIY envelopes, you'll need to create a custom sticker seal template. Design your template on programs like Photoshop, Photoshop Elements, or on Canva.com, where you can access a variety of design tools.
I personally prefer using Canva.com for quick projects like this, as it's user-friendly and offers a wide range of templates and design elements.
To prepare your envelope, make sure to create a lot of DIY holiday envelope sticker seals, so you have them on hand for future use.
A unique perspective: Sticker Label Printers
Using the Xyron makes it easy to keep and store the stickers, especially if you trim up the paper and leave on the backing.
You can use your DIY holiday envelope sticker seals as seals on envelopes or letters, or even on presents to decorate near a tag or bow.
Supplies to Make DIY Envelopes
To make DIY envelopes, you'll need some basic supplies. Cardstock is a popular choice for DIY envelopes because it's sturdy and comes in a wide range of colors and patterns.
You can also use patterned paper to add some visual interest to your envelopes. For example, a polka dot paper can add a playful touch.
A bone folder is a handy tool that helps you create crisp folds in your paper. This is especially useful when making envelopes with intricate designs.
You'll also need a craft knife or scissors to cut out your envelope shapes. A craft knife is ideal for cutting through thick cardstock, but scissors are better for cutting through thinner paper.
In addition to these basic supplies, you may want to have some decorative items on hand, such as stickers, stamps, or ribbons. These can add a personal touch to your DIY envelopes.
Readers also liked: Diy Vacuum Sealing
Printing and Cutting
Printing and cutting your custom envelope seal stickers is a breeze with the right tools and techniques. The Print then Cut function in Cricut Design Space is one of my favorite features.
To use this feature, you'll need to upload your sticker designs to Cricut Design Space and size them to your liking. For this project, I sized all of the stickers to be approximately 2×2 inches.
Make sure to resize each sticker individually using the toolbar, and turn on the lock to retain the shape of the circle. I find it helpful to use the lock function to ensure my stickers stay proportional.
You must print on white or very light colored paper, and the Print then Cut area is smaller than a sheet of computer paper. To save paper, all of the images need to be "locked" in place using the ATTACH function and fit within an area that is 6.75 x 9.25 inches.
If you're new to Print then Cut, check out the tutorial on saving paper to learn more. For this project, since I made twelve 2×2 inch circles, everything fit within the design area.
Follow the on-screen prompts in Cricut Design Space to Print then Cut your stickers. If you're having any issues with cutting, try adding bleed marks when you print or performing an alignment of the Cricut.
I like to print on computer paper because it keeps the sticker seals from adding too much weight or thickness to the back of the envelope.
Take a look at this: Custom Cut Labels
Using Custom Envelope Seals
Creating a lot of custom envelope seal stickers is a good idea, as you never know when you'll need them. You can use your DIY holiday envelope sticker seals as seals on envelopes or letters.
These stickers can also be used to decorate presents near a tag or bow, adding a personal touch to your gifts.
Make sure to store your stickers properly by trimming the paper and leaving on the backing, if you're using a Xyron. This will keep them organized and easy to use.
Benefits of Custom Envelope Seal Stickers
Custom envelope seal stickers can add a professional touch to your correspondence. They help to create a lasting impression on the recipient.
Personalized stickers can be designed to match your company's branding, making your envelopes stand out in a crowded mailbox. A good design can make a big difference in how your business is perceived.
According to the article, custom envelope seal stickers can be made from a variety of materials, including paper, vinyl, and foil. This allows you to choose the best option for your needs and budget.
Using custom envelope seal stickers can also help to protect your envelopes from tampering. Some stickers are designed with a tamper-evident feature that makes it clear if someone has opened the envelope.
Custom envelope seal stickers can be easily applied to envelopes using a variety of methods, including licking, moistening, or using a special adhesive. This makes them easy to use and convenient for large mailings.
Creative Ways to Use Custom Envelope Seals
You can use custom envelope seals to add a personal touch to your letters and gifts. Make sure to create a lot of these stickers to have on hand.
To use your custom envelope seals, simply apply them to the envelopes or letters as seals. You can also use them on presents to decorate near a tag or bow.
Using the Xyron makes it easy to keep and store the stickers if you trim up the paper and leave on the backing. This will help you keep your stickers organized and ready to use.
Frequently Asked Questions
Is it OK to put stickers on an envelope?
Yes, stickers are allowed on envelopes as long as the envelope remains flat and less than 1/4" thick.
Sources
- https://www.helloprint.co.uk/stickersenvelope
- https://www.labelvalue.com/blog/seal-stickers-will-help-you-seal-envelopes-faster
- https://www.theamericanwedding.com/stationery/personalized-seals-labels.html
- https://dfwstickers.com/product/embossed-envelope-seals/
- https://www.craftyjulie.com/diy-holiday-envelope-stickers/
Featured Images: pexels.com