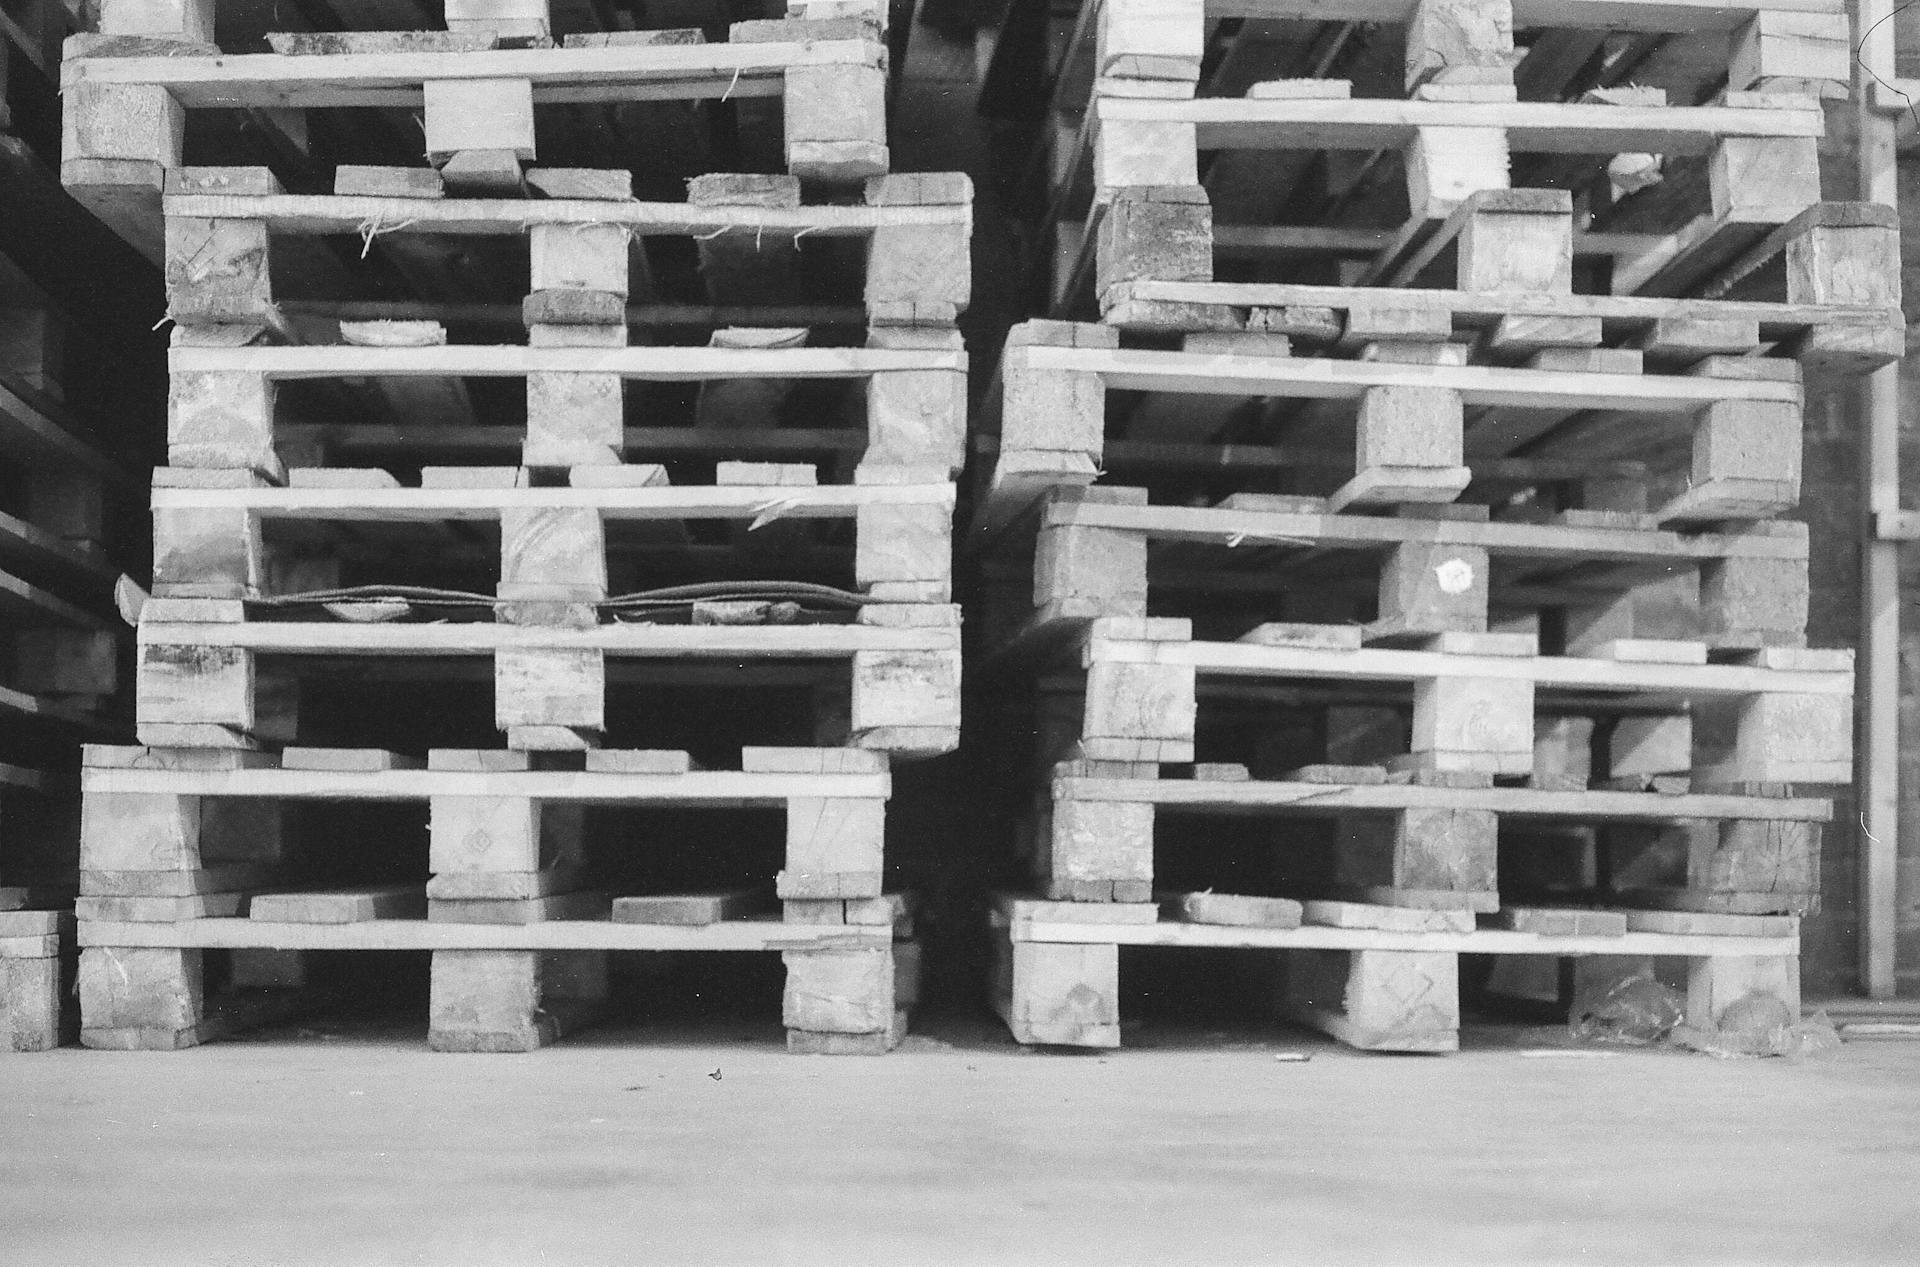
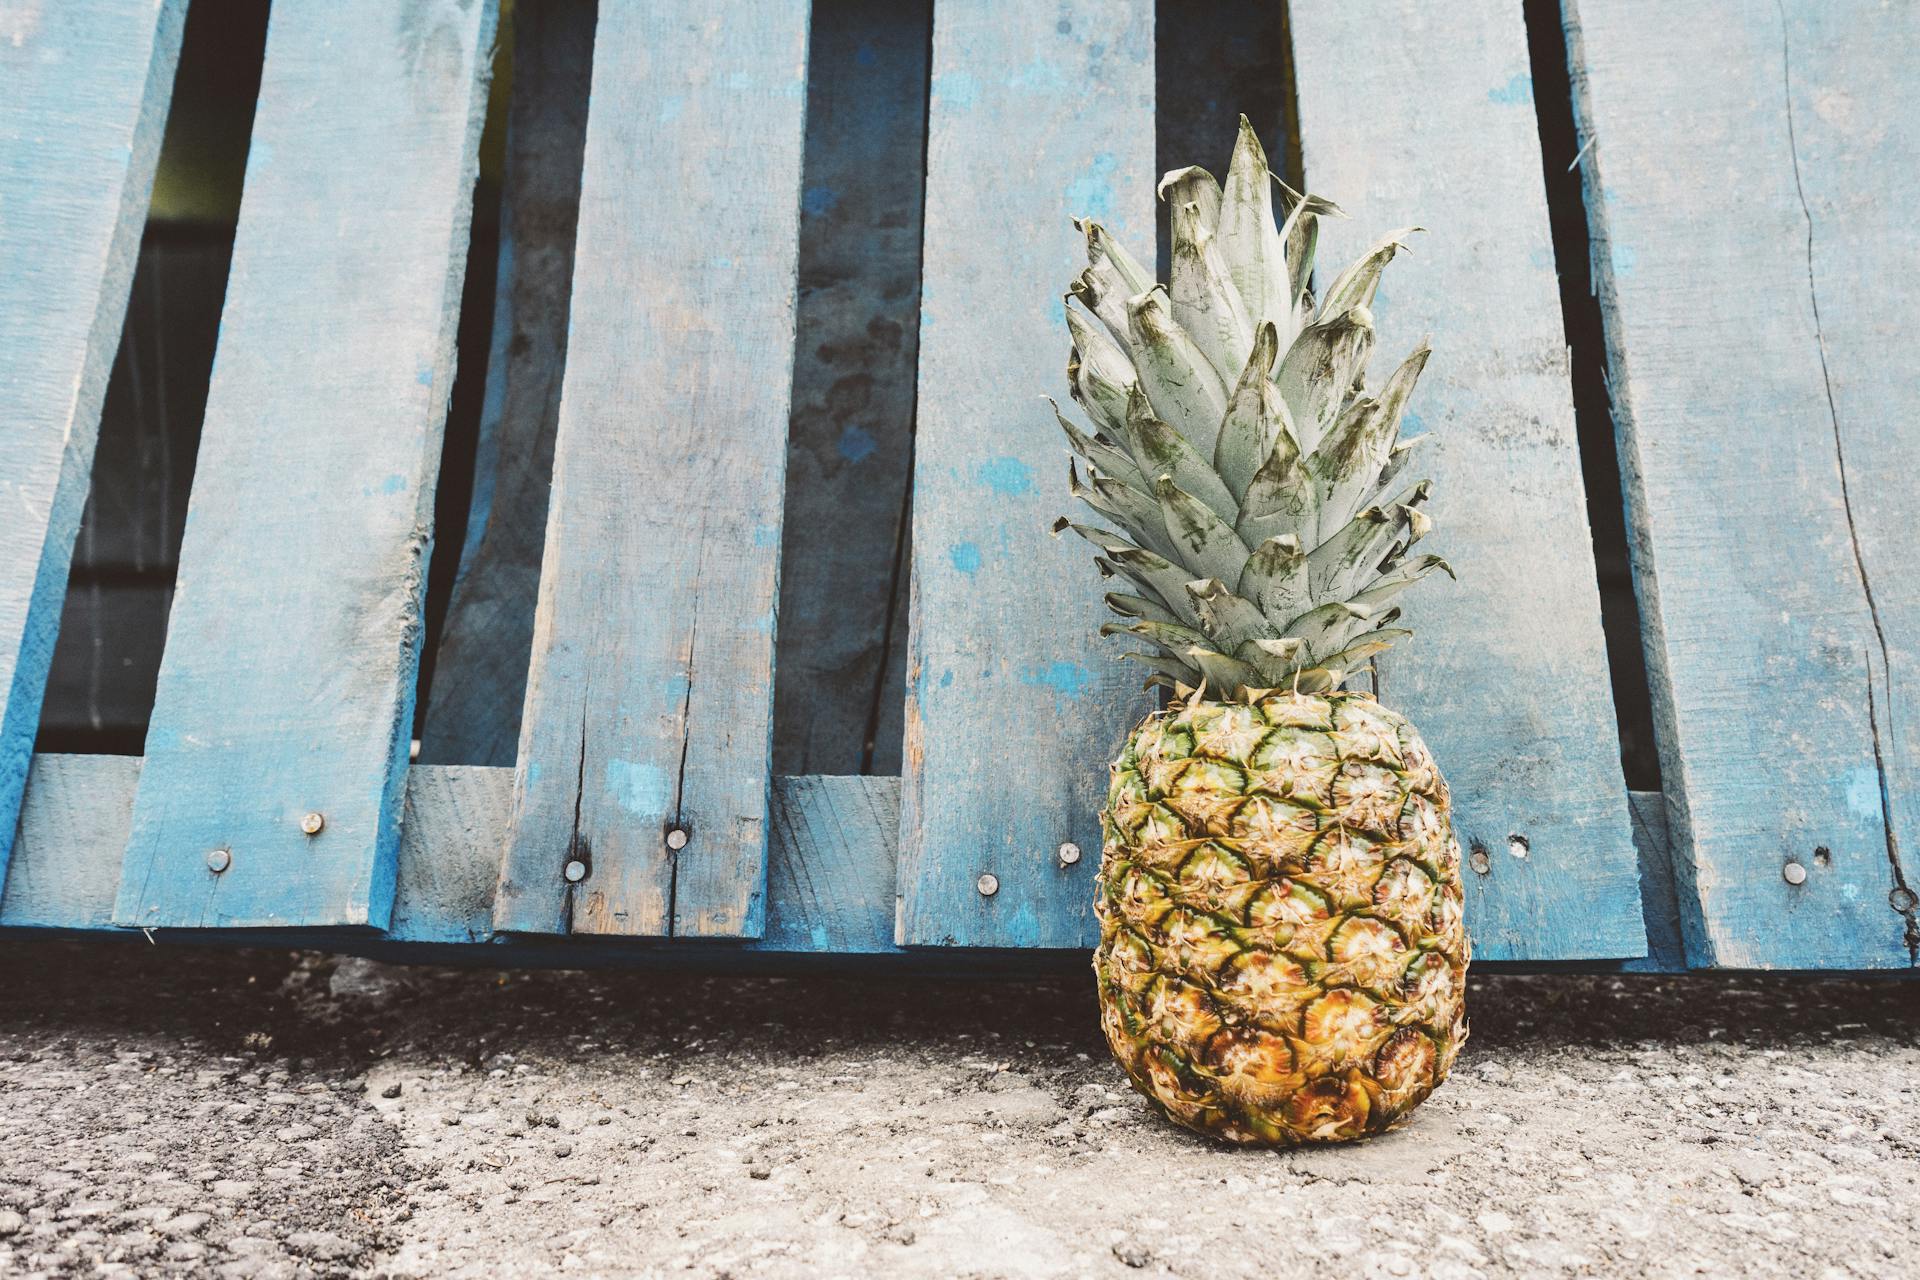
Upcycling pallets is a great way to create unique and functional shelves for your home. You can find pallets at local hardware stores or online, and they're often free or low-cost.
The first step is to disassemble the pallet, which typically consists of 48-60 wooden planks, held together by nails or screws. You'll need to remove the nails or screws to separate the planks.
Start by removing the bottom planks, which are usually the thickest and most stable. This will give you a solid base for your shelves.
Expand your knowledge: Shelving Made Out of Pallets
Materials and Preparation
To start building your pallet shelves, you'll need to gather the necessary materials. You'll need one pallet, which can be sourced from a local hardware store or online.
A pallet is a great starting point, but you'll also need some additional hardware to secure it in place. Four National Hardware 2 1/2″ Corner Braces (Galvanized) will help you create a sturdy frame.
On a similar theme: 2 Pallets
You'll also need a piece of birch plywood, measuring 25″ x 18″, to serve as the shelf surface. This will provide a smooth and durable surface for storing your belongings.
To assemble the shelves, you'll need eight 1 5/8″ deck screws. These will help you secure the pallet and plywood together, creating a stable and long-lasting structure.
Here's a summary of the materials you'll need:
- One pallet
- Four – National Hardware 2 1/2″ Corner Braces (Galvanized)
- One – 25″ x 18″ piece of birch plywood
- Eight – 1 5/8″ deck screws
Materials:
To build a sturdy project, you'll need the right materials. One pallet is a great starting point, as it often comes with pre-assembled frames that can be repurposed.
A crucial component is the corner brace. You'll need four National Hardware 2 1/2″ Corner Braces (Galvanized) to provide additional support and stability.
Birch plywood is a versatile material that can be used for various projects. For this particular build, you'll need a 25″ x 18″ piece.
Deck screws are used to secure the different components together. You'll need eight 1 5/8″ deck screws to complete the project.
Curious to learn more? Check out: Decks Made Out of Pallets
Drawing and Cutting Boards
Drawing and cutting the boards is a crucial step in building your pallet shelf. Think about a shape for the back of your shelf and draw it on a piece of paper first.
You can also draw the pattern on the pallet boards directly to get an idea of how they will fit together. Secure your workpieces with G-clamps and cut them to size with a jigsaw.
To make straight cuts with a jigsaw, you can refer to a separate article for instructions. Drawing the pattern on a piece of paper first can help you visualize the shape and make any necessary adjustments before transferring it to the boards.
You might enjoy: Which End of Pallet Industry Standard for Lifting Pallets
Separating
Separating the pallets is the first step in creating your pallet shelves. Your two shelf pieces should look like two separate boxes after detaching them from the pallet.
Sand the entire shelf thoroughly to prevent splinters later. This will make the process much easier and safer.
There will be two boards left from the rest of the pallet, which will become the floor of your pallet shelves. Detach them from the pallet to begin working on the floor.
For more insights, see: Shelves Out of Pallets
Building the Frame
To build the frame of your pallet shelves, start by measuring out the space where you want to install them. Decide on the desired height and cut four long planks to that height.
Cutting the planks is a crucial step, so make sure to use a steady hand. You can use stains or paint for the wood before installation, but I left my reclaimed wood just the way I found it.
Next, measure and cut various horizontal beams that will work as shelves to the desired width you wish your shelf to be. It's essential to make all the shelving pieces the same size, but you can use slightly shallow shelf boards by using longer screws to bridge the spaces.
Pre-drilling holes before inserting screws is a great tip, especially when screwing into the boards very close to their edges, which can lead to wood-splitting.
What to Make?
Building the frame is just the starting point, and the next step is deciding what to make. A pale blue pallet shelf is a great idea for a cottage or farmhouse space.
Check this out: B Pallets
You can also consider a small pallet shelf with jars, mugs, and some greenery for a rustic or industrial space. This type of shelf is perfect for adding a touch of personality to a room.
A simple rustic pallet shelf with spices, salt, and sauces is a great idea for a cooking space. It's a functional piece that also adds to the ambiance.
For a garden shed, a small pallet shelf with blooms and some gardening stuff hanging is a lovely idea. This type of shelf brings the outdoors in.
A small and cute whitewashed pallet shelf with mugs and a potted plant is perfect for a shabby chic space. This type of shelf adds a touch of elegance to a room.
If you're looking for a unique idea, a small pallet shelf with decor and keys is a great option for an entryway or other rustic spaces.
Building the Frame
Building the frame is a crucial step in creating your DIY pallet shelves. Decide how large you desire your shelf to be by measuring out your space.

To determine the size of your shelf, you'll need to cut 4 long planks to the desired height. You can use stains or paint for the wood before installation, but I left my reclaimed wood just the way I found it.
Measure then cut various horizontal beams that will work as shelves to the desired width you wish your shelf to be. All the shelving pieces should ultimately be the exact same sized boards, however you can use slightly shallow shelf boards by using longer screws to bridge the spaces.
Note that using longer screws to bridge the spaces is a great way to add extra stability to your shelves. This is especially useful if you're using your largest depth boards for the top and bottom of your shelf.
To assemble the frame, place a shelf board on its side, then lay two side planks flat against each shelf edge, attach with screws. It's a good idea to pre-drill holes before inserting screws, since you'll be screwing into the boards very close to their edges which can lead to wood-splitting.
Use a construction square to adjust all four corners as needed, then add more screws to the corners for more stability. I found it helpful to start with one screw on each board so I could 'rock the shelf' straight against a construction square to square-it-up later.
On a similar theme: Construction Pallets

Here's a quick tip: it's essential to pre-drill holes before inserting screws, especially when working with reclaimed wood. This will prevent wood-splitting and make the assembly process much smoother.
Here's a summary of the steps to build the frame:
Dismantling and Reusing
Dismantling a pallet can be a bit of a challenge. You'll need to use a hammer and a crowbar to disassemble the pallet board by board. Some nails may be stubborn and refuse to budge, but you can try driving them through the board with a pin punch.
It's not uncommon for pallet nails to be stuck tight. In those cases, a pin punch can be a lifesaver. Just be careful not to damage the surrounding wood.
You'll want to work carefully to avoid damaging the pallet boards. With a little patience and the right tools, you should be able to disassemble the pallet with ease.
Assembly and Mounting
Mounting your pallet shelf to the wall can be a breeze. You can opt for traditional wall plugs or brackets, or go for 'floating' brackets that sink into the wall and wood, making the shelf appear to float.
For thicker shelving boards, 'floating' brackets are a great choice. They're particularly suitable for blocks on your pallet.
If you're building a large pallet shelf that will stand freely, consider anchoring it to the wall to prevent it from toppling over. Brackets are often the best choice for this.
Having a continuous shelf back and small wooden strips at the front edge of the shelves will help prevent items from falling out. This is especially practical for a pallet shelf.
Marking the Position
To ensure your shelves are level and secure, mark their position on the back wall carefully.
Place the shelves on the wall and mark around them, as this will help center your drill holes.
The more screws you use, the more sturdy the shelf will be, so don't skimp on drilling holes.
You can use these holes to screw the shelves in from behind later, making the installation process easier and more secure.
Mounting
Mounting your pallet shelf is a crucial step to ensure it stays secure and looks great. You can use traditional wall plugs or brackets, but for a more modern look, consider using 'floating' brackets that sink into the wall and the wood, making the shelf appear to 'float' on the wall.
Using thicker shelving boards is particularly suitable for this method. If you're working with blocks from your pallet, this might be the way to go.
To prevent your pallet shelf from toppling over, especially if it's large and standing freely, consider anchoring it to the wall with brackets. This will keep your shelves stable and secure.
Having a continuous shelf back and small wooden strips at the front edge of the shelves can also help prevent items from falling out.
Adding the
Adding the shelves is a crucial step in building your pallet shelf. You'll need to slip the shelving boards under the frame and measure and adjust their positioning.
To determine what will ultimately go on each shelf, lay down your drills, tools, spray paint, and other merchandise. This will help guide your shelf and beam levels.
Attach the shelves to the side boards with screws, measuring and squaring-up as you build. One screw per side on each board is a good starting point, but you can add more screws later if needed.
If you're building a large pallet shelf, consider anchoring it to the wall to prevent it from toppling over. Brackets are often the best choice for this.
Having a continuous shelf back and small wooden strips at the front edge of the shelves are especially practical for preventing things from falling out of your pallet shelf.
Finishing Touches
Adding a pop of color to your pallet shelf is a great way to give it a personal touch. Use a cordless paint spray system to give the shelf an even coat of paint over a large area.
You can also get creative with the back wall of your shelf by decorating it however you like. A template, stencil, or stamp can help you achieve a professional-looking finish without needing to be an artist.
Screwing the shelves together from behind is the final step before mounting the shelf to the wall. Make sure to clamp them with G-clamps and check that everything is screwed together tightly.
Final Touches
Adding a pop of color to your shelf can make it truly unique. Use the cordless paint spray system for an even coat of paint over a large area.
Before attaching the shelves, make sure they're screwed together tightly from behind. Position them over the drill holes and clamp them with G-clamps.
Mounting your shelf to the wall requires stable wall plugs and screws. Ensure they're securely in place to prevent any damage or accidents.
If you're feeling artistic, consider adding a logo or lettering to your shelf. A blowtorch can help create a custom design, or you can use a template, stencil, or stamp for a more precise look.
Should I Paint or Varnish My Furniture?
Deciding between paint and varnish for your furniture can be a bit overwhelming, but it's a crucial step to get right. Acrylic paint is a good option for adding color and texture, but it will cover the natural look of the wood.
You can choose to maintain the natural look of the wood by using a varnish instead. This will highlight the wood grain and give your furniture a more rustic feel.
If you're looking for a more subtle finish, consider using wood oil or wood wax. These options will add a protective layer to the wood without covering up its natural beauty.
Remember to always check if the paint or finish you choose is suitable for indoor use and safe for your health. This is especially important if you plan to use the furniture in a room where it will be exposed to heat or moisture.
For your interest: Fence Using Pallets
Tips and Variations
You can get creative with the design of your pallet shelves by adding a coat of paint or stain to give them a unique look. This can be a great way to match the shelves to your home decor.
Use a variety of pallets to create a mixed-media look, with different textures and colors adding visual interest.
Keep it simple by using just one type of pallet and repeating the design throughout.
Consider adding decorative trim or molding to give your pallet shelves a more polished look.
You can also use pallets to create a headboard or room divider, adding functionality to your DIY project.
Add some personality to your pallet shelves by displaying personal items, such as family photos or mementos.
Make sure to leave enough space between the pallets for easy access to the items stored on the shelves.
Required Supplies and Tools
To build shelves from pallets, you'll need a few essential supplies. You'll start with a wooden pallet, which will serve as the base of your shelves.
A hammer is a must-have for tapping nails into place and making any necessary adjustments to your pallet. Nails will be used to secure the pallet's slats together.
A reciprocating saw is necessary for separating the pallet's slats apart. This will give you the individual pieces you need to work with.
You'll also need a manual saw for any finer cuts or adjustments. A spare piece of wood is a good idea to have on hand, just in case something unexpected comes up.
A sander will be needed to smooth out any rough edges or surfaces. Paint and primer will be used to give your shelves a finished look. A paintbrush will come in handy for applying these finishes.
Here's a summary of the required supplies and tools:
- Wooden Pallet
- Hammer
- Nails
- Reciprocating saw
- Manual saw
- Spare piece of wood
- Sander
- Paint
- Primer
- Paintbrush
Project Examples and Ideas
You can build a wide variety of shelves using pallets, from bathroom shelves to kitchen shelves. For a bathroom pallet shelf, it's a good idea to waterproof the pallets with a suitable varnish beforehand to protect them from dampness.
For a kitchen pallet shelf, you can add hooks to the underside of the shelves to hang your favourite mugs. This is a great way to add some extra functionality to your shelf.
Here are a few more ideas to get you started:
- Bathroom pallet shelf
- Kitchen pallet shelf
- Pallet spice rack
- Shoe rack
- Plant shelf
- Wine rack or bookcase
What Can I Build?
You can build a wide range of projects using pallets, from shelves to storage units and more. With a little creativity, you can turn a simple pallet into a functional and stylish piece of furniture.
For example, you can build a bathroom pallet shelf or a kitchen pallet shelf, both of which require waterproofing to withstand moisture. You can also create a pallet spice rack by adding more boards and small slats to the front of the shelves.
If you're looking for a more rustic feel, consider building a pallet shoe rack or a pallet plant shelf. These projects are easy to make and can add a touch of charm to any room.
Here are some specific project ideas to get you started:
- Bathroom pallet shelf
- Kitchen pallet shelf
- Pallet spice rack
- Pallet shoe rack
- Pallet plant shelf
- Storage units (e.g. for the bathroom, entryway, kitchen, etc.)
- Ladder shelf
- Custom shelves for under the stairs
These projects are all great ways to upcycle old pallets and create something new and useful. With a little bit of creativity and some basic DIY skills, you can turn a simple pallet into a beautiful and functional piece of furniture.
Garden Storage
Garden Storage is a great way to utilize pallets, and you can build outdoor shelves to hold gardening tools, pots, and plants. These shelves can be placed on patios or in sheds, providing functional and rustic storage solutions for gardening needs.
You can use a whole pallet to create a shoe rack, but for garden storage, you'll want to focus on shelves. Sand and varnish or oil the pallets to protect them from the elements, then place them upright on their long side. The "top" of the pallet forms the back wall of the shelf.
A EURpallet can be converted into a plant shelf, perfect for small flower pots or even creating beds by adding more boards and suitable foils. You can also use pallets to create a vertical garden, a great way to maximize space in your garden.
Here are some ideas for pallet garden storage:
- Bathroom pallet shelf: waterproof the pallets with varnish beforehand to protect them from moisture.
- Kitchen pallet shelf: attach hooks to the underside of the shelves for hanging mugs or utensils.
- Pallet spice rack: add more boards and small slats to the front of the shelves for a practical storage solution.
- Plant shelf made from EUR pallets: place small flower pots on different levels or create beds with additional boards and foils.
- Wine rack or bookcase made from pallets: attach a board to the underside to prevent items from falling through.
Frequently Asked Questions
Is it legal to take pallets from behind stores?
Taking pallets from behind stores without permission is not necessarily free or legal. Always check with the business owner first to avoid potential issues
How do you join two pallets together?
You can join two pallets together using mending plates or bugle timber screws, allowing for a strong and hidden connection. To learn more about the best method for your project, consider the visibility and durability requirements.
Where can I get pallets for free?
You can often find free pallets at construction sites, hardware stores, and equipment stores, but be sure to ask permission before taking them. Additionally, some local businesses like furniture retailers and grocery stores may also have pallets they're willing to give away for free.
Sources
Featured Images: pexels.com