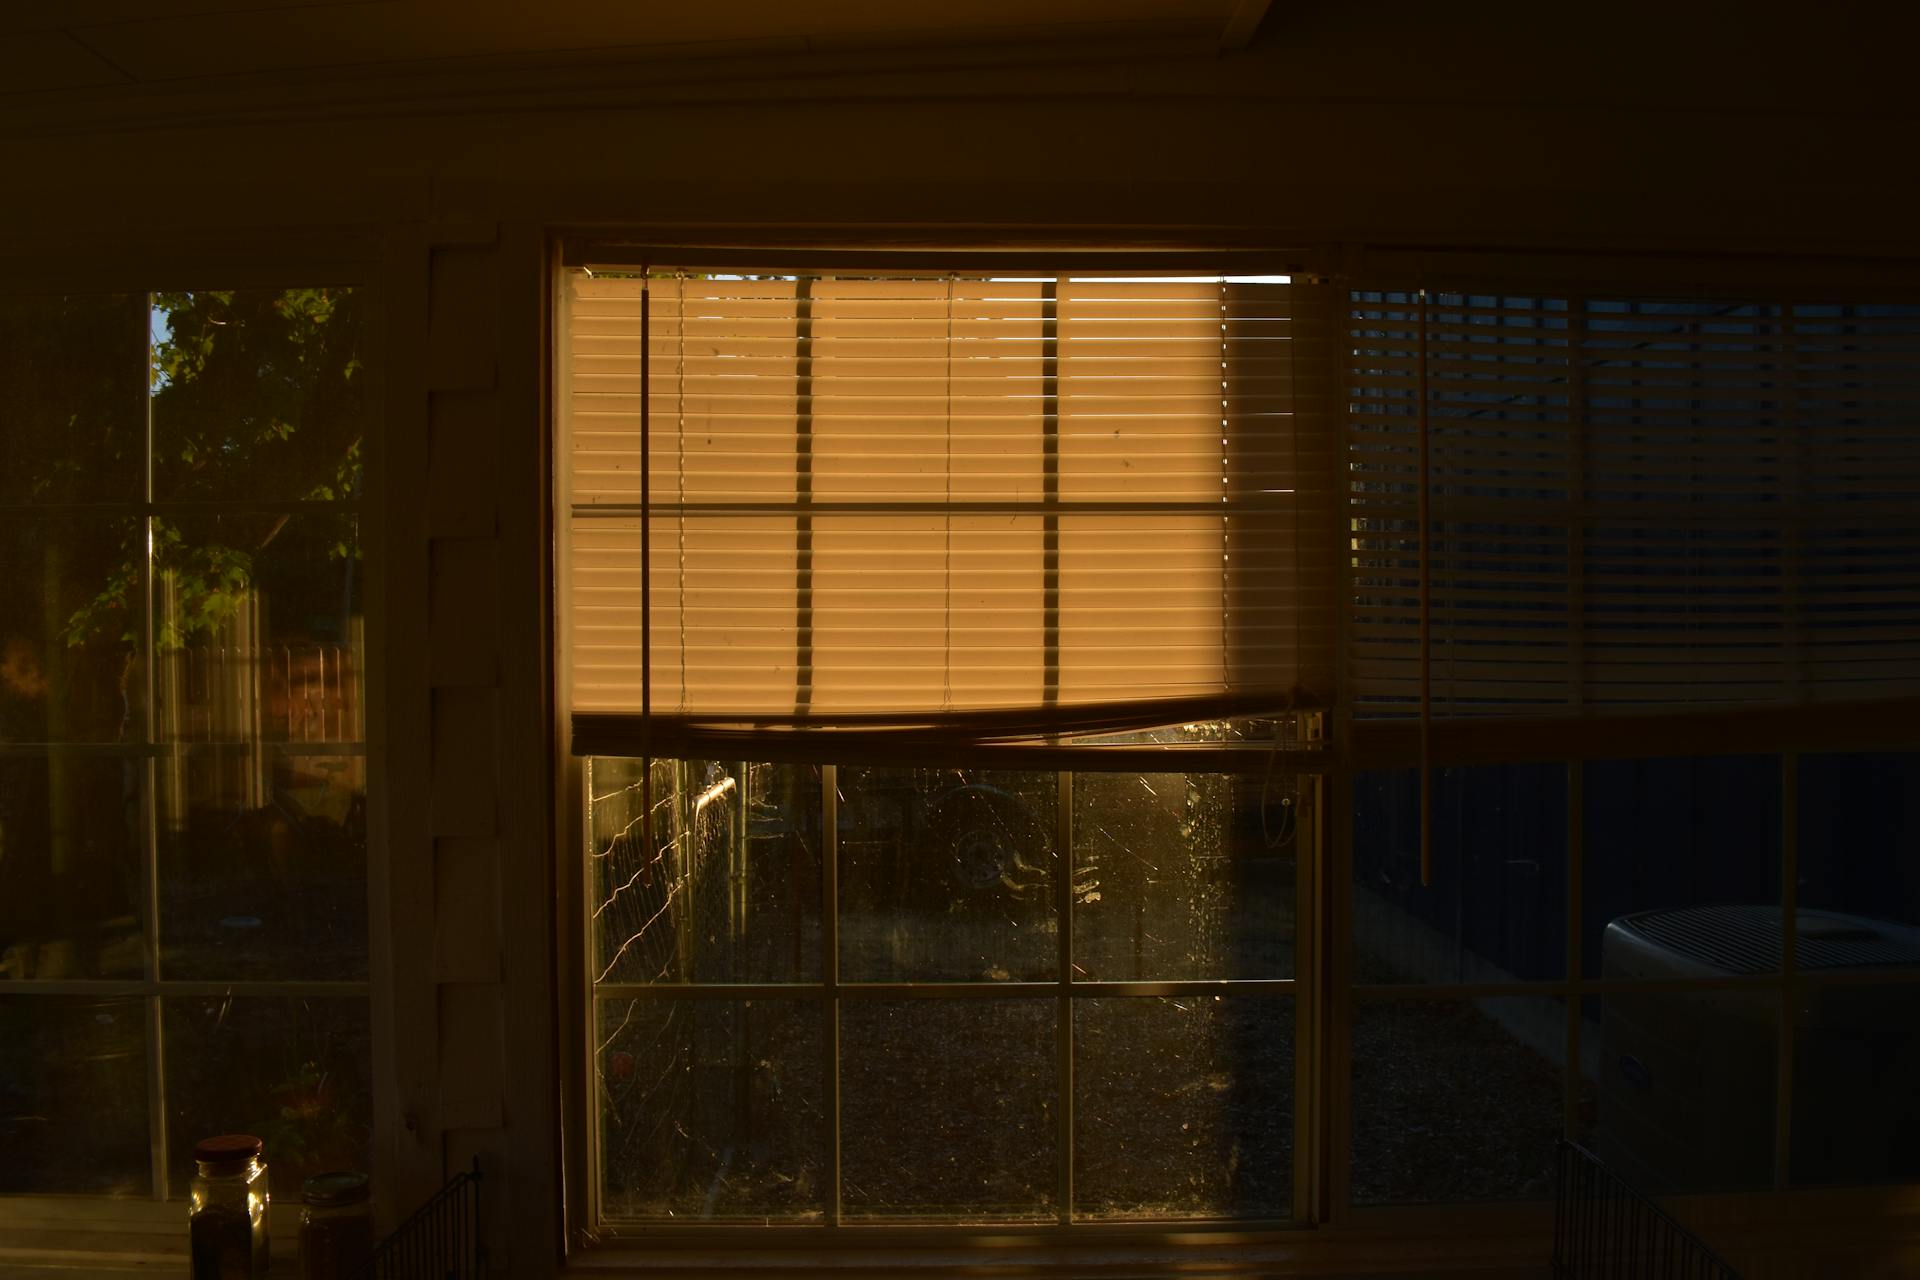
You can easily insulate your windows with saran wrap, a cheap and effective solution. It's a great way to keep your home warm in the winter and cool in the summer.
Saran wrap can be applied directly to the window frame, creating a thin layer of insulation. This can help reduce heat transfer and keep your home at a consistent temperature.
It's also a great DIY project that can be completed in under an hour, making it a convenient solution for homeowners.
You might enjoy: Gift Wrap at Home
Benefits and Effectiveness
Saran wrap can be a cheap and easy solution for insulating windows, costing around $4 a roll and being easy to find at most grocery stores.
It's effective on single-glazed windows, where it can help to prevent mold from forming by reducing condensation.
However, it's not the most effective solution for insulation, and other methods will likely save you more on your energy bills.
Saran wrap can add a small amount of extra insulation, but its thin nature means it only slows down the transfer of heat marginally.
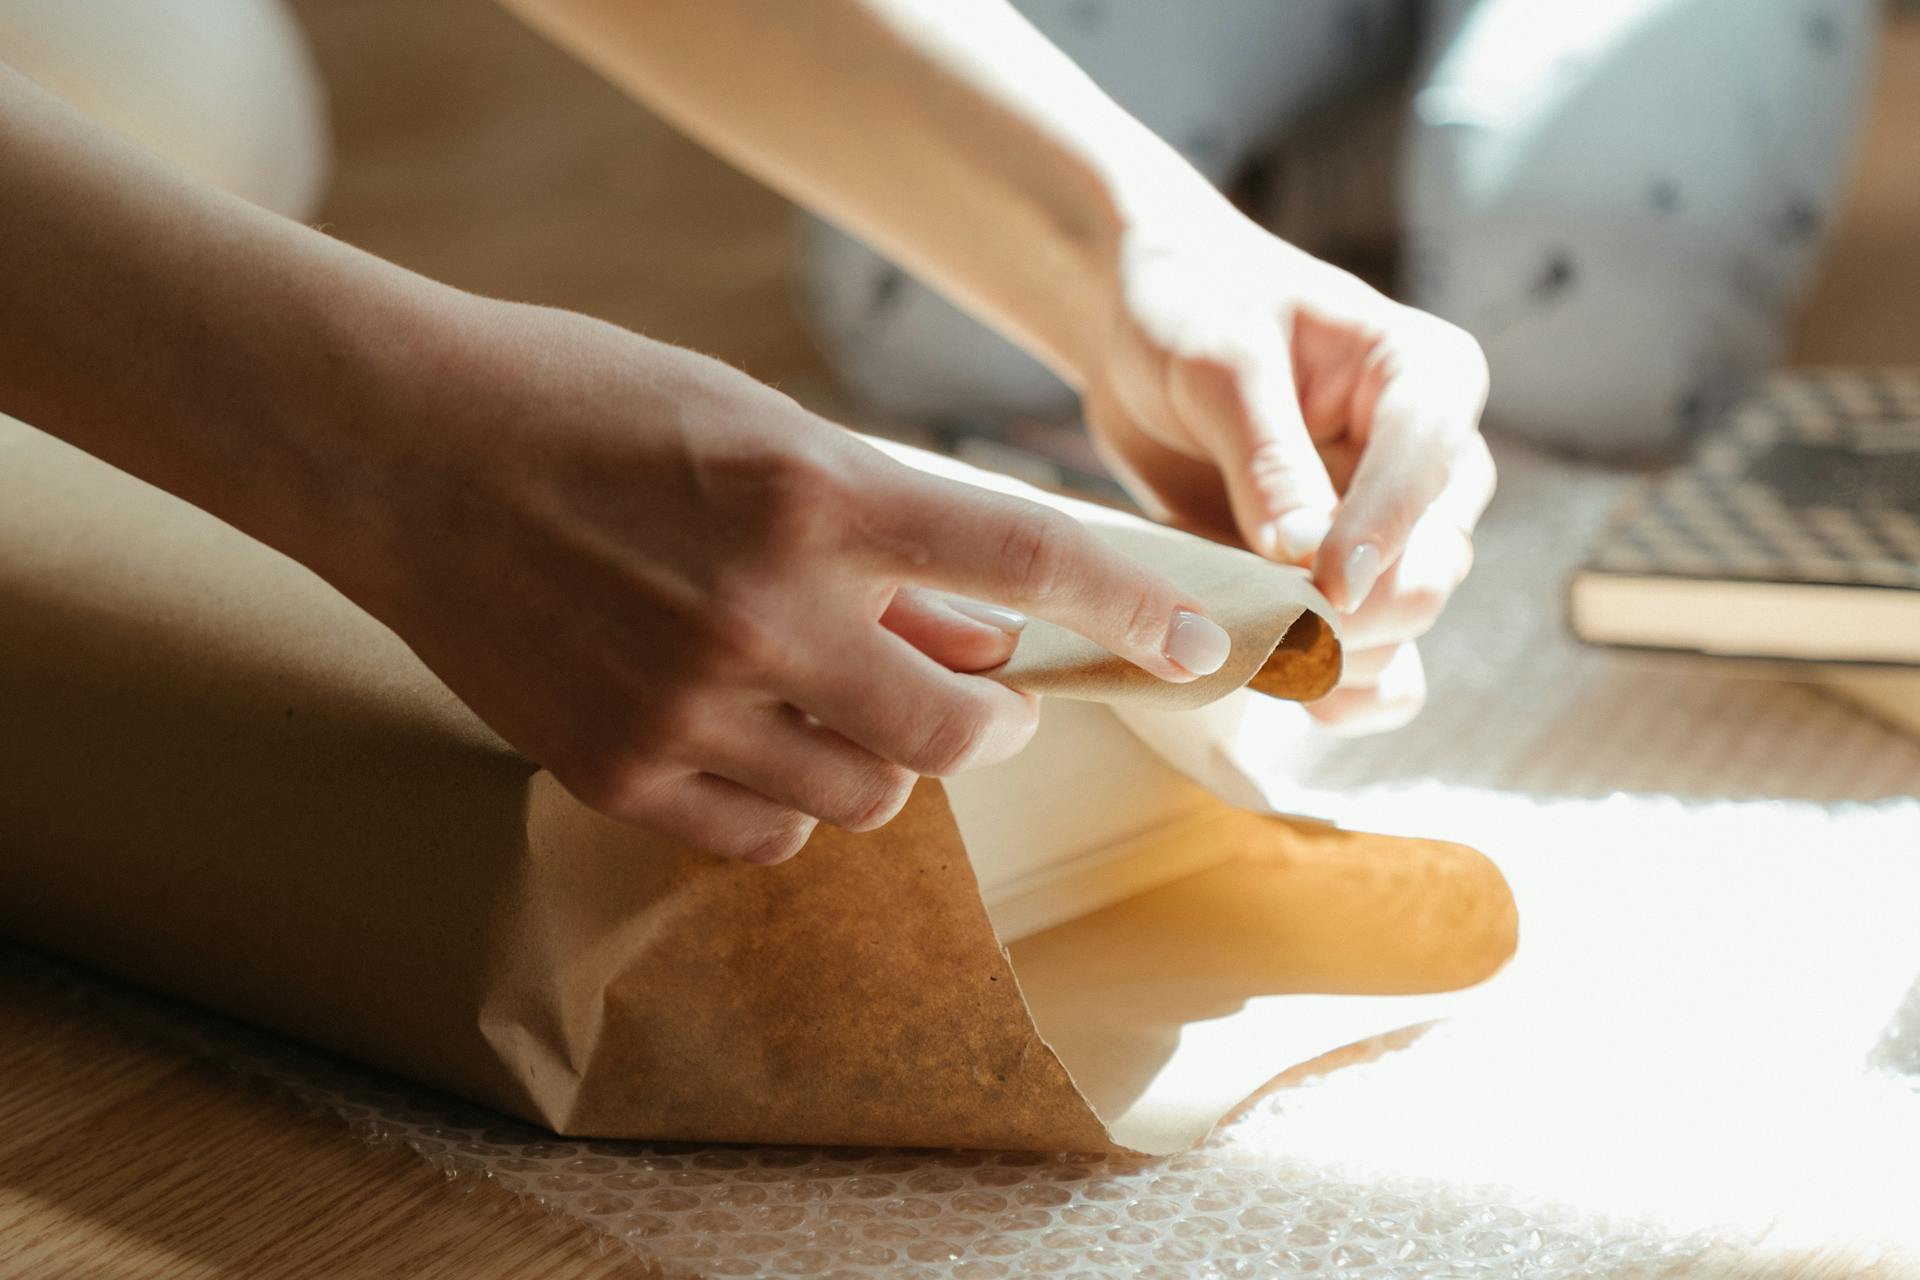
Bubble wrap is a more popular choice for energy-savvy individuals, as it provides better insulation due to its thicker plastic material and the extra layer of trapped air created by the bubbles.
Here are the benefits of using Saran wrap to insulate your windows:
• It's cheap – around $4 a roll
• It's easy to find at most grocery stores
• It can prevent mold from forming by reducing condensation
• It's easy to peel off and won't leave any marks or residue behind
However, it's only effective on single-glazed windows, and it can be tricky to install without bubbles.
Related reading: Does Shrink Wrapping Windows Work
How to Implement
To start, you'll need to gather the necessary materials, including saran wrap, a measuring tape, a pencil, and a ruler.
First, measure the length and width of your window to determine how much saran wrap you'll need.
Next, cut the saran wrap to the correct size using scissors or a craft knife.
Apply a thin layer of saran wrap to the window frame, starting at the top and working your way down.
This will help prevent air leaks and keep your window sealed.
Make sure to smooth out any wrinkles or bubbles as you go, using a credit card or similar tool to press out any air pockets.
Once you've covered the entire window, trim the excess saran wrap with scissors or a craft knife.
Finally, inspect your saran wrap window to ensure it's properly sealed and free of wrinkles.
You might enjoy: Window Cling Wrap
Insulation Options and Considerations
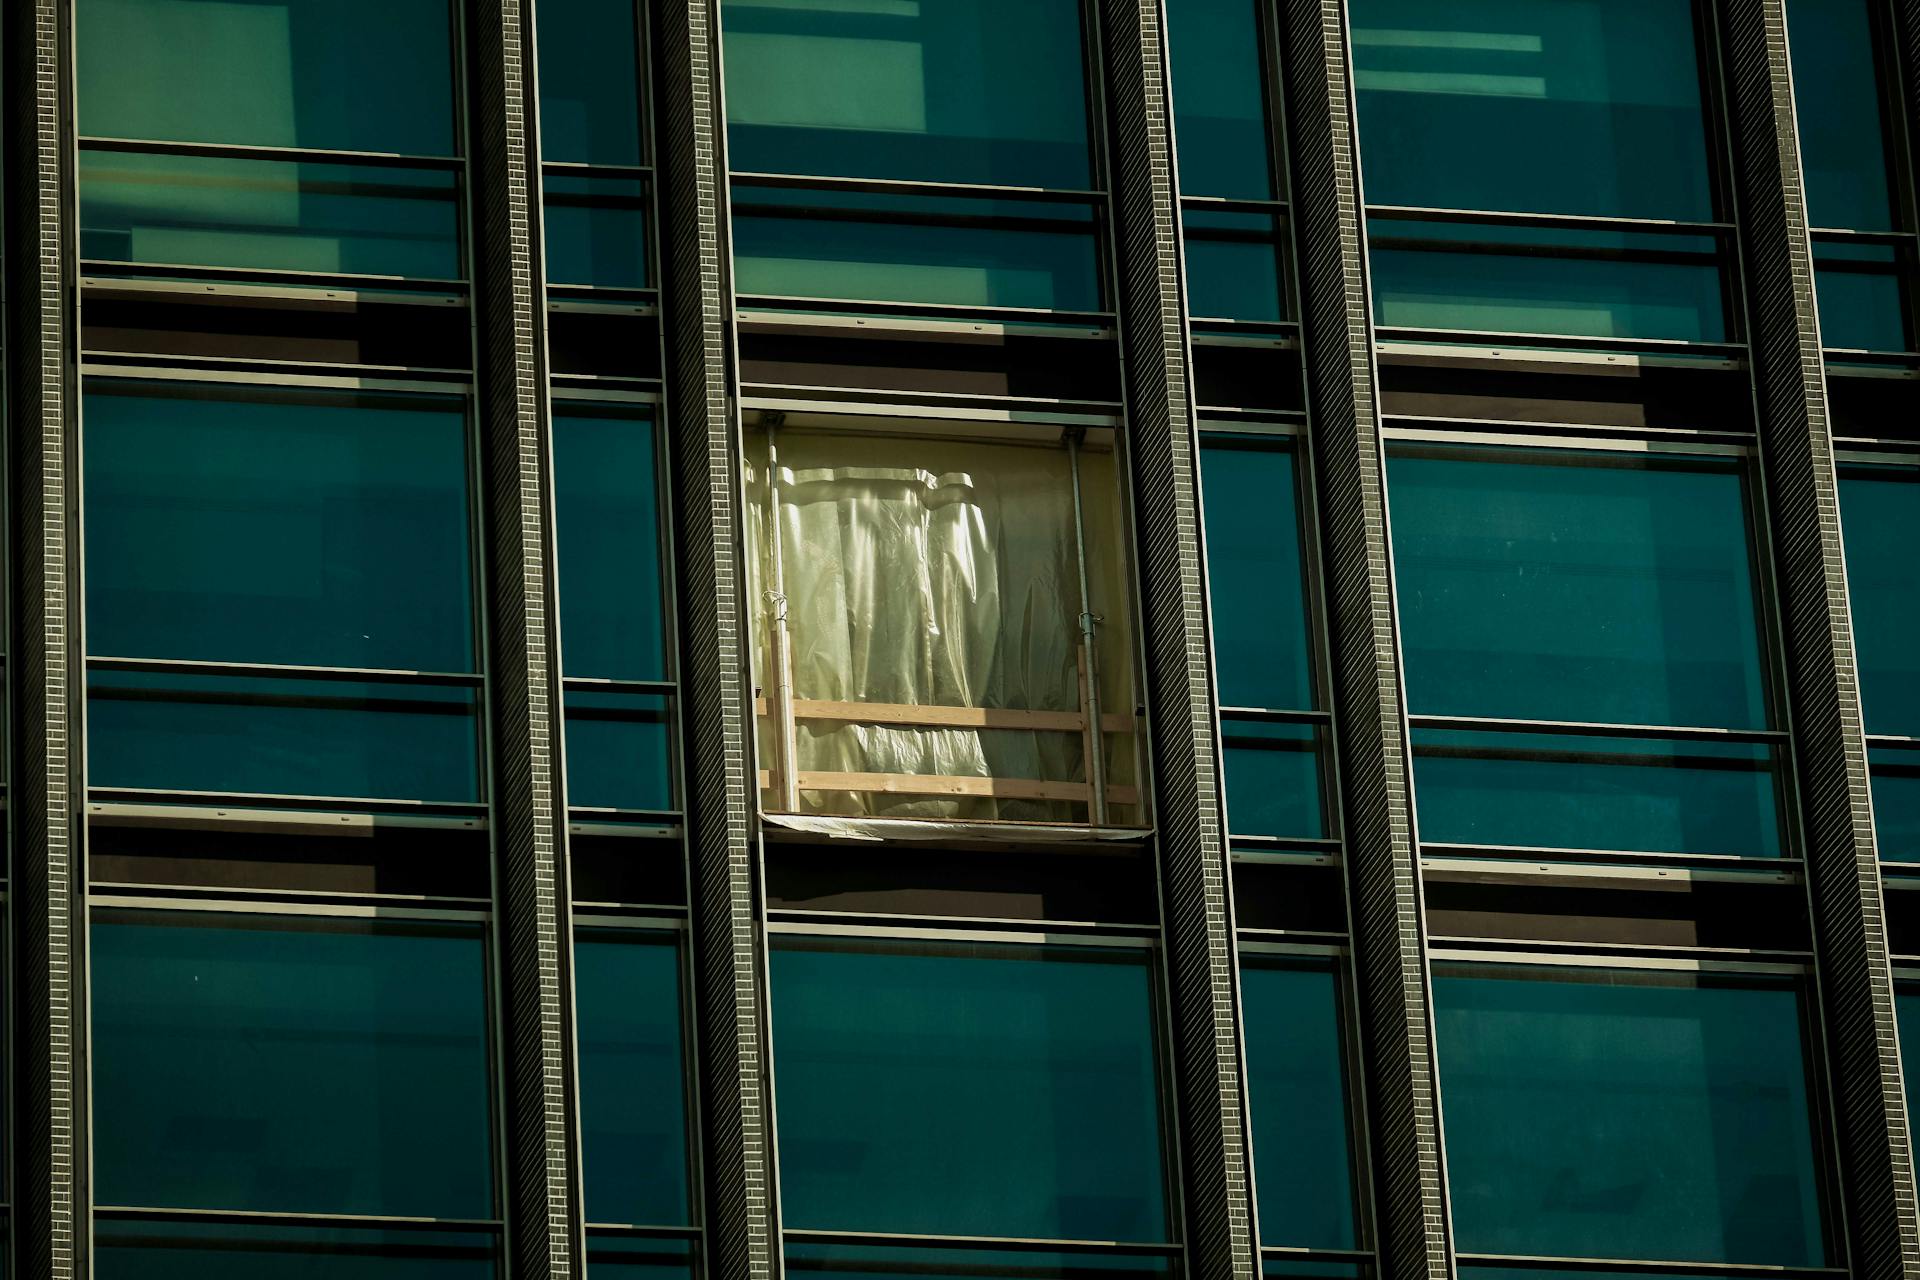
If you're looking to insulate your saran wrap windows, you have several options to consider.
One popular choice is using foam board insulation, which can be cut to size and attached directly to the saran wrap.
For a more DIY-friendly solution, consider using bubble wrap insulation, which can be easily applied to the saran wrap with some tape.
The R-value of insulation is an important consideration, with higher values indicating better insulation performance.
Suggestion: Glad Wrap Window Insulation
Foam board insulation typically has an R-value of around 2-3 per inch, making it a good option for saran wrap windows.
Bubble wrap insulation, on the other hand, has an R-value of around 1-2 per inch, but is often easier to install and more affordable.
In addition to the type of insulation, you'll also want to consider the climate and weather conditions in your area.
Saran wrap windows are often used in areas with mild winters and hot summers, where the primary concern is keeping the heat out in the summer and the cold out in the winter.
In these cases, a lower R-value insulation may be sufficient, while in colder climates, a higher R-value insulation may be necessary.
Insulation Reality and Tips
Saran wrap is not the most effective solution for insulating windows, but it can still provide some benefits.
It's cheap, with a roll costing around $4 and a single roll being enough to cover most of your home's windows.
Worth a look: Shrink Wrapping Roll

One of the main advantages of using Saran wrap is that it can prevent mold from growing on your windows by reducing condensation.
However, its effectiveness is limited to single-glazed windows and even then, it's not too effective at insulating.
To get the most out of Saran wrap, you can try freezing it before applying it to the window, which can make it easier to stick.
But be warned, it can be tricky to install without any bubbles, and it takes a lot of time to do it perfectly.
Here are some pros and cons to consider:
Bubble wrap is actually a better option for insulating windows, but it's not as convenient as Saran wrap since it's thicker and has bubbles that can be unsightly.
If you do decide to use Saran wrap, make sure to apply it tightly to prevent air from escaping and to get the most out of its insulating properties.
Sources
- https://www.housedigest.com/1323284/plastic-wrap-hack-for-fixing-drafty-windows/
- https://www.anthonystclair.com/blog/2006/11/cheap_insulatio.html
- https://www.ecoenergygeek.com/saran-wrap-window-insulation/
- https://www.ukenergywatch.org/saran-wrap-window-insulation/
- https://intekclean.com/2016/11/14/how-to-wrap-windows-winter/
Featured Images: pexels.com