Wrapping gifts at home can be a fun and creative way to show you care. You can create a one-of-a-kind look with unique materials and techniques.
Using natural elements like leaves and twigs can add an earthy touch to your gift wrap. This is especially effective when paired with earthy-toned paper and ribbons.
Consider using old maps or music sheets for a vintage look. These can be found in thrift stores or online and add a personal touch to your gift.
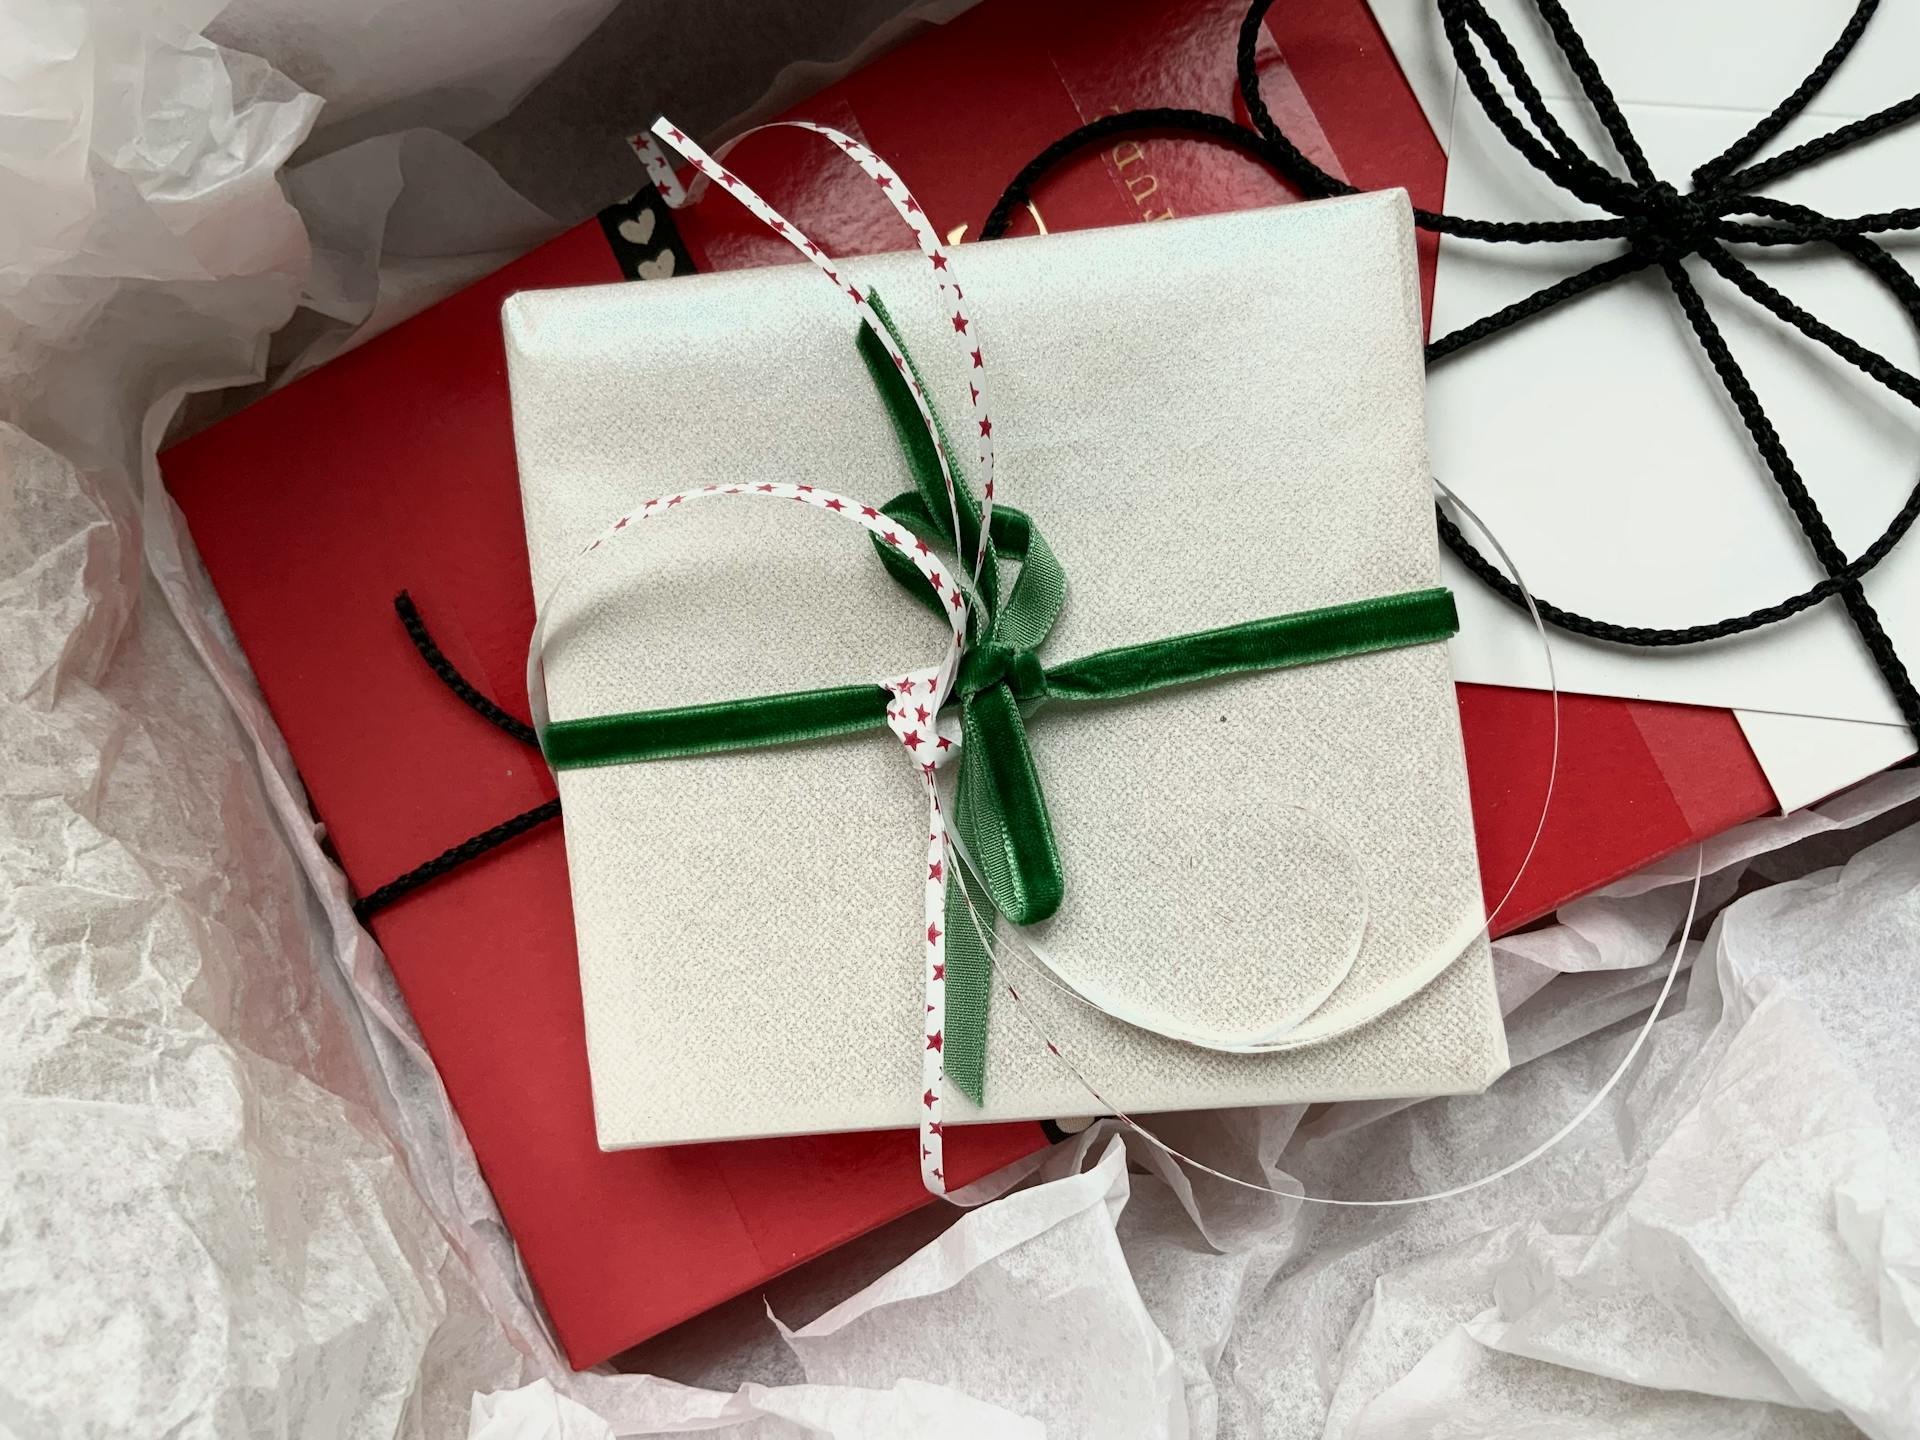
A simple yet elegant look can be achieved with a plain white or cream-colored background and a bold, colorful ribbon. This is a great option for those who prefer a more understated approach.
Basic Wrapping Techniques
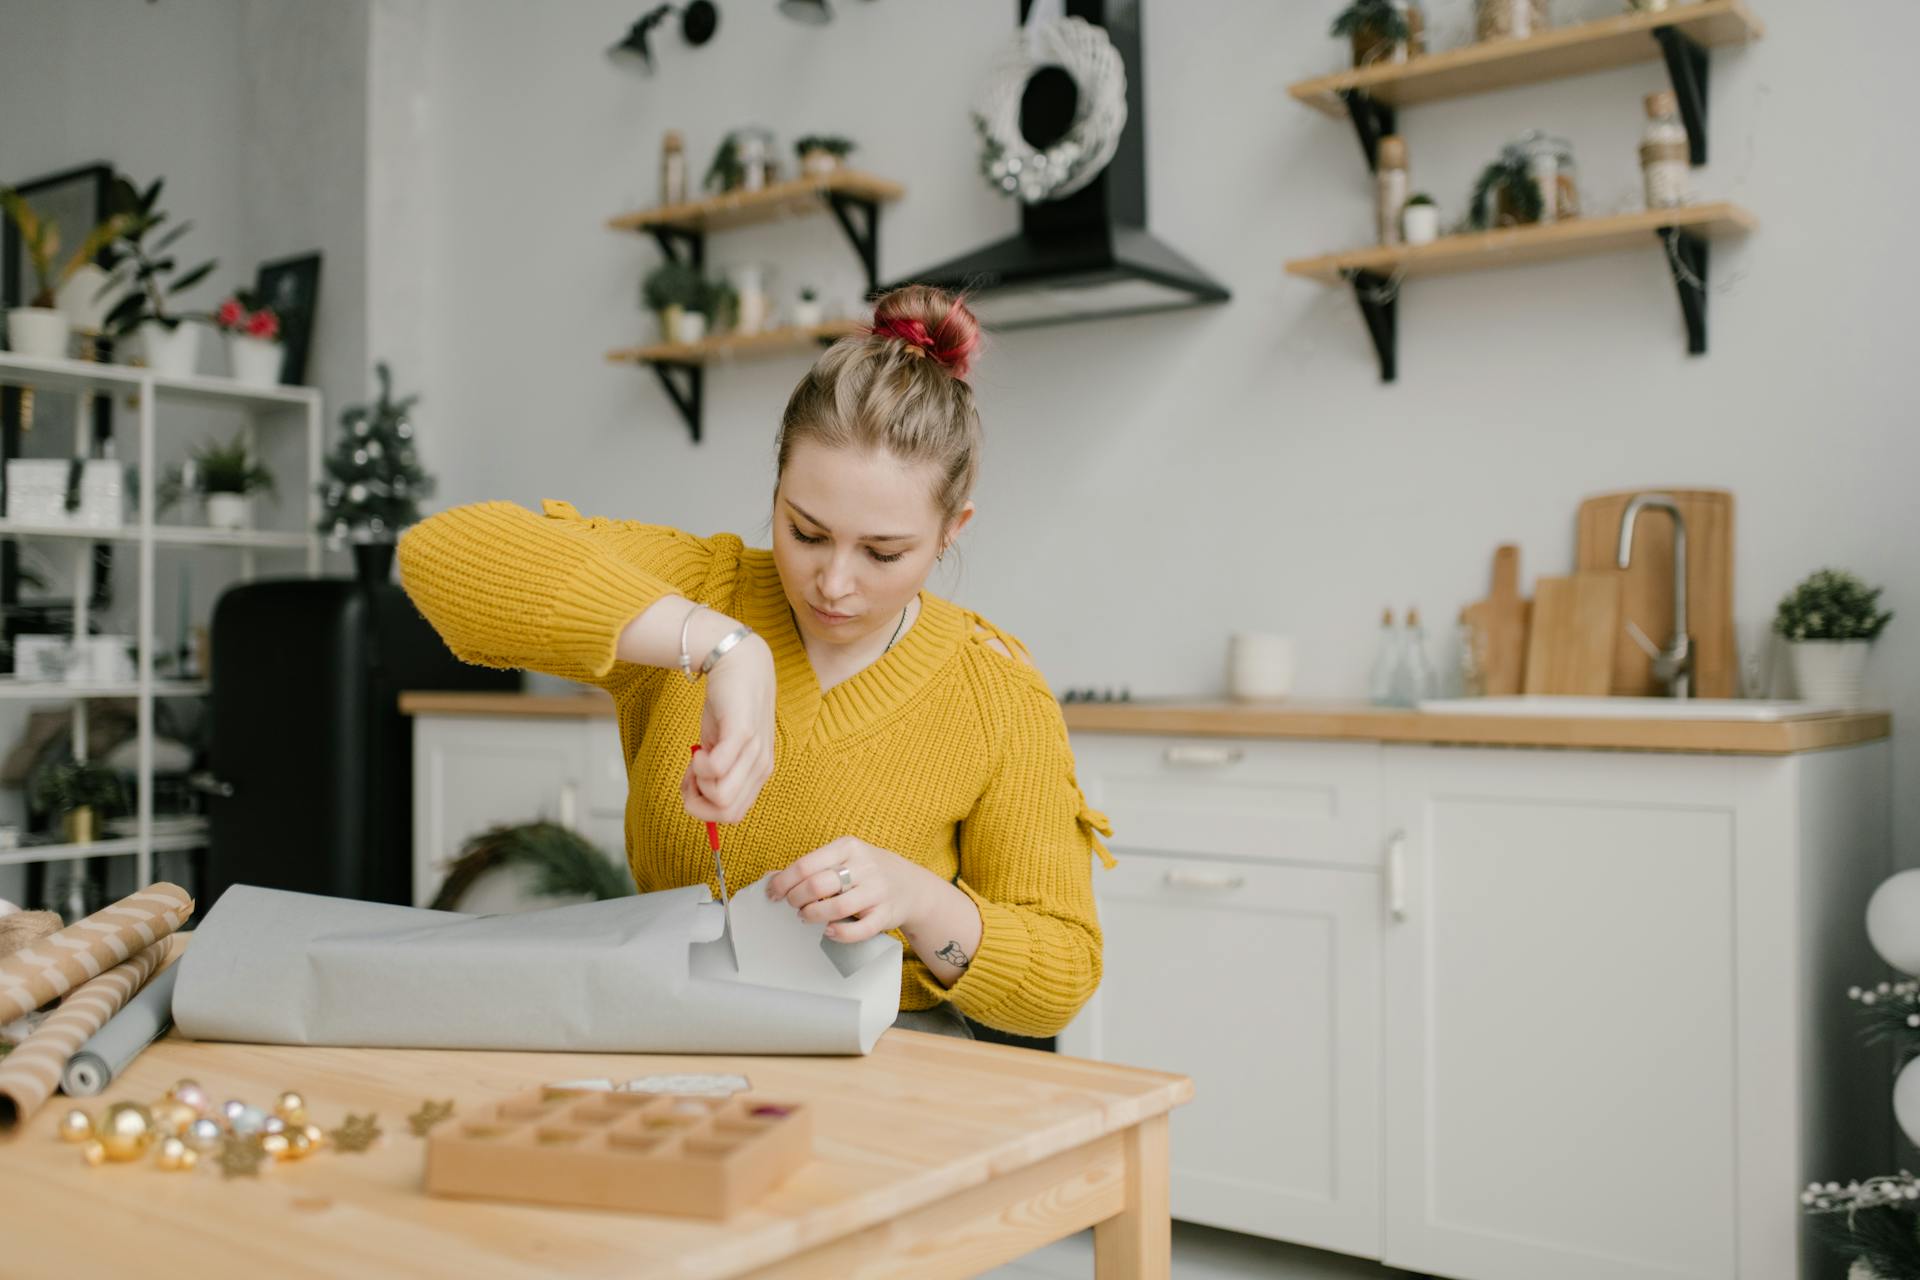
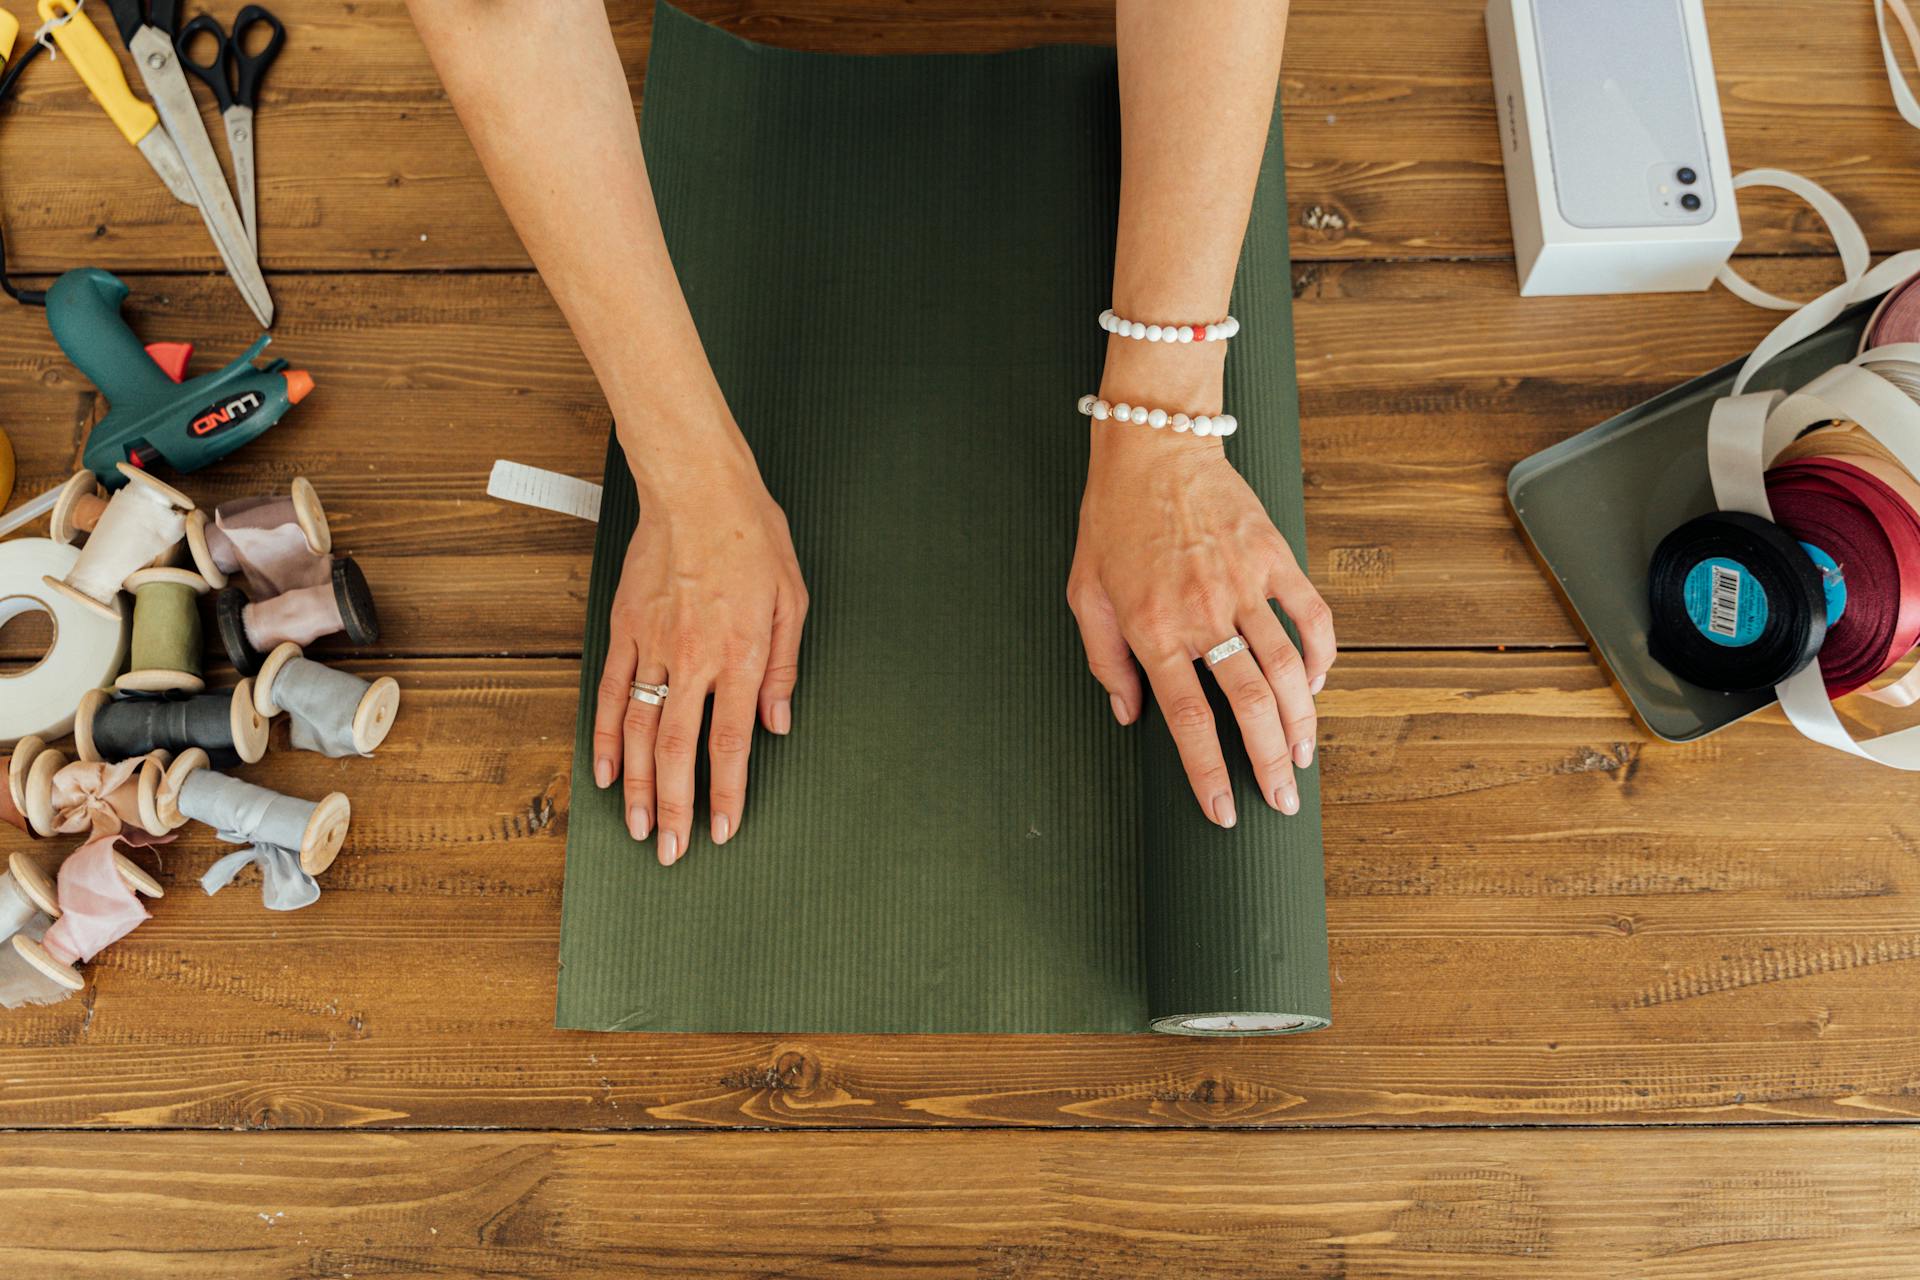
To wrap a rectangular gift, start by placing the gift on a flat surface with one of its longer sides facing up. This will help you create a symmetrical wrap.
Measure the gift to determine how much wrapping paper you'll need, using the dimensions from the "Choosing the Right Wrap" section as a guide.
For a rectangular gift, cut a piece of wrapping paper that's 2-3 times the size of the gift's length and width combined.
To create a crisp fold, use a bone folder or the back of a spoon to smooth out the paper as you fold it.
Fold Over
To fold over your wrapping paper, start by standing on the same side of the table as the roll. Pull the paper tautly up and over the far end of the box.
You'll want to adhere the paper with double-sided tape to keep it in place. This will help you create a crisp crease along the box's edge.
Next, use your thumb and forefinger to crease the paper along the box's edge. This will give your gift a clean and polished look.
Worth a look: Christmas Box Gift Wrap
Fold Down
To fold down the top flap, you need to create a sharp crease along the top of the box. This is done by folding the flap down and then creasing it again where it meets the bottom edge of the box.
The crease should be sharp and defined, making it easier to cut along the bottom edge of the box. Cut along that crease to create a clean fold.
Adhere the folded flap to the box using double-sided tape. This will secure the flap in place and give your gift a finished look.
If this caught your attention, see: How to Gift Wrap Boxes
Fold Up
The fold up is a simple yet effective wrapping technique. It's perfect for small to medium-sized gifts, like a book or a decorative box.
To start, you'll want to place the gift in the center of a square piece of paper, with the edges aligned with the paper's creases. This helps the paper fold up neatly.
A square piece of paper is ideal for the fold up technique, as it allows for a clean and symmetrical fold.
You might enjoy: How to Wrap a Book with Wrapping Paper
Join Ends
Joining the ends of a wrapped cylinder is a crucial step to complete the look. To do this, unroll the paper and bring it to meet the already wrapped end.
You'll need to cut the paper from the roll, leaving about an inch of overhang. This will give you enough to fold under and secure with double-sided tape.
To fold the excess paper under, simply crease it along the fold and adhere it in place. This will create a neat and tidy finish.
Here's a quick reference guide to help you remember the steps:
By following these simple steps, you'll be able to join the ends of your wrapped cylinder and create a beautiful, finished look.
Embellishments and Decorations
Adding embellishments to your gift wrap is a great way to give it a personal touch. You can work on the top side of the box, the side with no tape or seam, to add embellishments.
To add a To/From tag, you can use store-bought tags or make your own by cutting decorative cardstock into the shape you'd like, writing the recipient's name and your name on it, and taping it onto your gift. This is a nice touch that gives the gift a personal feel.
For an extra pretty touch, you can add stick-on bows to the top of the gift. These bows have an adhesive sticker on the bottom, so you can secure them directly to the wrapping paper. Alternatively, you can use fake berries or herbs as embellishments, hot gluing them onto your presents for a fun and festive look.
Here are some ideas for embellishments you can use:
- Tie a ribbon around the gift
- Add stick-on bows
- Use fake berries or herbs as embellishments
- Tie bells around the ribbons
- Tuck a handful of fresh sprigs of rosemary beneath the ribbon
- Tie sparkly balls and stars onto packages with ribbon
- Tuck a sprig of berries or greenery on top of a present in lieu of ribbon
These embellishments will add a beautiful finishing touch to your gift wrap and make it stand out.
Adding Embellishments
Embellishments can totally make or break a gift's presentation. You can add embellishments to your gifts to give them a personal touch.
Flip the gift over to work on the top side, which should be facing upwards. This is where you'll add all the fun extras.
Add a To/From tag to give your gift a personal touch. You can use store-bought tags or make your own by cutting decorative cardstock into the shape you like and writing the recipients' name and your name on it.
Tie a ribbon around the gift to add some color and texture. Use a thick ribbon and tape down the end in the center of the box. Then, loop the ribbon around the package length-wise until it circles the gift completely.
Add some stick-on bows for an extra pretty touch. These have an adhesive sticker on the bottom, so you can secure them directly to the wrapping paper.
You can also use fake berries or herbs as embellishments. Hot glue these onto your presents for a fun and festive touch. This works great for winter holidays, especially when things like red berries and holly are traditional decorations.
Create Magnolia Leaf Tags
You can create beautiful gift tags using magnolia leaves. Use a silver or gold paint pen to write someone's name on a magnolia leaf.
A simple yet elegant touch is achieved by attaching the leaf to a present with double-sided tape. This works particularly well on an all-white color scheme.
Wrapping Unique Shapes
Wrapping unique shapes can be a challenge, but with the right techniques and materials, you can create beautiful and professional-looking gifts.
To start, you'll want to use a sturdy wrapping paper that can hold its shape and withstand the contours of the object you're wrapping. A good rule of thumb is to choose a paper with a texture or pattern that complements the shape of the gift.
For irregularly-shaped gifts, consider using a technique called "wrapping in sections." This involves dividing the gift into smaller, more manageable sections and wrapping each one separately before assembling the final package.
A great example of this is wrapping a vase, which can be divided into its body, neck, and base. By wrapping each section separately, you can ensure a smooth and even finish.
To wrap a cylindrical shape like a vase or a box, use a long, narrow piece of wrapping paper that's at least as long as the gift. This will give you enough material to wrap around the entire shape without having to overlap or tuck in the paper.
For more complex shapes, like a sculpture or a figurine, you may need to use multiple pieces of wrapping paper to achieve the desired look. Consider using a combination of wrapping paper and decorative tape to add texture and interest to the gift.
Remember, the key to wrapping unique shapes is to be patient and flexible. Don't be afraid to experiment and try different techniques until you find one that works for you.
DIY Gift Wrap Materials
You can make a statement with a humble, heartfelt package using household items like graph paper and Sharpies. Graph paper provides a unique and creative background for your gift wrap.
With a few simple supplies, you can create a one-of-a-kind gift wrap. Sharpies are a great way to add a personal touch with colorful and bold designs.
Use Household Items
You can create a unique gift wrapping look using household items you already have on hand. Grab some graph paper to add a geometric pattern to your gift.
If you're short on time, office supplies like Sharpies can be used to add a personal message or drawing to your gift.
Wrap in Burlap
Burlap is a great alternative to traditional gift wrapping paper. It's perfect for hard-to-wrap gifts.
You can use burlap bags to wrap gifts, they're easy to keep on hand and fill. They can be cinched with ribbon and greenery for a beautiful finish.
Consider reading: Burlap Gift Wrap
DIY Guide
You can create unique and personalized gift wraps using various DIY materials.
Leather can be a stylish and elegant option for wrapping gifts, as seen in DIY leather-wrapped gifts.
Splatter paint wrapping paper is a fun and creative way to add some personality to your gifts, thanks to DIY in PDX.
To add a touch of elegance to your gifts, consider using 3D paper flower gift toppers from The House that Lars Built.
A wrapped candle can make a beautiful and thoughtful gift, as mentioned in wrapped candle gift idea.
You can also create your own patterned holiday gift wrap by using seven ways to create patterned holiday gift wrap.
For a more modern look, try making geometric party bags for mini presents, as described in geometric party bags for mini presents.
Printables watercolor stroke gift wrap from Almost Makes Perfect can add a touch of whimsy and charm to your gifts.
Intriguing read: Xmas Gift Wrap Bags
Gift Wrap Inspiration and Ideas
For a cozy and stylish holiday look, you can't go wrong with plaid. Cover your presents in kraft paper, and tie them up with a ribbon of your favorite red and green tartan. Wrap other gifts in plaid and a coordinating solid-colored ribbon.
You can create a cohesive look by using a single bold pattern, like plaid. Kraft paper is a great base for your gifts, and adding a pop of color with a tartan ribbon will make it stand out.
Curious to learn more? Check out: Kraft Gift Wrap
Find Inspiration in Nature
Using natural elements can add a unique touch to your gifts. Try incorporating pine branches, holly sprigs, pinecones, or kumquats into your gift wrap design.
These elements can also add a pleasant fragrance to your gifts. Pine branches and holly sprigs have a distinct scent that can leave a lasting impression.
Pinecones and kumquats are especially great for adding texture and visual interest to your gifts. They can be arranged in a decorative pattern to create a beautiful design.
For a more rustic look, try using burlap as a wrapping material. This can be especially effective when paired with a blooming amaryllis or a useful gardening tool.
Gift Wrap Inspiration and Ideas
You can add a personal touch to your gifts with customized gift tags.
Get creative with your kids by photocopying festive fabrics and adding printed names to create unique gift tags.
Printed names can be added to the tags to make them extra special.
You can make a set of gift tags to match your gift wrap theme, or create a different design for each person.
Soft browns and creams can be used to create a wintery feel for your gifts, with snow-white accents adding a festive touch.
Vintage-inspired gift tags can be achieved by using printables from websites like Inspired by Charm.
You might enjoy: Gift Wrap Tags
Coordinate Your Colors
A coordinated color scheme is key to making your gifts look stylish and cohesive. Use the same palette across different patterns to create a visually appealing look.
Using complementary colors is a great way to mix and match different patterns and prints. For example, a red and green tartan ribbon looks great with plaid gifts.
Plaid is a classic choice for a cozy holiday look. Covering gifts in kraft paper and tying them up with a tartan ribbon is a simple yet effective way to add some style to your presents.
A coordinating solid-colored ribbon can help tie together a plaid gift with other solid-colored gifts. This creates a sense of continuity and makes your gifts look more put together.
Matte Black
Matte Black is a great choice for gift wrapping, especially when you want to make your accessories stand out. Use matte black gift wrap and finish things off with a piece of twine and an evergreen sprig or pinecone.
The simple background of matte black gift wrap will make your accessories pop. This is because the matte finish doesn't compete with the other decorative elements, allowing them to take center stage.
Adding a piece of twine to your gift wrapping is a simple yet effective way to add some texture and interest. You can tie it around the gift or use it to create a rustic bow.
An evergreen sprig or pinecone adds a touch of natural elegance to your gift wrapping. It's a great way to bring the outdoors in and create a beautiful, seasonal look.
Gift Wrap Tips and Tricks
Use clear postal tape to wrap gifts that will be mailed or wrapped in advance. This type of tape is specifically designed for wrapping gifts that will be handled by postal services.
You can prevent leftover gift wrap from unrolling by cutting an old toilet paper roll and sliding it around the gift wrap roll. This simple hack will save you from the frustration of tangled gift wrap.
To keep your gift wrap in place, tape one side of the paper to the box and then fold over the other side to secure it. This will ensure that your gift looks neat and tidy.
Keep It Simple
Keeping your gift wrapping simple can make a big impact. Pick a primary color for your wrapping paper and a secondary one for the ribbon to give all your gifts a cohesive look.
Using a limited color palette can also help to avoid visual overload. Slight variations of wrapping paper and ribbon can add the perfect amount of detail, like adding red paper and minimalistic white ribbon.
A simple color scheme can also make it easier to add a pop of color with a small embellishment, like a red bow or a sprig of greenery.
Reduce Paper Clutter
Reducing paper clutter is a great way to make gift wrapping more efficient. Fold under any excess paper on the bottom flap so that it lines up perfectly with the top of the box.
This simple trick can save you time and frustration in the long run. Apply double-sided tape to the bottom flap, then fold it over the top flap and adhere.
By taking a few extra seconds to tidy up your wrapping paper, you can create a more polished and professional look.
Gift Wrap Themes and Styles
Gift wrap themes and styles can greatly enhance the presentation of a gift.
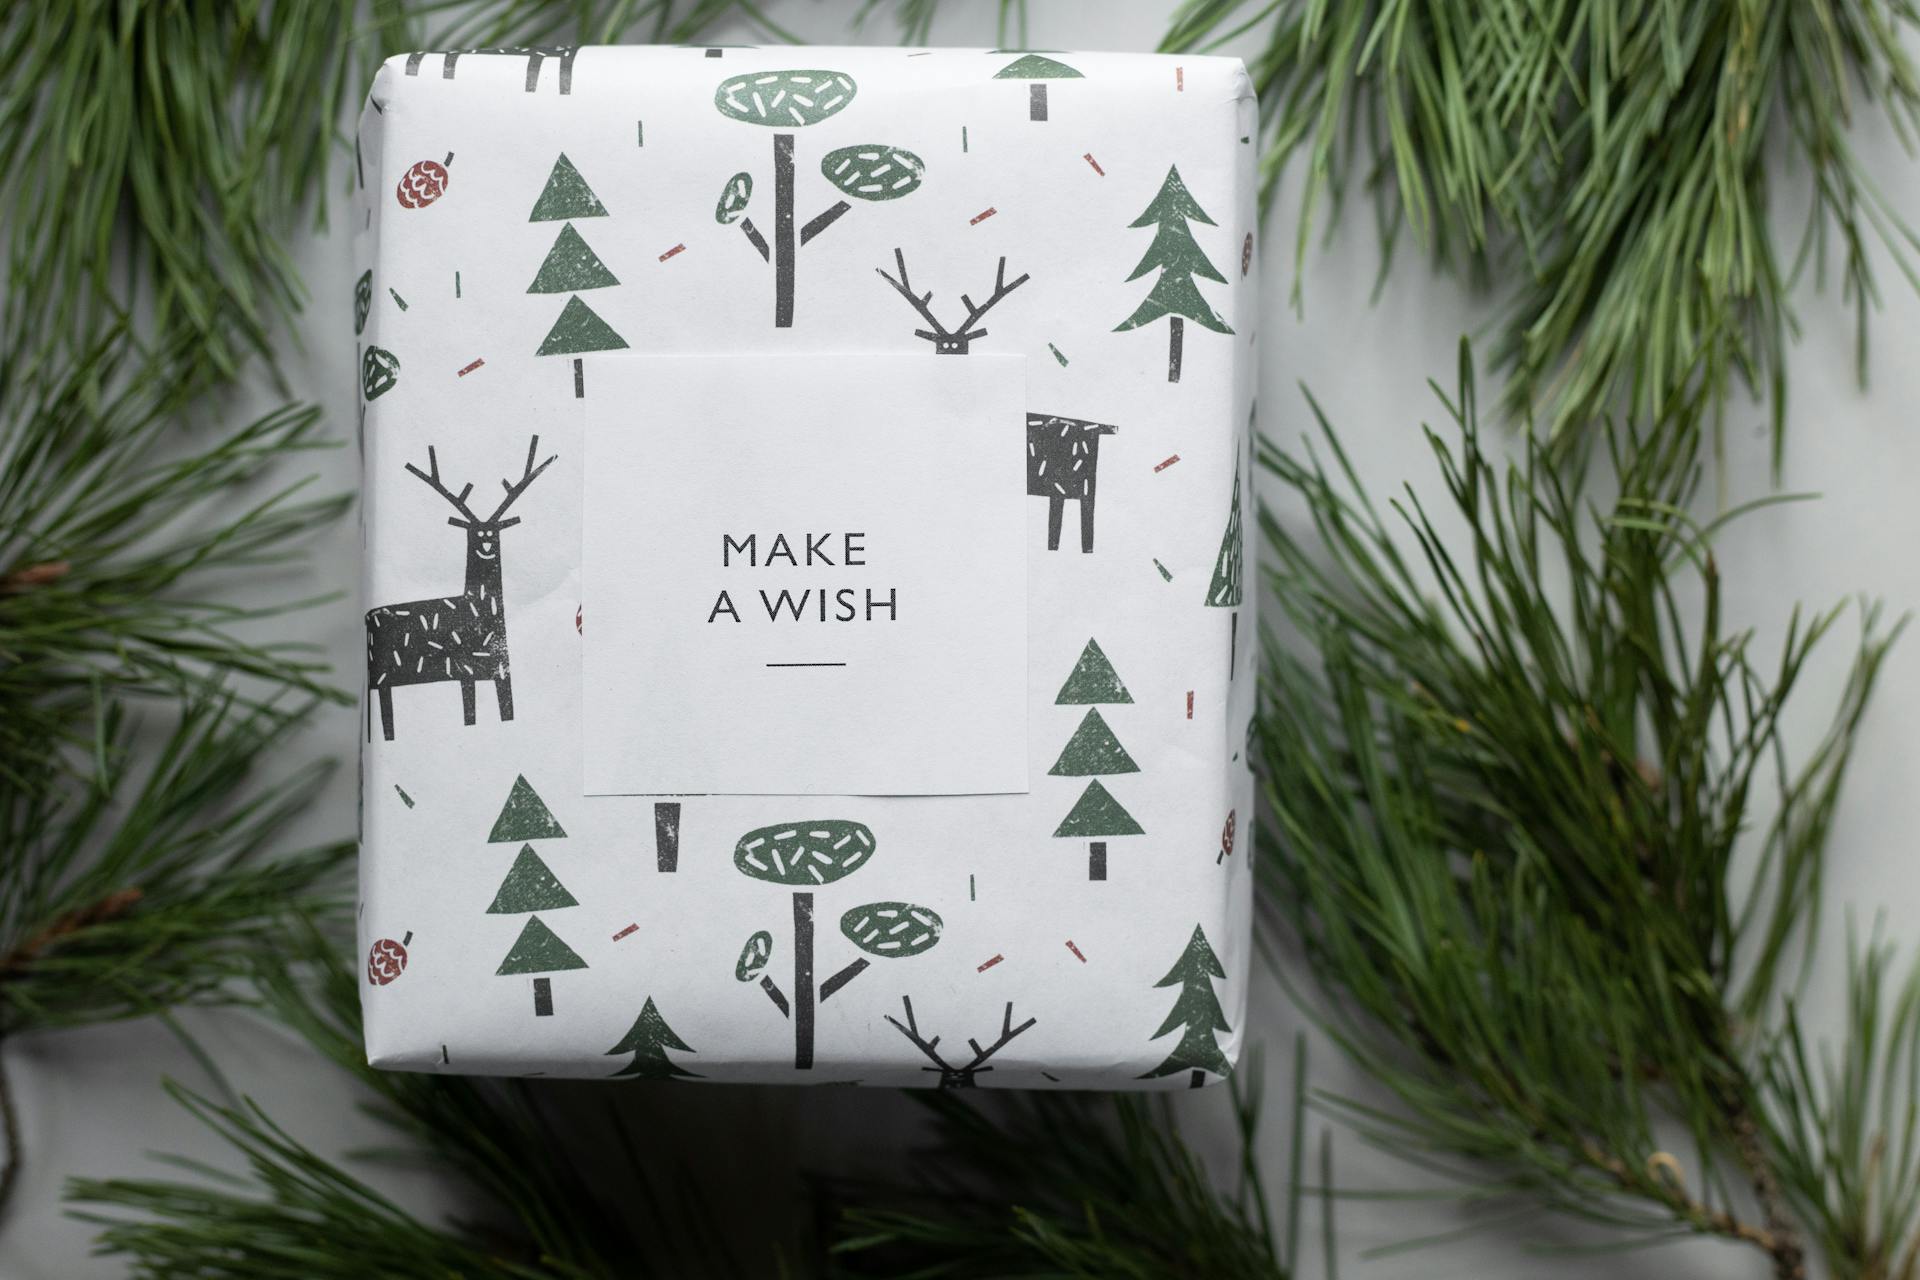
Nature-inspired designs are perfect for outdoorsy types, featuring elements like leaves, flowers, and trees.
Monochromatic themes are great for creating a sophisticated look, as seen in the article's example of a simple white and cream color scheme.
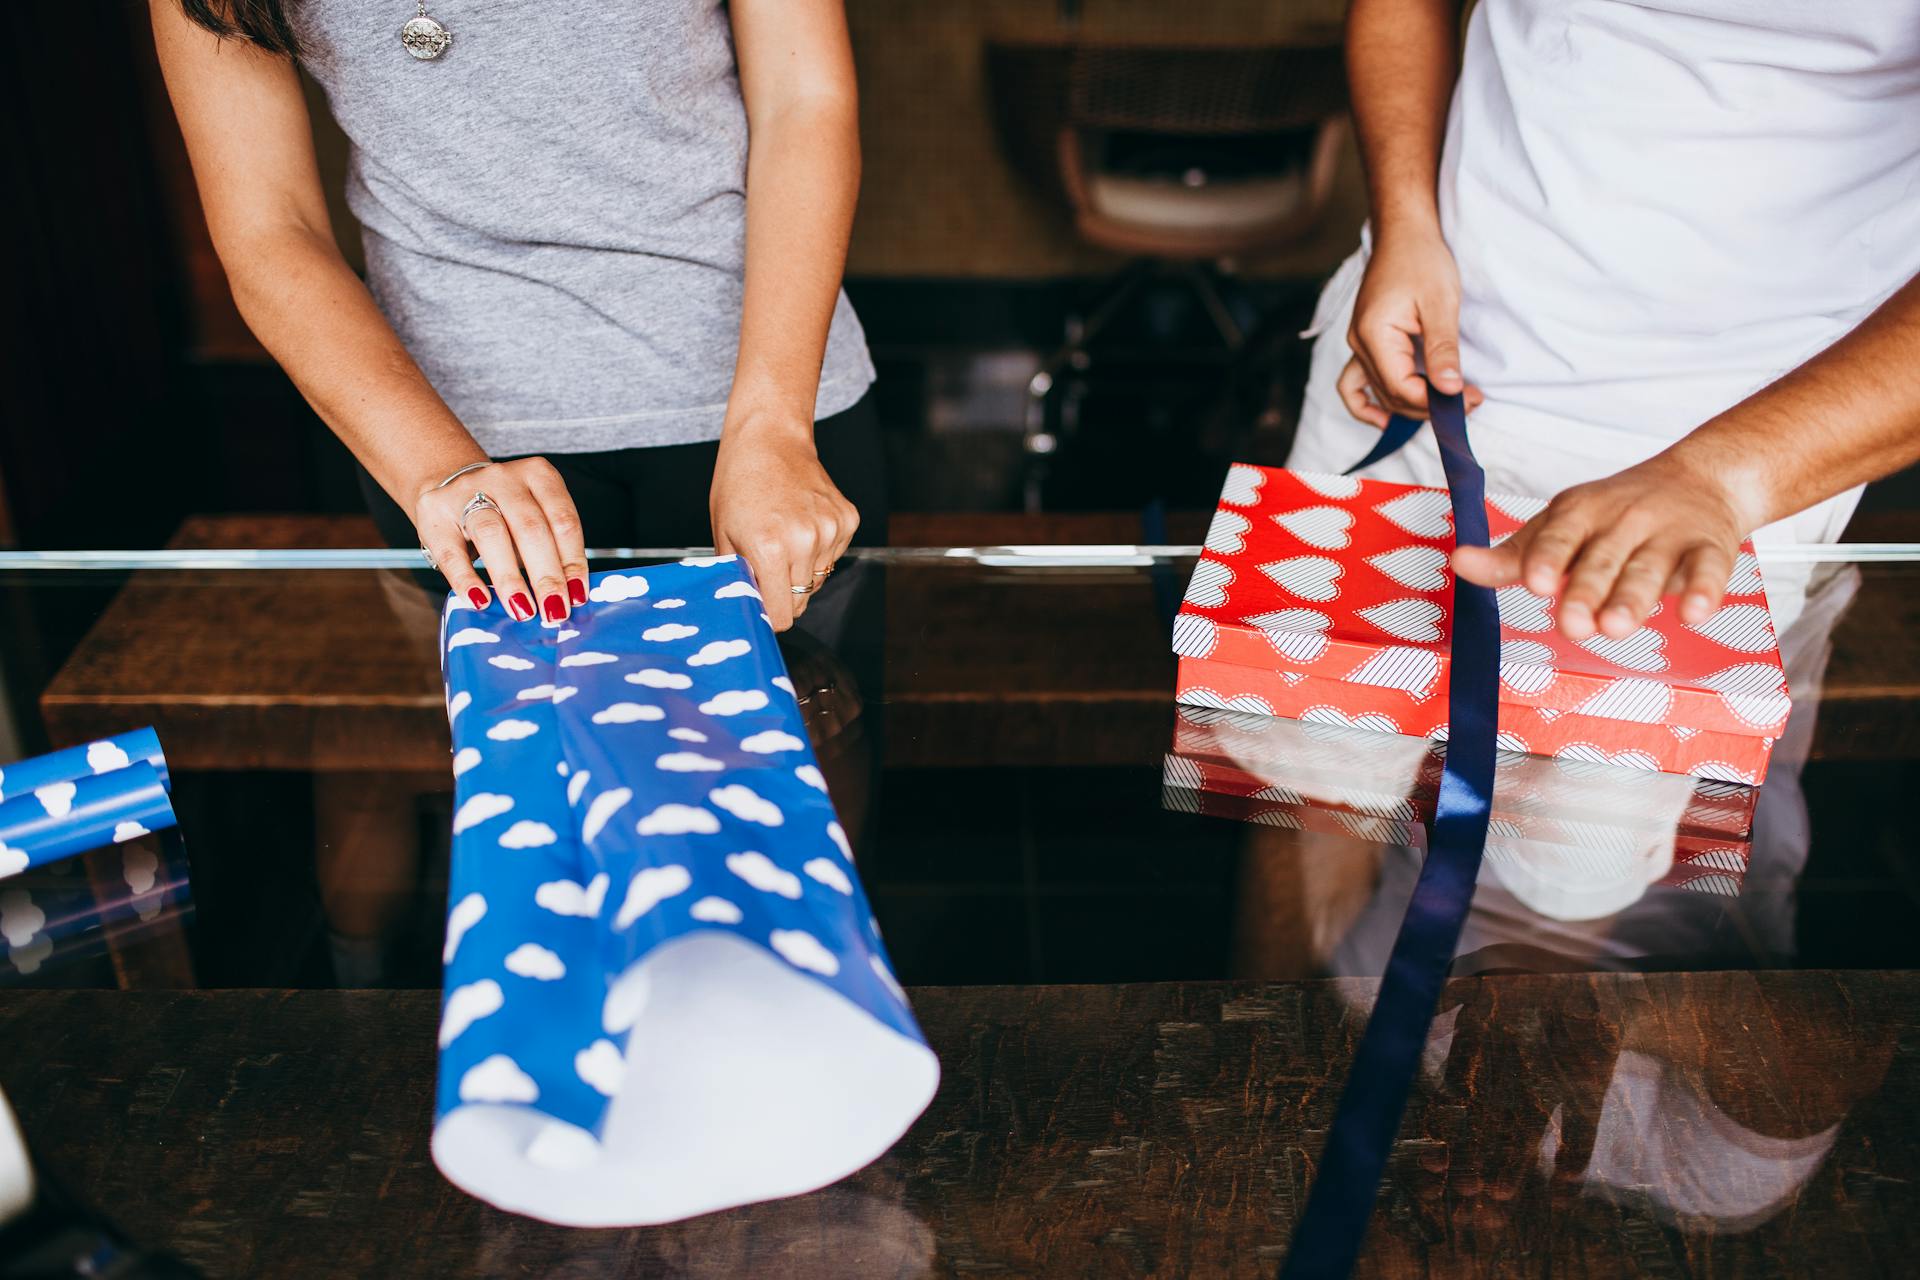
For a more playful touch, consider using fun and bold patterns like polka dots, stripes, or chevrons.
Geometric patterns like chevrons and hexagons can add a modern and sleek feel to gift wrapping.
A classic and elegant look can be achieved with traditional designs like stripes and polka dots.
Consider the recipient's personal style and preferences when choosing a gift wrap theme.
Gift Wrap with Furoshiki and Ribbons
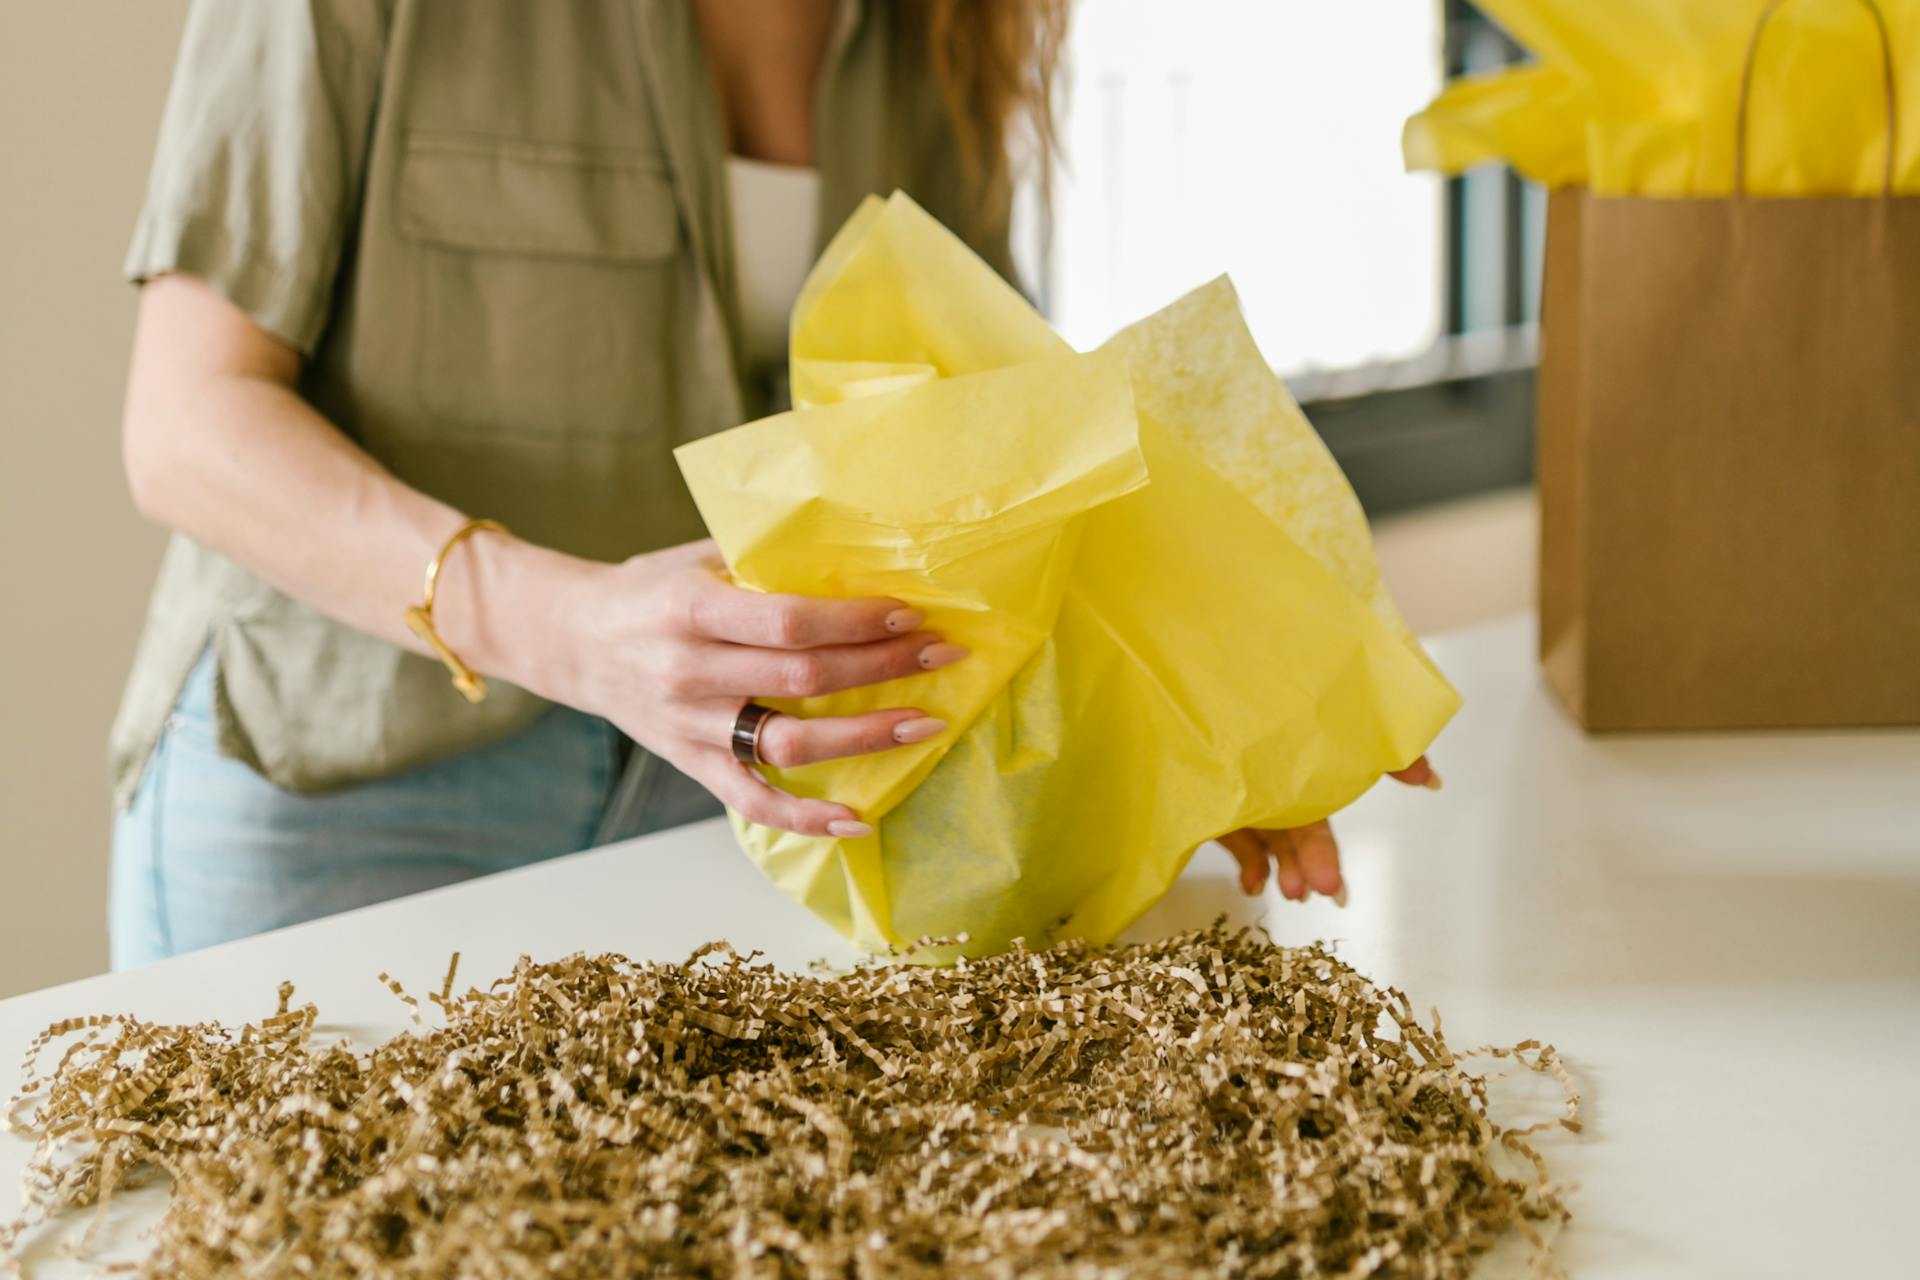
Furoshiki Cloth is a traditional Japanese way of wrapping gifts or personal belongings in special cloth that looks pristine and can be re-used, making it a green option.
Furoshiki cloth is a great choice for wrapping gifts because it can be re-used, reducing waste and minimizing environmental impact.
You can also add a personal touch to your gifts by using ribbons, which can be threaded under existing ribbons for a neat and tidy finish.
Consider reading: Furoshiki Gift Wrap
Furoshiki Cloth
The Furoshiki cloth is a traditional Japanese way of wrapping gifts or personal belongings in special cloth.
This cloth looks pristine, making it a beautiful and elegant way to present gifts.
It's also incredibly practical, as it can be reused, making it a green alternative to traditional wrapping paper.
Ribbon
Working with ribbons is a crucial part of the gift-wrapping process, especially when using the Furoshiki technique.
To thread the ribbon, you need to turn the box over and identify the two ribbon ends of about the same length.
These ends should be threaded under the ribbon already in place, as shown in the instructions.
Expert Advice and Q&A
You can create a beautiful and professional-looking gift wrap at home with just a few simple supplies.
Choose a wrapping paper that complements the occasion and the gift itself, and don't be afraid to mix and match different patterns and textures to add some visual interest.
To add a personal touch, consider using a gift tag or card with a handwritten message.
You can also get creative with your wrapping technique by using different folds, such as a simple fold or a more intricate accordion fold.
A good rule of thumb is to use a generous amount of tape to secure the wrapping paper in place, but be careful not to overdo it – you want to avoid creating a bulky or messy finish.
To add some extra flair, try using a ribbon or bow to finish off your gift.
Frequently Asked Questions
How to wrap a gift if you don't have wrapping paper?
Get creative with eco-friendly alternatives like repurposing old packaging, fabric, or paper products to wrap your gifts. Explore our unique ideas for a sustainable and stylish gift wrapping solution
Sources
- https://www.wikihow.com/Wrap-a-Present
- https://www.goodhousekeeping.com/holidays/gift-ideas/tips/g1775/diy-holiday-gift-wrap/
- https://www.southernliving.com/holidays-occasions/christmas/gifts/gift-wrapping-ideas
- https://www.papernstitchblog.com/ultimate-diy-gift-wrapping-guide/
- https://www.countryliving.com/diy-crafts/how-to/g900/how-to-wrap-a-gift/
Featured Images: pexels.com