Transforming old pallets into a functional outdoor bar is a great way to reuse and recycle materials. You can find pallets at local hardware stores or online.
The cost of building an outdoor bar out of pallets is significantly lower compared to buying a pre-made bar. According to the article, you can build a pallet bar for under $50.
One of the easiest pallet bar designs is the simple pallet bar, which requires minimal tools and materials. You'll need 4-6 pallets, some wood screws, and a drill to get started.
A basic pallet bar can be completed in just a few hours, making it a great DIY project for beginners.
Suggestion: Port of Bar
Materials and Preparation
To build an outdoor bar out of pallets, you'll need a few basic materials.
Start by gathering 2-3 wooden pallets, depending on the size of your bar.
You'll also need some wood screws, a drill, and a saw to disassemble and cut the pallets into the right pieces.
Check this out: How to Make Bar from Pallets
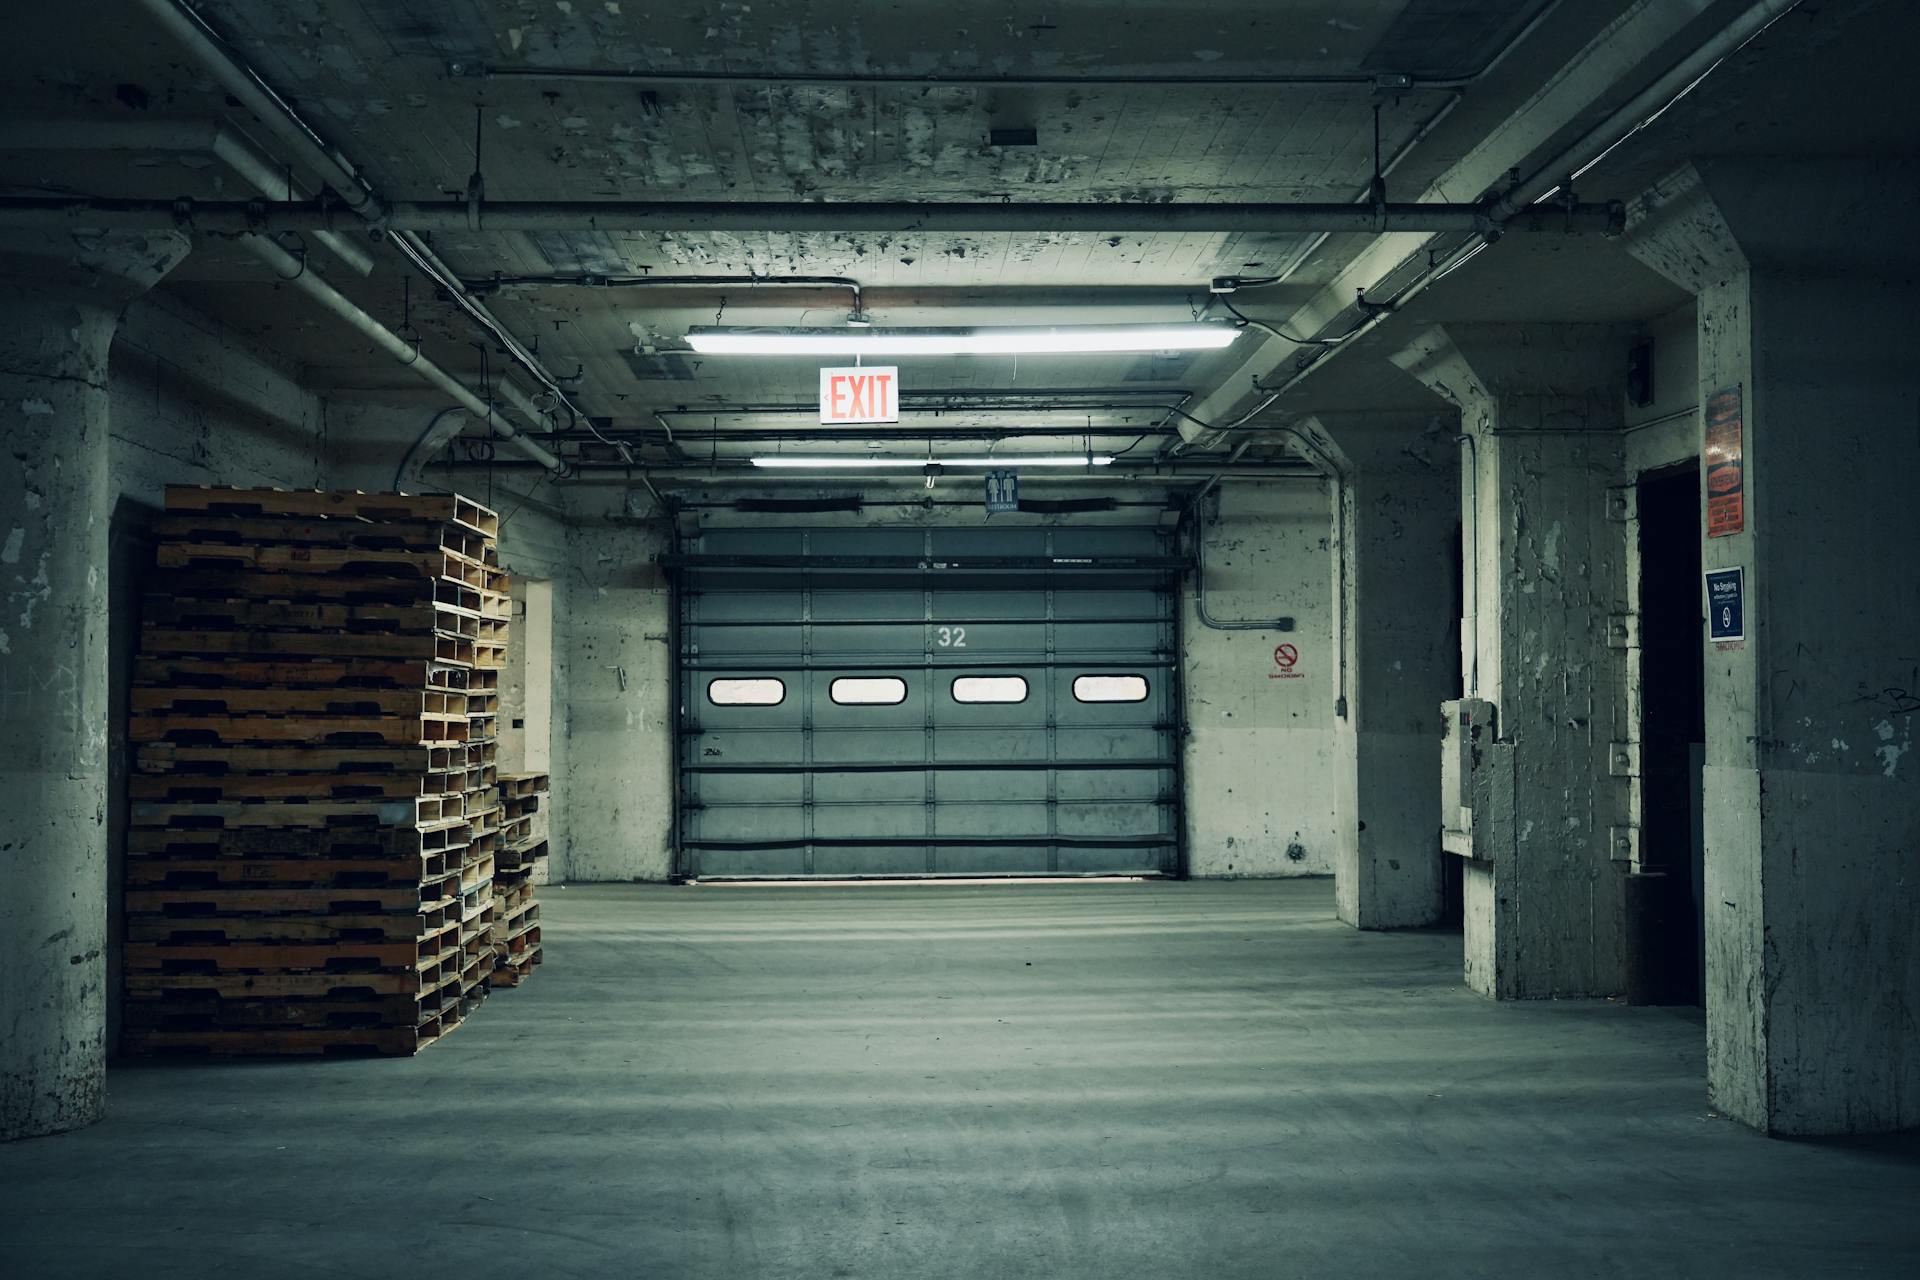
Wood Locations
To find the wood pallets you need, start by asking friends or neighbors on Facebook or visiting your local lumber stores. They might have some to spare.
You can also check local Facebook sites and Craigslist, where people often list free pallets for pickup.
My local Lowe's gave me three pallet boards for free, and they're happy to help DIYers if they have extra ones.
How to Stain Wood
To stain wood, start by sanding it down with a power sander and progress through different grits, such as 80, 120, and 220 grit sandpaper.
Sanding is an essential step to smooth out the wood surface and create a better finish. I've found that using a power sander makes the process much faster and easier.
For a smooth finish, use a foam brush to apply the stain and then wipe off any excess with a cotton cloth. This helps prevent drips and uneven color distribution.
Let the stained wood dry completely before moving on to the next step. This can take some time, so be patient and don't rush the process.
If you want a darker color, you can apply a second coat of stain after the first one has dried. Just remember to follow the manufacturer's instructions for application and drying times.
Paint the Item
Protect nearby surfaces and plants with old sheets in case there are any paint splatters.
Apply each layer of paint evenly, going with the grain of the wood and only apply the next layer once each coat of paint is dry.
Use chalkboard paint, either brush-on or spray paint, to paint the top, front, and sides.
This will allow you to add a pop of color to your garden with a phrase you like, such as "birthday" or "cocktail", to the top of the item.
Remove the Planks
To remove the pallet planks, carefully use a wrecking bar to take out the individual planks from all three wooden pallets.
A different take: Pallets and Planks
Removing the planks can be a bit tricky, but it's essential to get them out to proceed with the next steps. You'll need to be gentle to avoid damaging the pallets.
Using a wrecking bar will help you pry the planks loose without causing too much damage. This will make it easier to reuse the pallets for your project.
As you remove the planks, you'll be left with the wooden frame of the pallets. Keep these frames intact, as they'll be used to build the base of your project.
Design and Construction
To build a functional and visually appealing outdoor bar out of pallets, you'll need to focus on the design and construction of your project.
Start by sanding the outside surfaces of both pallets to smooth out any rough edges or splinters.
Next, cover both pallets fully with outdoor paint, preferably two coats, to protect them from the elements.
You can orient the pallets' slats either horizontally or vertically to suit your design, and use the cross boards as a support for a shelf if you want to add some extra storage.
Screw the two pallets together using wood screws, making sure the indented sides face each other.
On a similar theme: Building Outdoor Furniture with Pallets
Assemble the Back
Assemble the back of your bar using the new L-shape supports on the corners. You only need to cover the bottom half of the bar because this will be visible from the inside.
To ensure a sturdy structure, position five planks closer together to remove gaps and screw them into the corner supports. This will add extra stability to your bar.
Add one plank across the top for structural integrity and a central support. Leaving the gap on the back gives you access to add the lights later.
Cover the bottom half of the bar with the new L-shape supports, making sure they're securely attached to the corner supports. This will provide a solid foundation for your bar.
You'll notice a gap on the underside of the drop-down section when it's closed. To remedy this, attach an extra support piece to create a 'shelf' behind the drop-down section when it's open.
Make sure to sand down any round patches before painting the back planks and the hole section on the drop-down with copper spray paint. This will give your bar a smooth, even finish.
Here's an interesting read: Half Pallets
Together the
Together the pieces of a DIY pallet bar come together in a surprisingly simple way. The author of this project found a creative solution by using random wood pieces from their garage, specifically wood shelves or leaves from a table, to create the tabletop.
You can attach these pieces to each other using wood glue and brackets. The author used a few brackets to secure the top to the pallets, making sure it was centered.
The use of wood glue and brackets is a great way to add stability to the tabletop. With a few screws, you can also add a cast iron bottle opener to the side of the bar, just like the author did.
The author's project cost only $7, and they were able to find all the materials in their garage, except for some paint. If you have a garage full of random materials, you might be able to create this project for free.
A long piece of plywood can be added to the top of the pallets to create a solid surface, and then vinyl tiles can be added on top for extra protection.
For another approach, see: Bar of Pallets
Decorating and Lighting
Add lights, chain, and a BAR sign to give your outdoor bar a finishing touch. Use an eye hook and carabiner to attach a chain to the inside edge of the corner support.
Working from the back, poke fairy lights through pre-drilled holes to create a warm ambiance. Use metallic paint to spell out the word BAR, following the fairy light holes as a guide.
Curious to learn more? Check out: B Pallets
Stenciling a Wood
Stenciling a wood pallet is a great way to add some personality to your decor. I cut my pallet into strips and used Transfer Paper Tape to apply a design.
You can find Transfer Paper Tape at a low cost at stores like Walmart. I used a piece of blue painters tape to keep it in place while I applied the design.
To get a rustic look, let some of the wood show through after painting. I painted the front of my pallet with two coats and the back with one.
After applying the design, I peeled off the Transfer Paper Tape with my Craft Weeder. It's a simple and effective way to add some flair to your decor.
For your interest: Pallets of Paper
Add Lights and Sign
Adding lights and a sign is a great way to give your space a personal touch. The process starts by attaching a chain to the inside edge of the corner support using an eye hook and carabiner. This is done to create a functional and safe way to open and close the bar.
You can attach another eye hook and carabiner to the front of the drop-down section and clip on the chain. To close the bar, add two eye hooks on each side and secure it with two carabiners. This will give your bar a sleek and finished look.
Working from the back, you can then poke fairy lights through the pre-drilled holes to add a warm and cozy ambiance. The metallic paint can be used to spell out the word BAR, using the fairy light holes as a guide. This is a great way to add a decorative touch to your space.
Instructions and Tips
To create a unique outdoor bar, you'll want to start by sanding two old wood pallets. This will help smooth out the surface and prepare it for staining or painting.
You can get creative with the colors, using a different hue on each side to match your design idea. Just let the stained or painted wood dry completely before moving on to the next step.
Attach two pieces of 12-inch long wood 1/4-1/3 down from the top and bottom of one pallet, and screw them in place. This will provide a sturdy base for the other pallet.
Secure the other pallet to the ends of the pieces sticking out, and screw them together for added stability. Make sure the pallets are level and secure before moving on.
To add a top to the bar, you'll need a large piece of plywood or scrap wood. Secure it with brackets to create a sturdy surface for serving drinks and food.
Here's a quick rundown of the materials you'll need to get started:
Party and Drinks
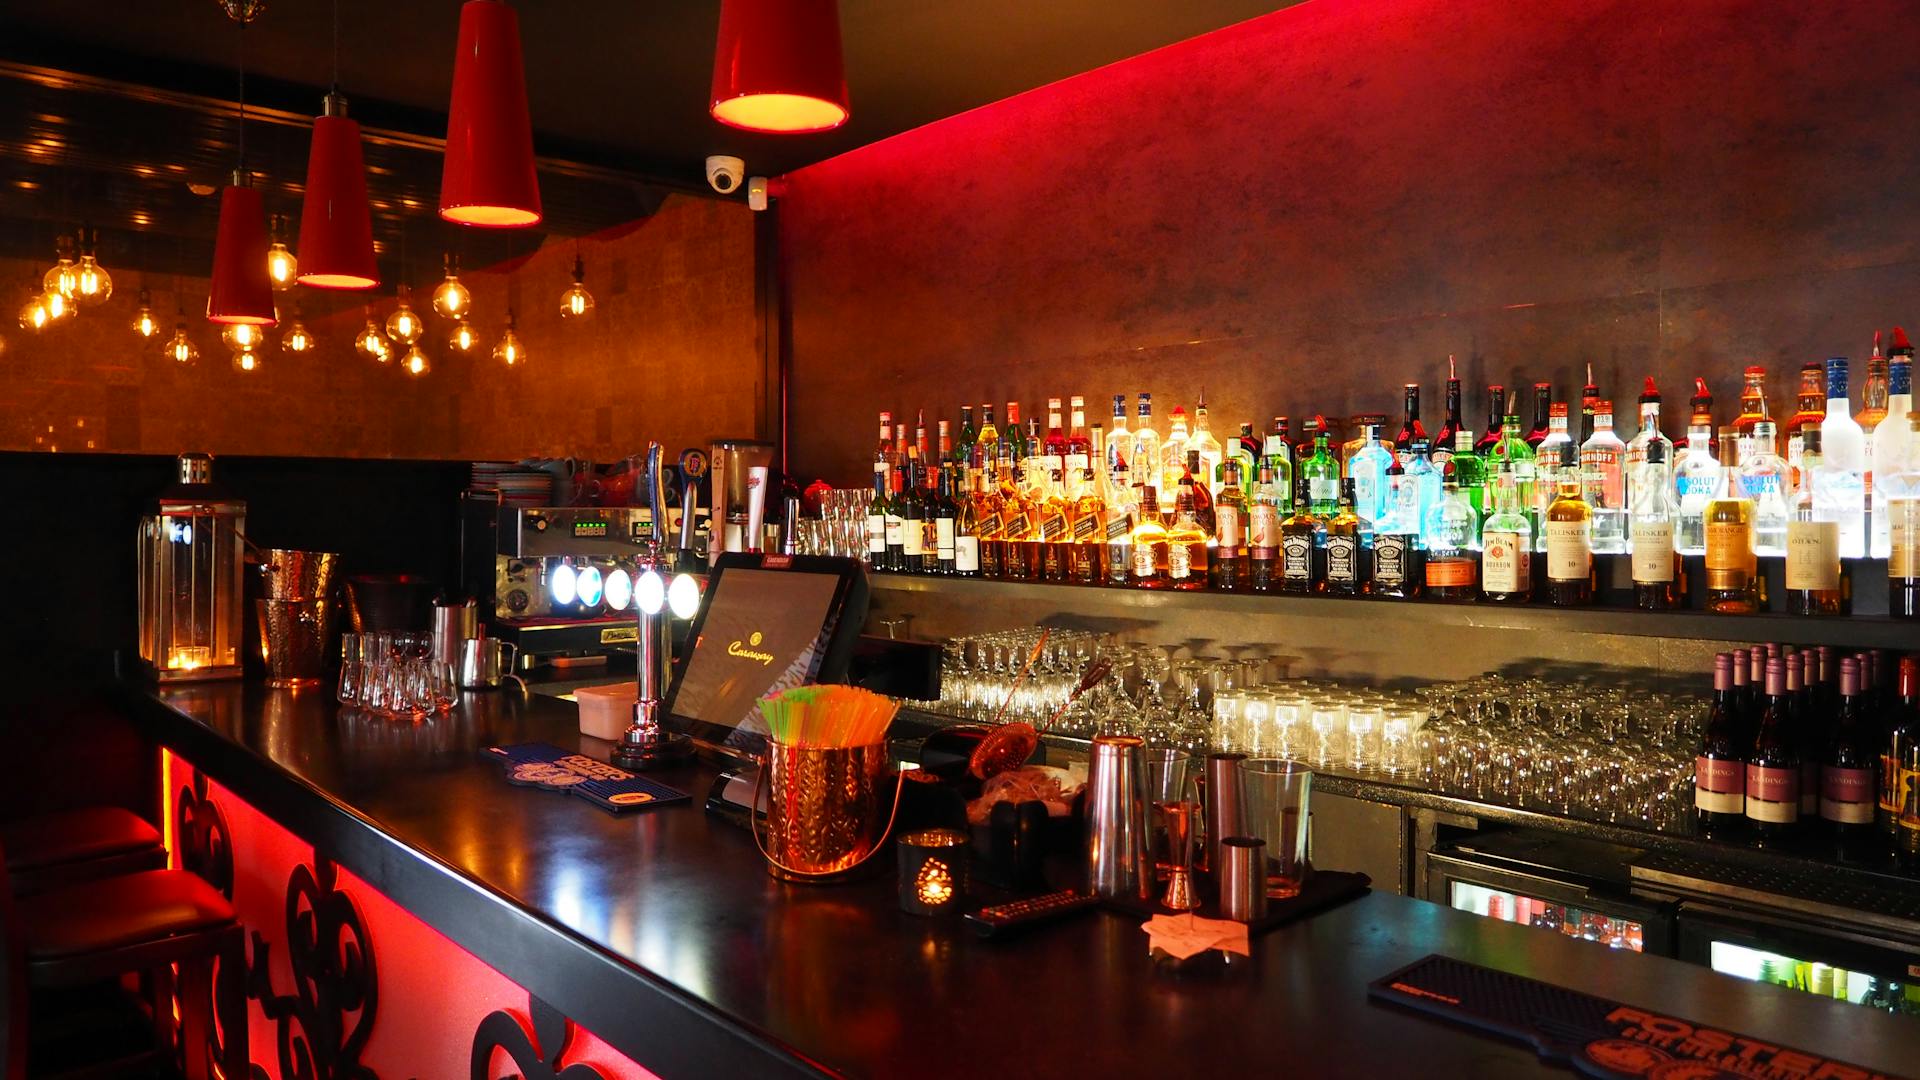
When building an outdoor bar out of pallets, it's essential to consider the type of drinks you'll be serving. A well-stocked bar can make or break the party.
For a casual gathering, a beer garden-style bar with a few taps and a cooler is perfect. This setup can be easily achieved with pallets, as mentioned in the "Design and Layout" section.
To keep drinks cold, you'll need to insulate your cooler, which can be done using materials like foam board or even old pallets, as shown in the "Cooling and Insulation" section.
A simple bar layout can be achieved by arranging pallets in a rectangular shape, providing ample space for serving and socializing.
How to Make Drinks
To make drinks, you'll want to have all the necessary materials within reach. Attach two boards to a pallet using deck screws, just like you would when making a bar out of pallets.
You can use a C clamp to secure the boards to the second pallet, similar to how it's used in the pallet bar project. This will ensure that your drinks are stable and within easy reach.
Drill starter holes on the outside of the boards using a Countersink Wood Drill Bit, just like you would when attaching the boards to the pallets. This will make it easier to screw the boards together.
Screw the boards together to create a flat surface for your drinks, repeating the process for all the boards.
Party on
You can create a unique bar design using pallets, which might even be free if you're lucky. Pallets can be repurposed for a bar in both indoor and outdoor spaces.
Sometimes you can find pallets for free, making this project a cost-effective option. Whether you're building a small or large-scale pallet bar, these images and tips can help guide you through the process.
Building a DIY pallet bar is a great way to add some personality to your party space.
DIY Ideas
You can create a DIY pallet bar that's perfect for your outdoor space, and it's actually quite easy to do. With some basic materials and a bit of creativity, you can have a functional and stylish bar in no time.
First, consider treating your pallet with a clear-coat or outdoor paint that can withstand all types of weather. This will help protect it from the elements and keep it looking great for years to come.
Think about adding wheels with locks to the bottom of your pallet bar, making it easy to move it around your outdoor living space. This is a great feature to have, especially if you plan on serving drinks in different areas of your yard.
You can go with a small or large pallet bar, depending on your patio's square footage. Both options are appealing and functional, and you can even use two pallets or six to eight pallets to create a unique design.
Here are some ideas to consider when creating your DIY pallet bar:
- Use recycled wood to give your bar a rustic and natural look
- Add a sign with a name you've chosen for your outdoor bar
- Incorporate old pub memorabilia, such as quirky beer mats or an old cask pump
- Add storage to your bar with a shelf or hooks for bottles and wine glasses
By following these tips and ideas, you can create a unique and functional DIY pallet bar that's perfect for your outdoor space.
Frequently Asked Questions
How many pallets do I need to make a bar?
To build a bar, you'll need 8 pallets, with 5 matching ones required for the base. Disassembling and preparing these pallets is the first step in creating your bar.
Where can I get pallets for free?
You can often find free pallets at construction sites, hardware stores, and equipment stores, but be sure to ask permission from the owners or managers first. Check local classifieds, online marketplaces, or community boards for people giving away pallets for free.
Sources
- https://leapoffaithcrafting.com/diy-pallet-wood-bar-table-for-7/
- https://www.hunker.com/1794176/diy-build-outdoor-bar-affordable-repurpose-wood-pallets/
- https://prestigehaus.com/blog/post/diy-pallet-bar-ideas
- https://www.idealhome.co.uk/diy-and-decorating/how-to-make-your-own-diy-pallet-bar-250091
- https://www.housedigest.com/1727740/reuse-pavers-outdoor-bar-diy/
Featured Images: pexels.com