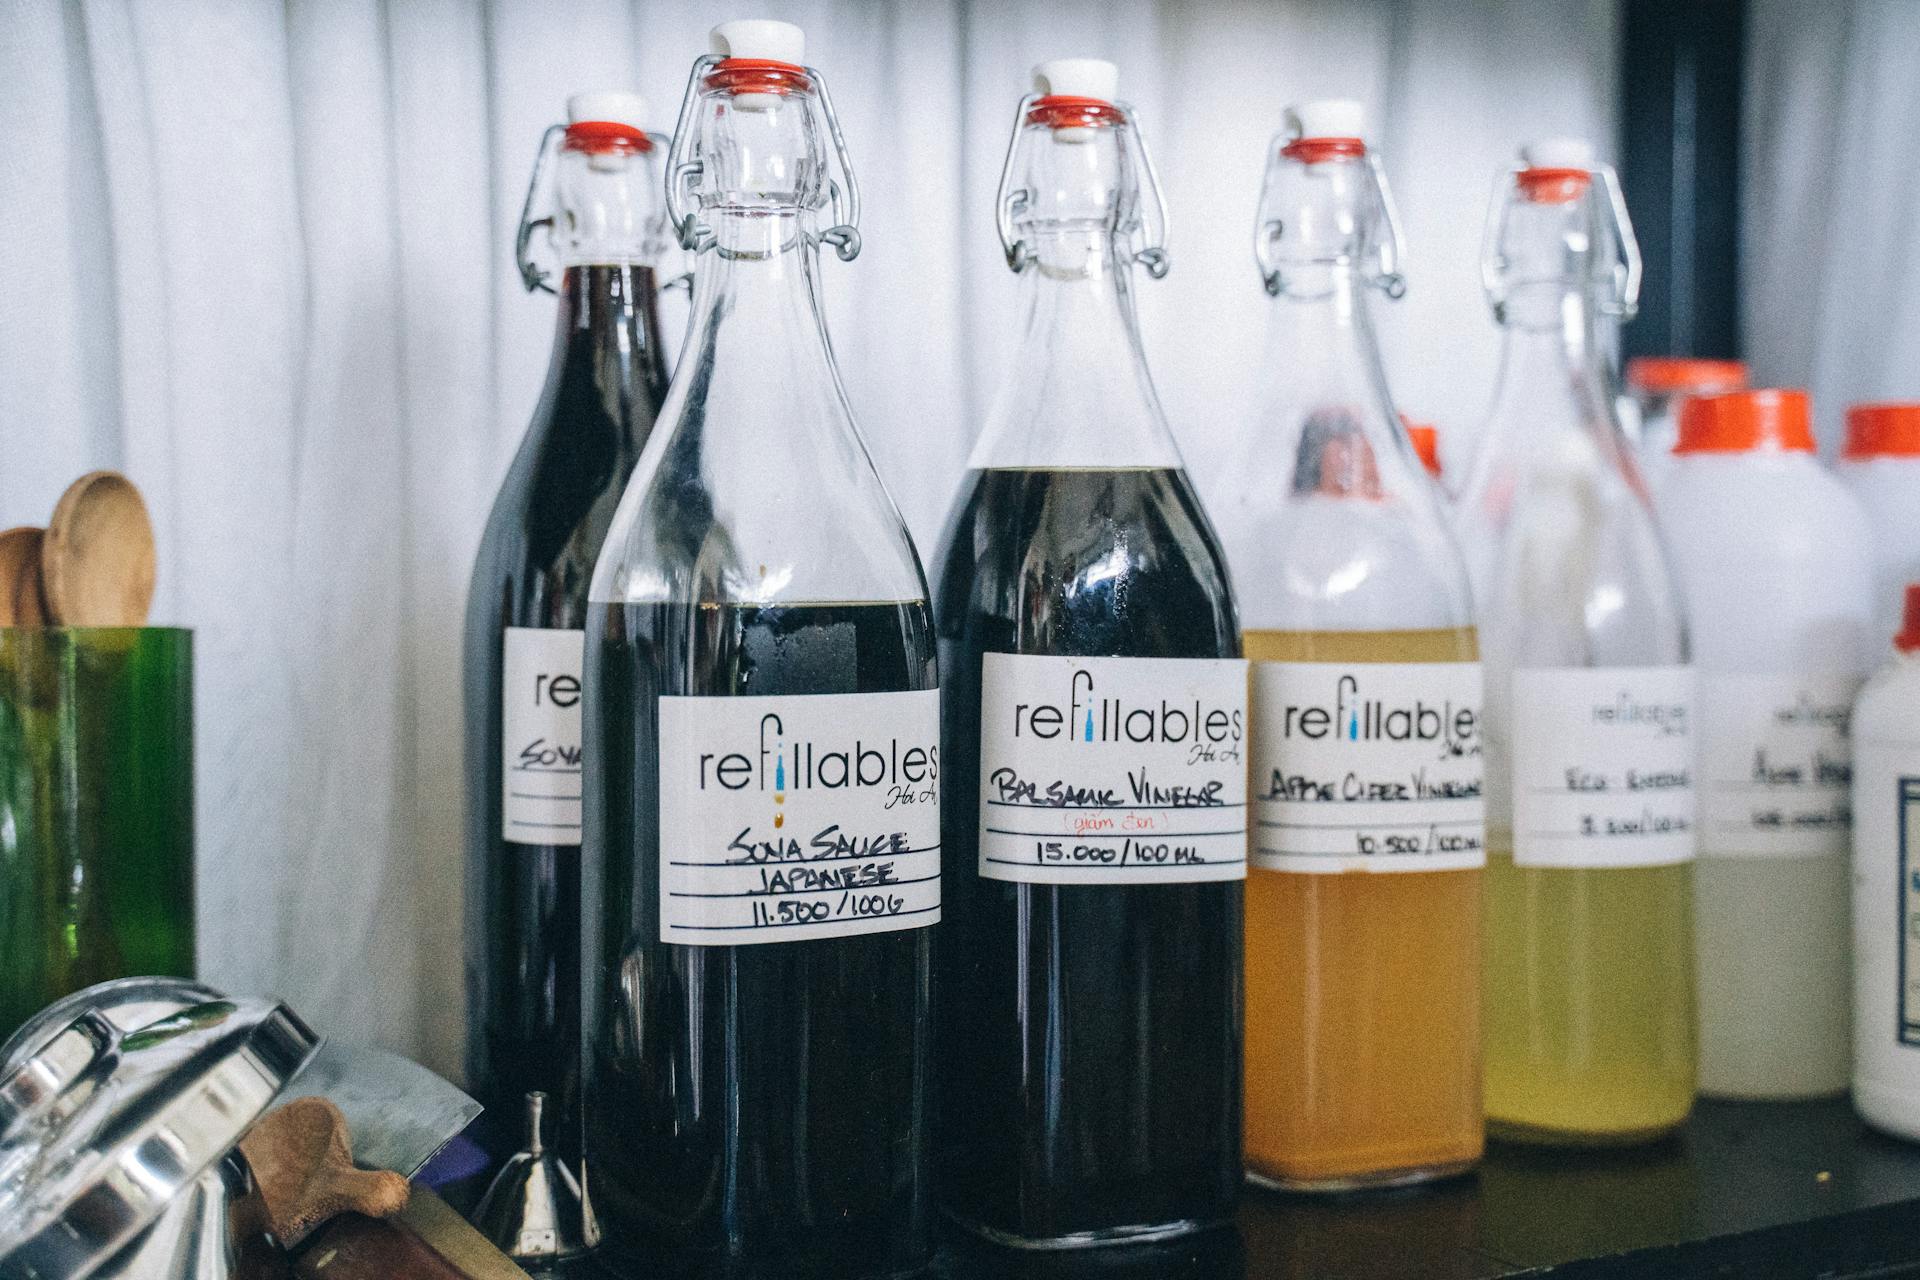
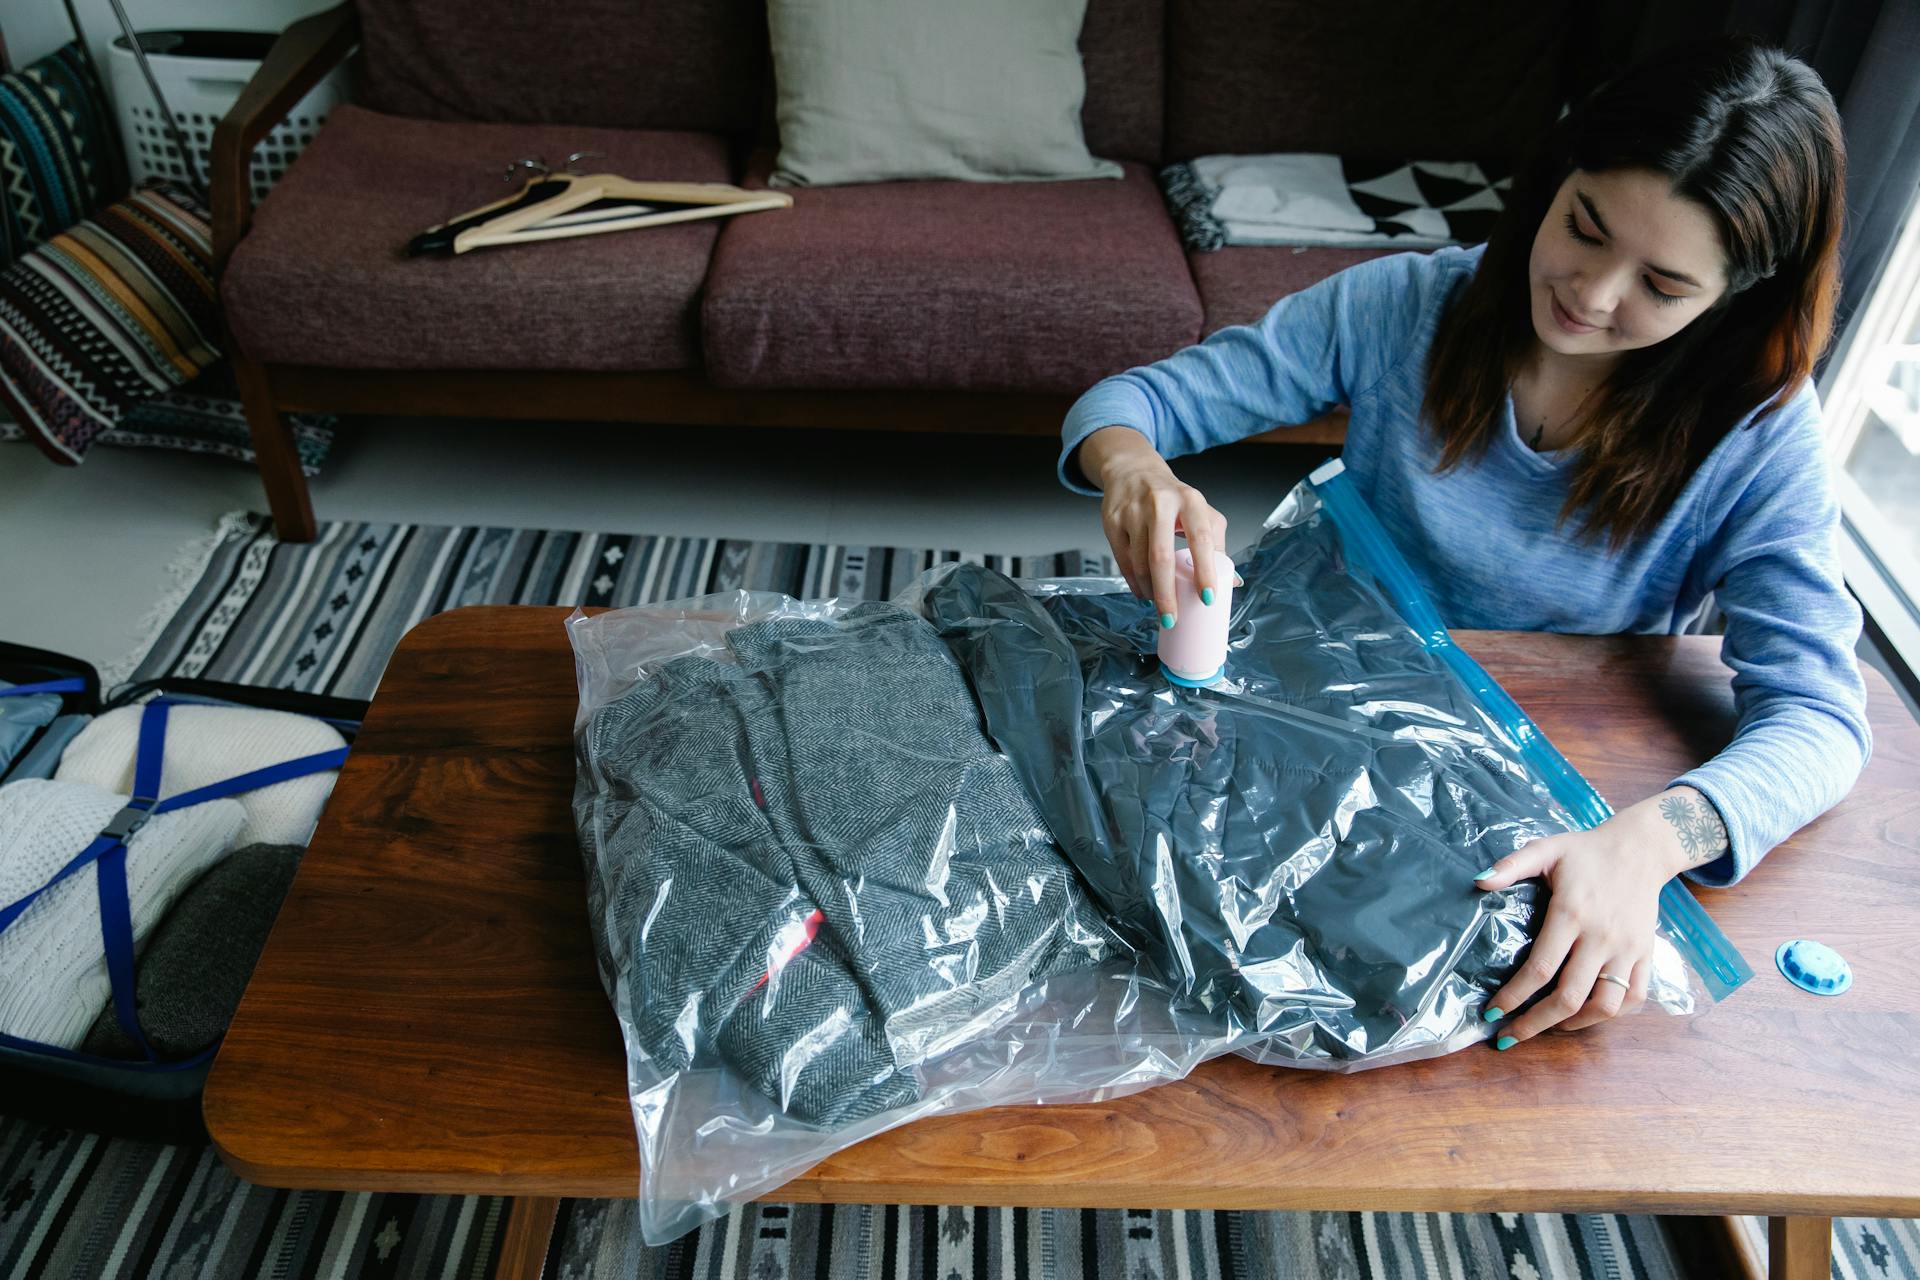
To vacuum pack liquids, you'll need a vacuum sealer and a specialized bag or container designed for liquids. These bags are typically made of a flexible material that can be sealed under vacuum.
First, prepare your liquid by ensuring it's free of air bubbles and debris. This is crucial for a successful vacuum packing process.
Next, place the liquid into the specialized bag or container, leaving enough space for the liquid to expand slightly during the vacuuming process. The recommended space is about 1/4 of the bag's total volume.
To ensure a proper seal, it's essential to remove as much air as possible from the bag before sealing it under vacuum. This can be done by gently folding the bag or using a specialized tool to remove any remaining air pockets.
Choosing Equipment
Choosing the right vacuum sealer is crucial for effective vacuum packing of liquids. Chamber vacuum sealers are the most efficient type, designed to handle all kinds of vacuum sealing demands, including liquids.
They are bigger, more durable, and ideal for most kitchen uses. Chamber vacuum sealers give you greater vacuum control and better results.
Edge and handheld vacuum sealers are great for minor and short-term sealing, but they're not the best choice for liquids. Chamber vacuum sealers are the way to go for liquids, as they can handle all kinds of sealing.
The VEVOR Vacuum Sealer is a great option, offering ease of use and compatibility with both thick and thin sealing bags. It's cost-efficient and gives you value for money.
Check this out: Vacuum Sealing Mylar Bags
Preparing the Liquid
To vacuum pack liquids effectively, you need to choose a container that's specifically designed for this purpose, as described in the "Choosing the Right Container" section.
The container should be made of a material that's compatible with the liquid you're packing, such as glass or BPA-free plastic.
The liquid should be at room temperature, as extreme temperatures can affect the vacuum-sealing process.
Make sure the liquid is free of air bubbles, as these can prevent the vacuum sealer from creating a proper seal.
You can use a degassing tool to remove air bubbles from the liquid, as mentioned in the "Removing Air Bubbles" section.
It's also essential to use a vacuum sealer that's designed for liquids, as these machines have specific settings to handle liquids safely.
Sealing Methods
There are several methods to seal liquids without freezing them first. The paper towel technique is one option, where you place a folded strip of paper towel inside a vacuum bag and use your vacuum sealer on a low setting to carefully remove the air.
Another method is to hang the bag over the side of your counter and let gravity do its thing, but this can be a two-person job. Chamber-style vacuum sealers are a better option, as they work by manipulating the air pressure in the chamber to remove the air from the bag and are much less messy for liquids.
Using a chamber-style vacuum sealer is a more efficient and less messy way to seal liquids, and it's worth considering if you plan on vacuum packing liquids regularly.
In Bags with Edge-Style Sealer
If you have an edge-style vacuum sealer machine, you can still vacuum seal liquids, but it requires a bit of extra work.
You'll need to pour your liquid into a vacuum sealer bag, stand it upright in the freezer in the open bag until frozen, then pull it out and complete the vacuum seal. This method prevents the liquid from being sucked into the machine.
Unfortunately, edge-style machines have a dry piston pump that's not ideal for liquids. It's best to use this trick to avoid damaging the motor.
The 4 mil bag will keep the liquid from getting freezer burn after oxygen has been removed.
A different take: Vacuum Pack Freezer Bags
Best Methods
Sealing liquids can be a bit tricky, but don't worry, I've got you covered. Most vacuum sealers are edge-style machines, which clamp down on the edge of the open bag and evacuate the air. This can lead to a messy situation, especially if the liquid is drawn into the motor.
Freezing the liquid first is a great way to avoid this problem. In fact, many of the best methods to vacuum seal liquids involve freezing the liquid first so that it's solid before you attempt to vacuum seal it. This technique works with any type of vacuum sealer, so you don't need to invest in new equipment.
Here are the steps to follow:
- Pour the cooled liquid into a bag and place it upright in the freezer.
- When the liquid is fully frozen, vacuum seal it as normal.
You can also try freezing the liquid in an ice cube tray first, then placing the solid cubes into a vacuum bag and sealing it. This method has many benefits, including reducing any mess from spilled liquids and preventing any of the liquid from being drawn into your vacuum sealer.
Sealing Process
To vacuum seal liquids, you'll need to angle the vacuum sealing bag or pouch, especially when using an edge sealer, to prevent spillage.
The "skip" feature is a game-changer when vacuum sealing liquids. It allows you to vacuum seal without removing the air in the bag, which helps retain freshness.
Using a chamber-style vacuum sealer is a much cleaner and more efficient way to vacuum seal liquids, as it manipulates air pressure to remove air from the bag.
For your interest: Vacuum Sealing Bag
Step 4: Freeze Liquid
Freezing is a crucial step after vacuum sealing liquids. This process helps preserve the quality and flavor of your sealed liquids.
The final step is to freeze the sealed bag of frozen liquids. Label the bag clearly to identify its contents, including the content, sealing date, and portion sizes.
You can store the bag in your freezer once labeled. This will help you keep track of your sealed liquids and ensure you use the oldest ones first.
Freezing also prevents freezer burn in sturdy 4 mil bags after oxygen has been removed. This is especially important for liquids that are prone to spoilage.
A good vacuum sealer machine is essential for this process. Not all machines are created equal, so make sure you choose the right one for the job.
In some cases, you may want to store your sealed liquids for a long time. Freezing helps preserve the quality and flavor of your liquids, making them perfect for future meals.
5 Steps for Chamber Vacuum Sealing
To seal liquids using a chamber vacuum sealer, start by pre-chilling the product to prevent freezer burn. This is especially important for liquids that are prone to boiling over.
Pre-chill the product to a temperature that is safe for vacuum sealing. This will help prevent the formation of ice crystals and ensure a smooth seal.
Clean the mouth of the pouch thoroughly to remove any excess liquid or debris. A single ounce of liquid on the sealing area can result in poor seal integrity.
Use a chamber vacuum sealer, which manipulates air pressure to remove air from the bag, rather than an edge-style machine that can suck the liquid into the machine.
Increase the headspace in the bag to allow for the liquid to expand during the sealing process. This will help prevent the liquid from boiling over and ensure a secure seal.
Best Practices
To ensure successful vacuum packing of liquids, it's crucial to use the right equipment. You'll need a vacuum sealer specifically designed for liquids, such as a chamber vacuum sealer.
First, prepare your liquid by removing any air bubbles that may have formed. This can be done by gently stirring the liquid or using a pipette to remove the bubbles.
Next, place the liquid in a vacuum-sealable bag or container. Make sure to leave enough space at the top for the vacuum pump to create a proper seal.
Before sealing, it's essential to remove as much air as possible from the bag or container. This can be done by using a vacuum pump or by gently pressing the liquid against the side of the bag.
For optimal results, it's recommended to vacuum seal liquids at room temperature. This helps prevent the formation of air bubbles and ensures a smooth, even seal.
Finally, check the seal by gently pressing on the bag or container. If the seal is successful, you should feel a slight resistance when pressing on the bag.
Frequently Asked Questions
Is there anything you shouldn't vacuum seal?
Yes, vacuum sealing can cause gas build-up in certain foods, such as broccoli, cauliflower, and cabbage, which can lead to bag rupture. Freezing these vegetables is a recommended storage method to avoid this issue.
Featured Images: pexels.com