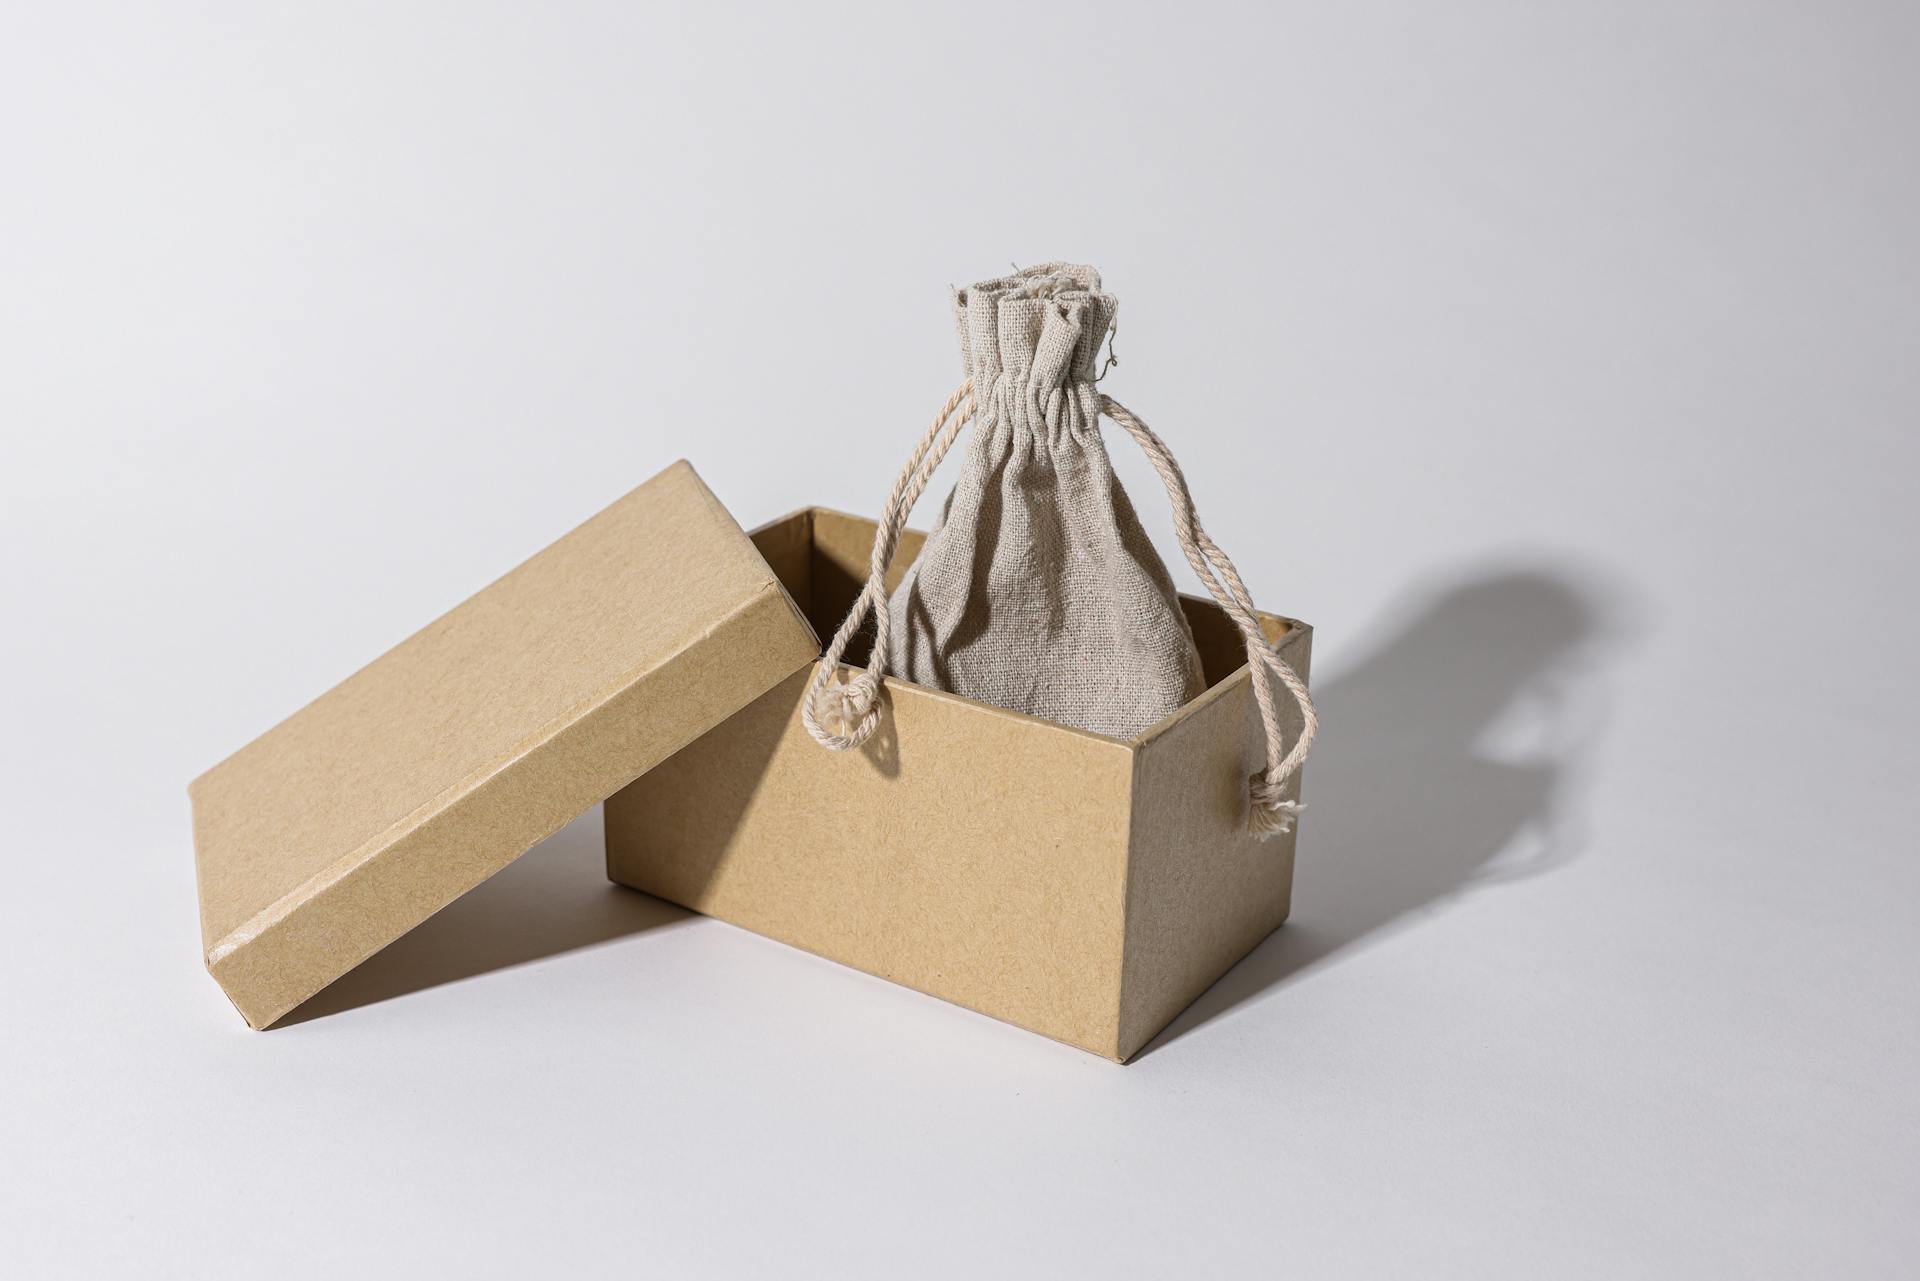
Mylar bags are a popular choice for food storage and preservation because they're durable, airtight, and resistant to moisture and light.
Mylar bags are made from a type of plastic called BoPET (Biaxially-oriented polyethylene terephthalate), which gives them their strength and clarity.
To get the most out of your Mylar bags, it's essential to use them with a vacuum sealer. This is because vacuum sealing removes air and prevents re-entry, ensuring your food stays fresh for longer.
A good vacuum sealer can be purchased for under $50, and it's a worthwhile investment if you plan on using Mylar bags regularly.
Curious to learn more? Check out: Vacuum Sealer Not Sealing
Benefits and Options
Mylar bags are incredibly versatile and offer numerous benefits. They consist of three layers: two Mylar layers that laminate a center aluminum foil layer.
This combination provides strength, flexibility, and durability, making them perfect for storing food and other sensitive materials. You can find a wide range of Mylar bags on Amazon by searching for "food grade mylar bags".
Vacuum sealing Mylar bags is an excellent way to store hops and other oxygen-sensitive materials. Many hop distributors already use Mylar bags for this purpose, often vacuum sealed or nitrogen flushed.
These bags block potentially damaging light, which is a major advantage when storing food and other sensitive items.
Methods for Vacuum Sealing
You can vacuum seal Mylar bags using various methods. The "Nested" method involves inserting a filled Mylar bag into a standard vacuum sealer bag, which effectively protects the small opening at the top of the Mylar bag.
To access the contents, you can trim a small amount off the outer bag and re-use it as many times as possible. This method is a simple and effective way to seal Mylar bags without the need for specialized equipment.
Another method is the "Snorkel" method, which requires cutting a 1″ strip off the top of a vacuum bag, filling the Mylar bag, and inserting the strip into the bag. This strip acts as a channel to allow the vacuum sealer to create a seal around the Mylar bag.
Here are some key points to consider when using the "Snorkel" method:
- Cut a 1″ strip off the top of a vacuum bag.
- Fill the Mylar bag with contents.
- Insert the 1″ strip into the filled Mylar bag.
- Trim the end of the strip so that about 1/2″ is sticking out of the Mylar bag.
- Insert the top of the Mylar bag into the vacuum sealer bag.
It's worth noting that some users have had success using a traditional FoodSaver-type machine to seal Mylar bags, but the seal may not hold. In these cases, using a cheap flat iron to reinforce the seal can be an effective solution.
Methods for Vacuum Sealing
There are several methods for vacuum sealing Mylar bags, and I'll walk you through some of the most effective techniques.
The "Nested" Method is a simple and effective way to seal Mylar bags. This method involves inserting a filled Mylar bag into a standard vacuum sealer bag, vacuum sealing the outer bag, and then trimming a small amount off the top of the outer bag to access the contents.
You can also use a traditional FoodSaver-type machine to seal Mylar bags, but it requires some special techniques. One technique involves using channeled vacuum bags, but these can be cumbersome. Two other techniques have been developed to make it easier, but they're not widely known.
One option is to use a metalized vacuum bag specifically designed for FoodSaver-type machines. These bags feature an embossed/channeled design that allows them to work seamlessly with these machines.
Another option is to use a Magic Seal MS300 Precision Vacuum Sealer Machine, which is compatible with both standard channel style bags and compatible Mylar bags.
In general, it's best to use a manual sealer when vacuum sealing Mylar bags, as automated vacuum sealers can be less effective.
Here are some additional tips for vacuum sealing Mylar bags:
- Use a chamber vacuum sealer, which evacuates the entire chamber and seals the bag.
- Reinforce the seal with a cheap flat iron, as suggested by some users.
- Use a Snorkel Vac VS-280, which is specifically designed for vacuum sealing Mylar bags.
It's worth noting that some users have reported success with sealing Mylar bags using a FoodSaver-type machine, but the seal may not hold as well as with other methods.
Step 3: Create an Air Channel Device
When vacuum sealing Mylar bags, you need to create a device to allow air to be sucked out of the bag. Mylar bags are smooth on the inside and the outside, which prevents the vacuum sealer from creating an air channel.
Vacuum sealer bags have textured inside surfaces, which naturally create air channels for the vacuum sealer to work with. This isn't a problem for regular use, as the seal is formed by melted plastic from the bag.
For long-term food storage, you'll need a more reliable air channel device. A small strip of vacuum sealer bag can be used as a makeshift air channel, but it's not the most ideal solution.
Expand your knowledge: Sealed Air
Using a FoodSaver Machine
You can seal Mylar bags using a traditional FoodSaver-type machine, but it requires some technique.
The techniques found online often make use of channeled vacuum bags, which can be cumbersome.
To easily vacuum seal Mylar bags, you can use a standard vacuum sealer bag and position the hose in a way that removes all possible air.
Using MS300
Using the MS300 can be a game-changer for sealing Mylar bags. Unlike many vacuum sealer designs, the MS300 works with both standard channel style bags and compatible Mylar bags.
The MS300 is a precision vacuum sealer machine that's perfect for home use, and it's compatible with Mylar bags. It's also a commercial-grade sealer, which means it's built to last.
One of the standout features of the MS300 is its auto cooling system, which helps prevent overheating during the sealing process. This is especially useful when working with sensitive materials.
The MS300 has an extra-wide 8mm seal, which allows for a tighter seal on larger bags. This is a major advantage over other vacuum sealers that may not be able to handle bigger bags.
Place It
Position the vacuum sealer hose into the open end of the bag to remove all possible air.
It's essential to fit the hose in a way that allows for maximum air removal, ensuring the best vacuum seal.
Begin sealing the food in the vacuum sealer and let it run until it releases a beep, signifying all the air has been extracted.
After the air is drained out of the bag, you can quickly weld or seal the second half of the bag with a flat iron.
Explore further: Tractor Trailer Air Bags
Preparing and Sealing Bags
To prepare your Mylar bags for sealing, start by partially closing the bag with a flat iron or heat sealer, leaving enough space for the vacuum sealer hose.
The instructions for sealing custom Mylar bags vary depending on the type of order and wholesaler.
To fill your Mylar bags, use a food scoop or funnel to avoid spillage, and shake the bags to settle the food particles and remove air. For larger bags, place them in a bucket or container to prevent tipping.
Here are the steps to fill your Mylar bags:
- Use a food scoop or a funnel to fill larger bags with wheat, rice or flour to avoid spillage.
- Shake the bags to make sure the food particles are settled.
- Once 1/2 full, add the appropriate number of oxygen absorbers, usually 1 for 1 gallon bags.
- Leave a gap of around 4-5 inches from the top of the bag.
- Label the packs with the date and what is stored inside.
Prepare to
Before you start sealing, prepare your bag by partially closing it with a flat iron or a heat sealer. This will leave enough space for inserting the vacuum sealer hose.
The type of ordering and wholesaler you're working with will determine the specific instructions for sealing custom mylar bags.
You can make your own custom size bags using a vacuum sealer.
You might like: Custom Tamper Seal Stickers
Verify
Verify that the seal is tight and there's no leakage around it. This is crucial for maintaining the contents' integrity.
Observe the package for trapped pockets of air around the contents inside the Mylar bag. This can compromise the preservation of the contents.
The entire package should be tightly sealed around the contents. This ensures that no air or moisture can penetrate the package.
Verify that the seal is secure and there are no signs of leakage. This step is significant for permanent preservation.
You might like: Vacuum Packing Food Preservation
Fill Your Bags
Fill larger Mylar bags with food items like wheat, rice, or flour using a food scoop or a funnel to avoid spillage. Place the large bags in a bucket or container to prevent them from tipping over.
Shake the bags to settle the food particles and remove air as you fill the bag.
Add oxygen absorbers once the bag is 1/2 full. One absorber is usually enough for a 1-gallon bag.
Leave a gap of around 4-5 inches from the top of the bag to allow for easy vacuum sealing.
Label the packs with the date and what's stored inside.
Oxygen Absorbers and Devices
Oxygen Absorbers are a good choice for larger Mylar bags, as vacuum sealing is not a realistic option.
You can remove as much air as possible from the bag and then add oxygen absorbers to help remove any remaining oxygen.
The quantity of oxygen absorber used depends on the size of the bag and the amount of contents.
Oxygen absorbers assist in removing all the oxygen that might have remained in the bag after packaging, ensuring the content does not spoil.
Using oxygen absorbers increases the shelf life of the content in the bag.
You can seal the bag with an iron or other appropriate sealer after adding oxygen absorbers.
Wrap Up
You'll want to get yourself some good quality Mylar bags, oxygen absorbers, and a top vacuum sealer to start vacuum sealing Mylar bags.
A dedicated bag sealer is your best option for 5-gallon Mylar bags, but a hair straightener or clothes iron will suffice if you don't have one.
You can re-use your air channel device many times, making it a worthwhile investment for vacuum sealing Mylar bags.
Don't forget to have some labels or a permanent marker handy to label your sealed bags.
Read our review of great quality, affordable vacuum sealers to find the perfect one for your needs.
Sources
- https://www.homebrewfinds.com/vacuum-sealing-mylar-bags-foodsaver/
- https://dutable.com/how-to-vacuum-seal-mylar-bags-a-complete-handbook/
- https://besthomepreserving.com/vacuum-sealing-mylar-bags-guide/
- https://www.homesteaddreamer.com/2015/04/28/vacuum-sealing-vs-mylar/
- https://foodvacbags.com/blogs/foodsaverblogs/the-benefits-of-using-mylar-bags-how-to-use-them
Featured Images: pexels.com