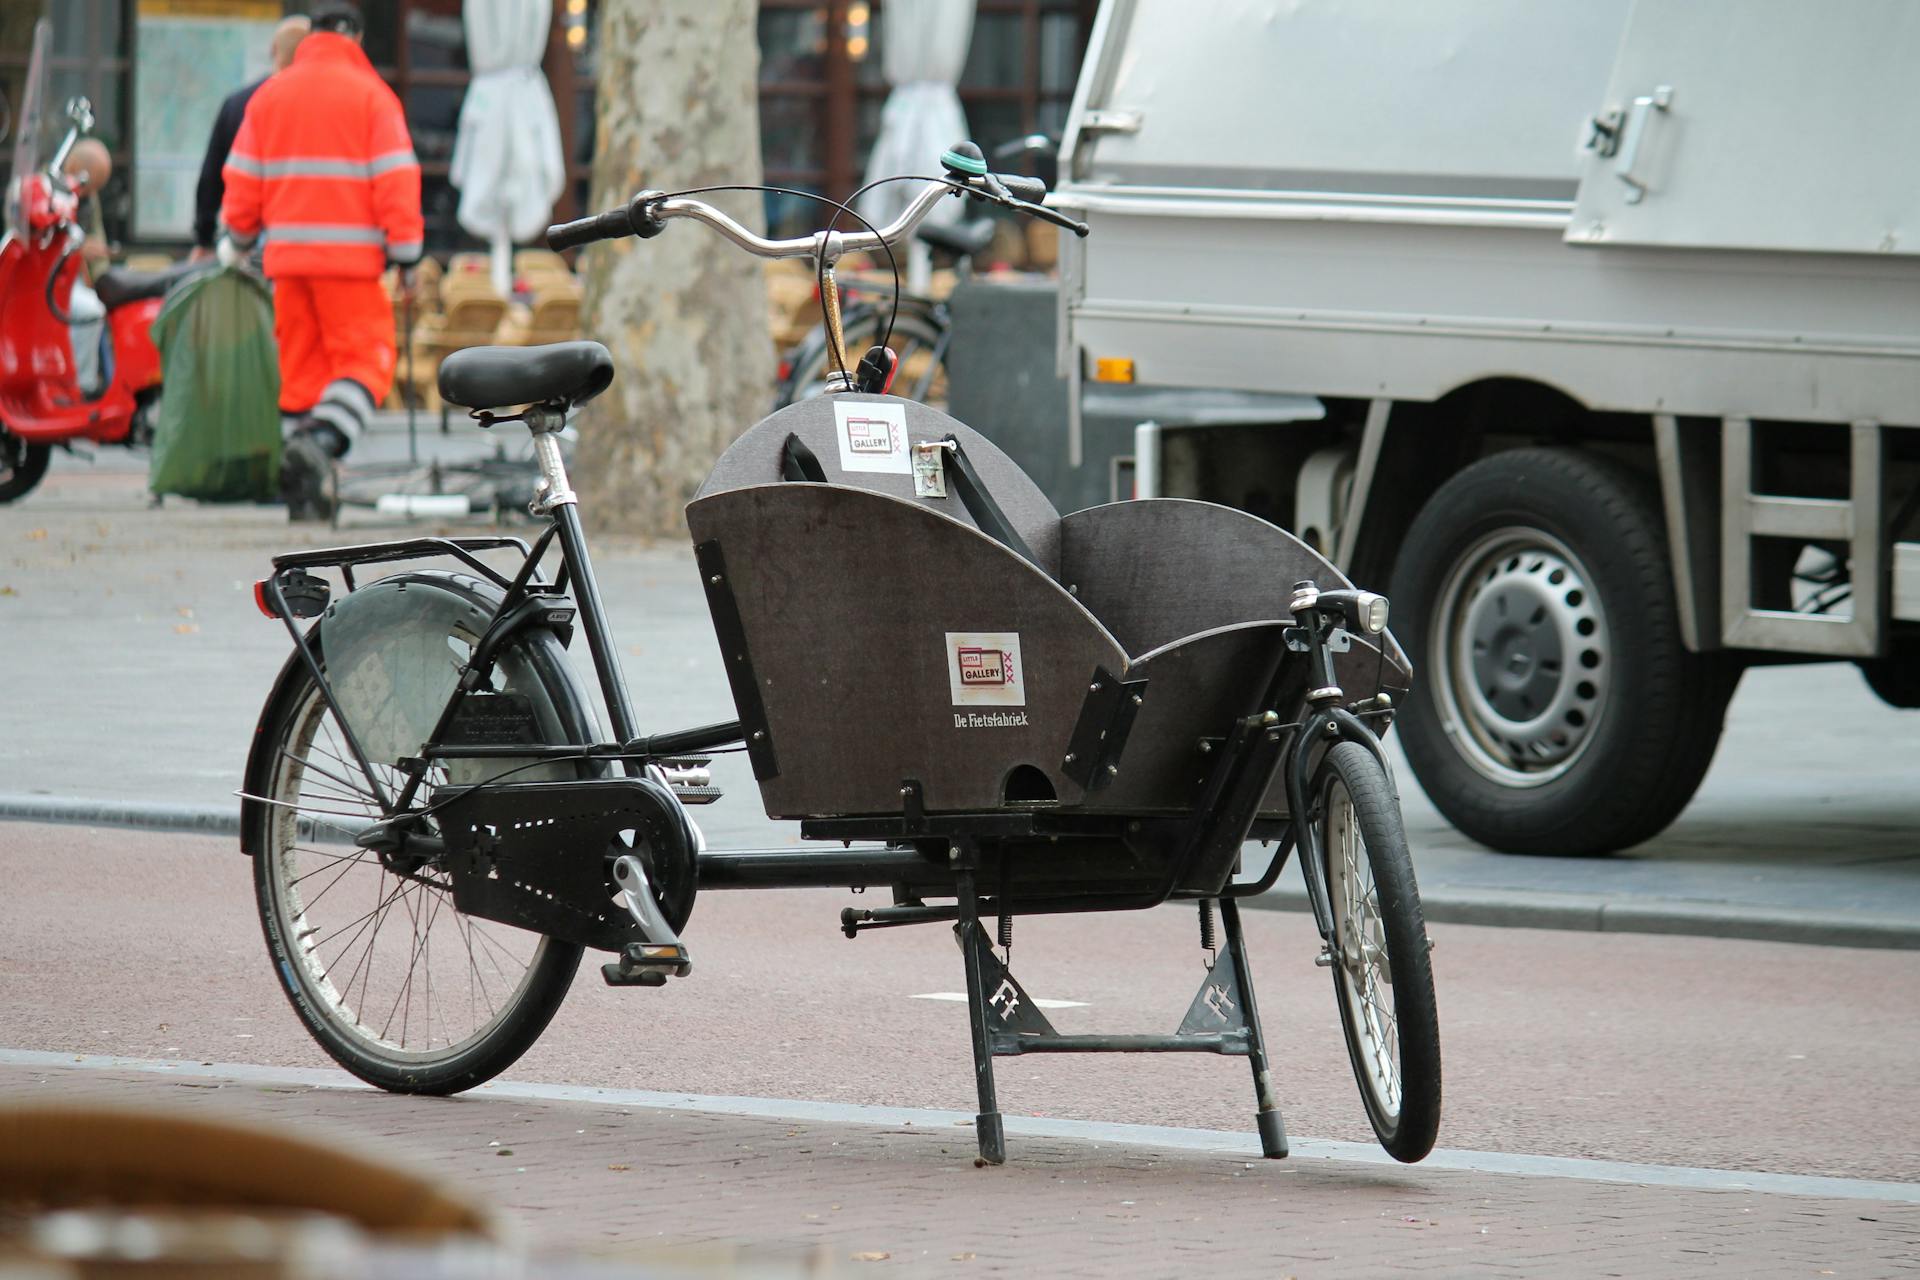
If you're looking to transport your bikes safely and efficiently, consider building a DIY truck bike carrier. This project requires some basic tools and materials, which are outlined in the article.
A crucial aspect to consider when designing your carrier is the weight capacity, which should be at least 100 pounds to accommodate most adult bikes. This ensures the carrier can handle the weight of your bikes without putting excessive strain on your truck or van.
The type of bike you own also plays a significant role in determining the carrier design. For example, if you have a mountain bike with wide tires, you'll need a carrier with a wider platform to accommodate the extra width.
Types of Bike Carriers
There are several types of bike carriers you can use for a DIY truck bike carrier.
Platform bike carriers are a great option for their stability and ease of use, allowing you to attach multiple bikes at once.
They usually come with a sturdy platform that can hold up to 4-5 bikes, depending on their size and weight.
Basket-style carriers are another popular choice, often preferred for their sleek design and ability to carry a single bike.
They typically consist of a basket or a cradle that holds the bike in place, usually attached to the truck's roof or rear.
Hitch-mounted carriers are a common choice for their versatility and ease of installation, often requiring no drilling or modifications to the truck.
They usually come with a detachable arm that can be adjusted to fit different bike sizes and types.
Roof-mounted carriers are a great option for their compact design and ability to carry multiple bikes, often preferred for their aerodynamic benefits.
Readers also liked: Bicycle Roof Carrier
Design and Materials
To build a DIY truck bike carrier, you'll need some basic materials. PVC pipes are a great choice because they're cheap, light, and durable.
PVC pipes are the primary material for this project because they won't let you down. They're also easy to work with, making this project a great option for beginners.
For the upright PVC truck bed rack, you'll need to attach the pipes to the truck bed. This will provide a sturdy base for your bike carrier.
For another approach, see: Truck Bed Bike Carrier
Choosing a Design
Choosing a design for your bike rack is crucial, and it depends on several factors. The number of bikes you want to carry and the type of truck you have are key considerations.
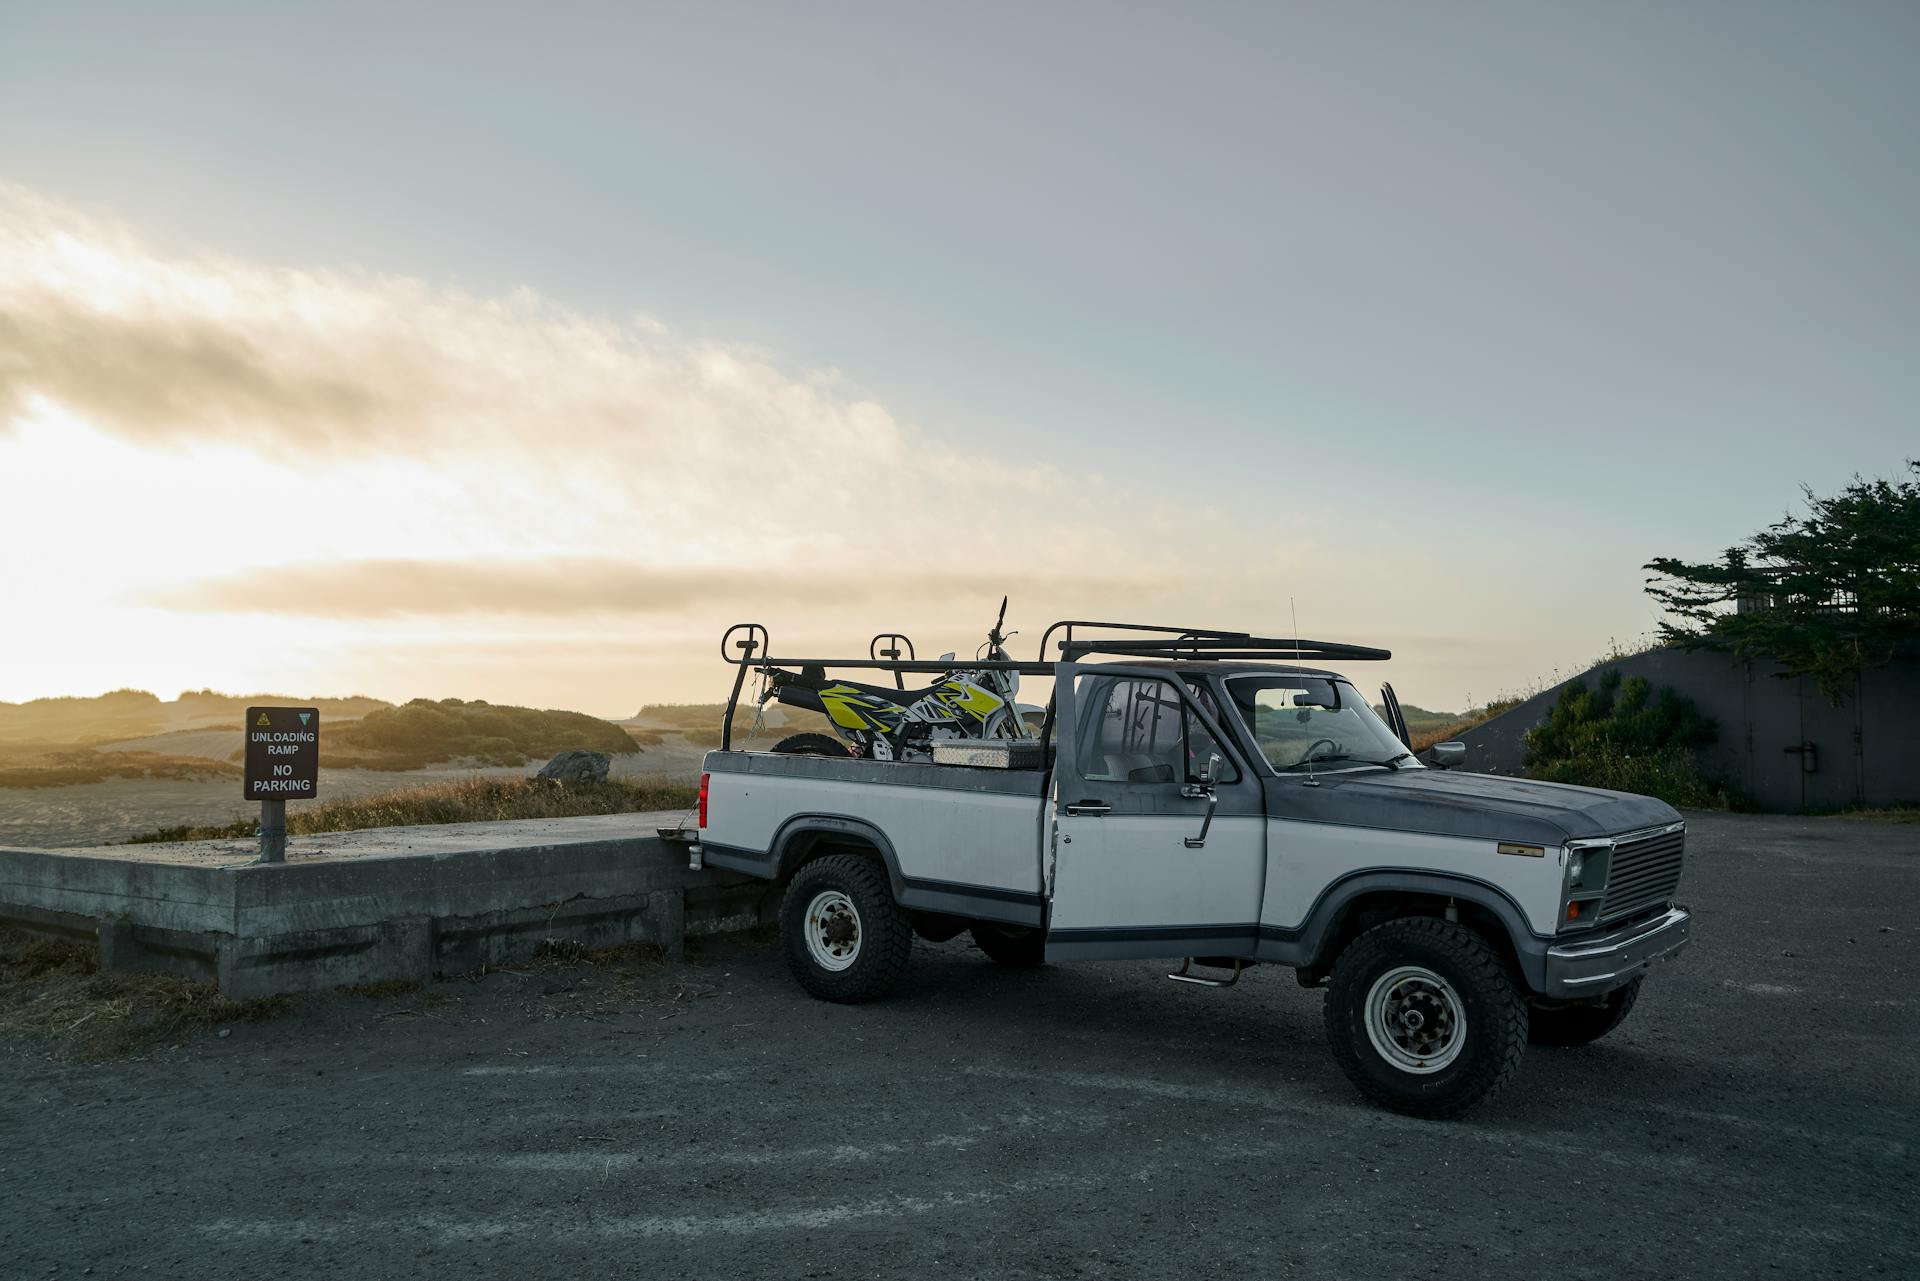
If you have a truck, you'll want to consider fork-mounted truck bed bike racks, which are similar to fork-mounted roof-top car racks but fit into the bed of a truck.
Fork-mounted truck bed bike racks have their pros and cons. They are very secure when bouncing along bumpy roads or on long road trips.
Here are some popular designs to consider:
- Fork-mounted truck bed bike racks
- Tailgate pads
If you're looking for a secure and space-efficient option, a thru-axle rack might be the way to go. These racks are very secure when bouncing along bumpy roads or on long road trips, and truck beds can usually fit two, maybe three, fork-mounted bikes side by side.
These racks don't typically get in the way of truck bed activity, so they can be left bolted on at all times.
Wheel-Mounted
Wheel-Mounted racks are a good option for mountain bikes, but they might not work for skinny-tire road or gravel bikes.
These types of racks are virtually the same as a bike rack you would find in front of a building to park your bike.
Their design is straightforward, holding the bike by the wheels, which makes them easy to install and use.
They're a popular choice among mountain bikers, but it's essential to check the rack's compatibility with your bike before making a purchase.
RockyMounts Bolt-on Track
RockyMounts Bolt-on Track is a great option for those who want flexibility in their bike rack setup. It requires drilling, but note that truck-specific models exist that don't require drilling.
This bolt-on track comes in two lengths: 47” and 60”. You can still screw it into the bed of your truck, but it's a good option if you need to move the mounts around for different bikes or bike sizes.
RockyMounts also makes truck-specific tracks that don't require drilling, utilizing the existing tie-down holes. These racks are available for Chevy Colorado, Chevy Silverado, Ford F150, Honda Ridgeline, and Ford Ranger.
This rack is best for mountain bikes, especially for frequent shuttling.
Metal Brackets
Metal brackets provide additional support and stability. They can be used to secure the wooden components together. Metal brackets are a crucial element in ensuring the structural integrity of a build.
They can be used to hold various parts of a project in place, making it easier to assemble and disassemble.
PVC
PVC is a versatile material that's perfect for DIY projects, especially when it comes to bike racks. It's cheap and durable, making it an ideal choice for carrying and securing bikes when traveling.
PVC pipes are light, which makes them easy to handle and transport. They're also resistant to scratches and damage, ensuring your bike stays safe during transport.
You can use PVC to create a custom bike rack for your truck bed, providing a secure and convenient way to transport your bike. This is especially useful if you have multiple bikes to carry.
DIY PVC bike rack plans are a popular way to create a custom bike rack, and they're often free or low-cost. They can be completed in just a few hours, making them a great option for those who want a quick and easy solution.
Ensuring Compatibility
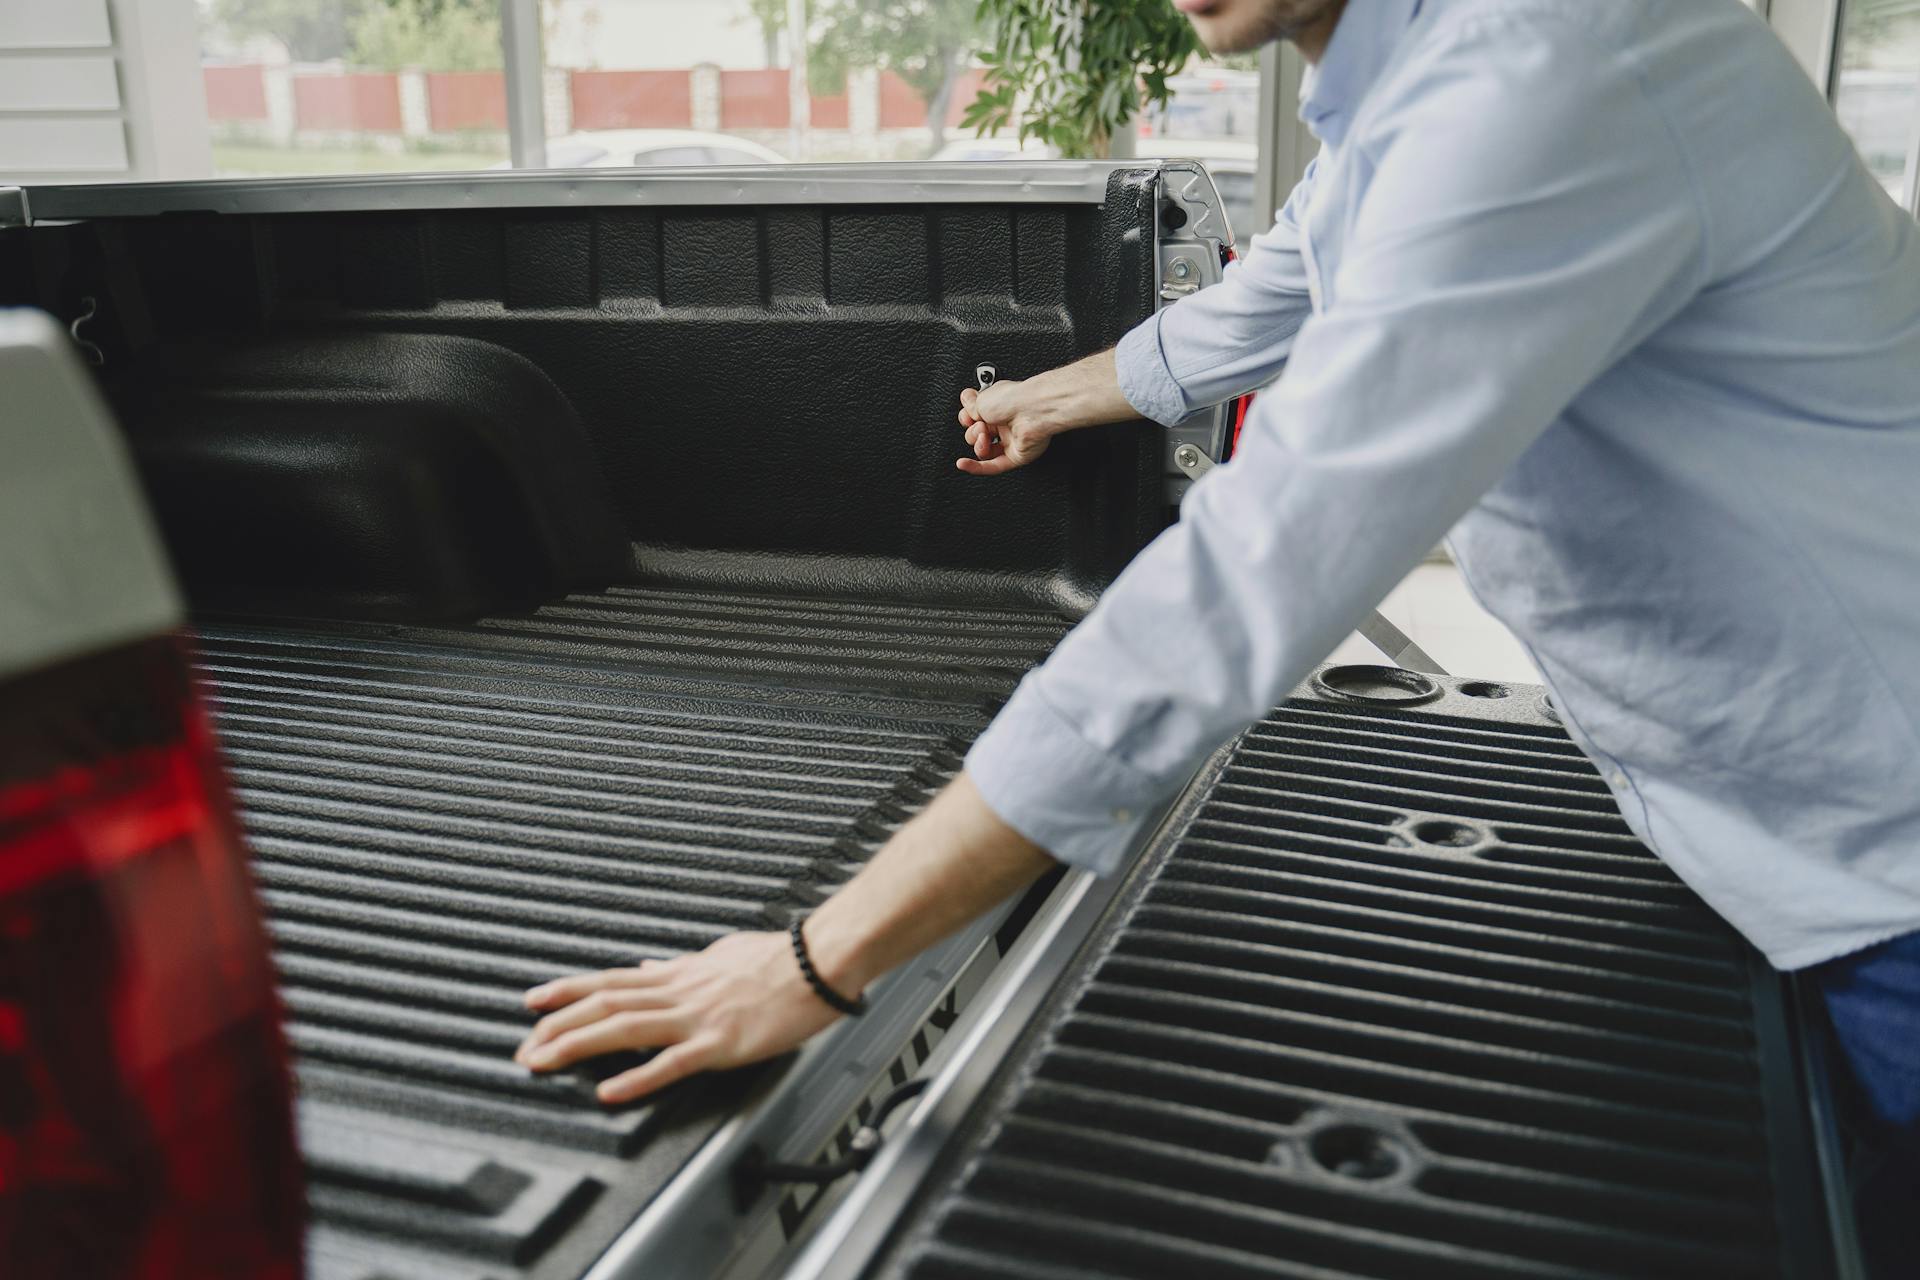
Measuring your truck bed is crucial to ensure the bike rack fits properly without obstructing any features.
To do this, simply take note of your truck's dimensions to guarantee a smooth installation process. This will also help you avoid any potential issues with the rack's functionality.
The RockyMounts HotRod, for example, can accommodate different axle sizes, but proper truck bed measurement is still essential for a secure fit.
By taking the time to measure your truck bed, you'll be able to choose the right bike rack for your specific needs and avoid any potential compatibility issues.
Curious to learn more? Check out: Pickup Bed Bike Carrier
L-Track Option 2
L-Track Option 2 uses 2” Aluminum L Stock, which is a sturdy material that provides a solid foundation for your bike rack.
This option includes L-Track Threaded Studs with Knobs, which are designed to securely attach to your truck bed.
Four of these studs are included, giving you flexibility in where you mount your bike rack.
You'll also need M6 Flathead Bolts or 1/4-20 Flathead Bolts, depending on your rivnut thread choice.
These bolts will help secure the bike rack to the L-Track.
Here's a breakdown of the L-Track Option 2 components:
Installation and Assembly
To get started with the installation and assembly of your DIY truck bike carrier, you'll need to gather the right tools. The Rivnut Installation Kit is a must-have, and it's a good idea to use stainless steel rivnuts for their increased corrosion resistance.
The kit includes an installation tool, adapters, and rivenuts, as well as detailed instructions. If you're using the Direct-to-Bed mounting option, you won't need a miterbox saw with an aluminum cutting blade.
Here's a list of the tools you'll need:
- Rivnut Installation Kit
- Stainless Steel Rivnuts
- Drill with step drill bit & centering punch
- Measuring Tape, Ruler, Square, Marking Pen
- Basic Hand Tools
Remember to also have a hammer handy for tapping the rivnuts into place. With these tools, you'll be well on your way to a successful installation and assembly of your DIY truck bike carrier.
Tools Needed:
To ensure a successful installation and assembly, you'll need the right tools for the job. Don't worry, I've got you covered.
First and foremost, you'll need a Rivnut Installation Kit, which includes the installation tool, adapters, some rivenuts, and detailed installation instructions. This kit is a must-have for any installation process.
You'll also want to use stainless steel rivnuts, which are more resistant to corrosion and perfect for truck bed installations. They're a bit more expensive, but trust me, it's worth the investment.
If you're planning to use the Direct-to-Bed mounting option, you won't need a miterbox saw with an aluminum cutting blade. But if you're not, make sure you have one to avoid any potential issues.
A drill with a step drill bit and centering punch will come in handy for drilling precise holes. Don't forget to have a hammer nearby to tap things into place.
To measure and mark your bike rack, you'll need a measuring tape, ruler, square, and marking pen. These tools will help you get accurate measurements and ensure everything fits together smoothly.
Finally, having a set of basic hand tools on hand will ensure you're prepared for any unexpected tasks that come up during the installation process.
Step-by-Step Assembly Instructions
First, attach heavy-duty straps to the frame, ensuring they are long enough to wrap around the bike frames securely. This will provide a solid foundation for the entire setup.
Make sure the straps are securely attached to the frame, as this will prevent any movement or shifting during use.
Next, add vertical supports to hold the bikes in place. These supports should be evenly spaced to accommodate different bike sizes.
Even spacing is crucial, as it will allow you to store bikes of various sizes without any issues.
Considerations and Safety
Safety should always be a priority when transporting bikes. Loose bikes can shift during transport, leading to accidents, so ensure that the bikes are securely fastened to the rack.
A well-fitted rack is essential to prevent damage to both the bike and the truck. Poorly fitted racks can lead to scratches and dents, so take the time to get it right.
To ensure safe transport, always secure your bikes to the rack. This will prevent accidents and keep your bikes in good condition.
Considerations:
Building a DIY truck bed rack can be a fun and rewarding project, but it's essential to consider a few things before you get started. You'll need to buy the supplies, take measurements, cut the wood or PVC, and screw/nail everything together, which requires a significant amount of time and energy.
To ensure you have the necessary tools and equipment, make a list of what you'll need and check if you already have it. This will save you time and frustration in the long run.
If bikes get damaged during transit or stolen, it may be harder to get insurance claims. This is a crucial consideration, especially if you plan to transport valuable bikes.
As confident as you may feel with your handiwork, there's always a chance the design won't work or it damages your bike. This is a risk you'll need to weigh against the potential benefits of building your own rack.
Importance of Safety
Safety should always be a priority when transporting bikes. Loose bikes can shift during transport, leading to accidents.
To ensure your safety on the road, make sure to secure your bikes properly. A well-secured bike is a safe bike.
Here are some key things to consider:
- Ensure that the bikes are securely fastened to the rack.
- Check that the rack is sturdy and can hold the weight of your bikes.
Properly securing your bikes will not only prevent accidents, but also prevent damage to your bikes and your truck.
63 Thoughts on Van
Van life can be a liberating experience, but it's essential to consider the safety aspects of living on the road. A van's weight distribution can affect its stability, so it's crucial to evenly distribute heavy items.
The average lifespan of a van's tires is around 60,000 to 80,000 miles, depending on the quality and maintenance. Proper tire pressure can extend their lifespan.
Regular oil changes are vital for a van's engine, with most manufacturers recommending every 5,000 to 7,500 miles. Failing to do so can lead to engine damage.
A van's electrical system can be prone to overheating, especially during long drives. Ensuring proper ventilation and using a high-quality battery can mitigate this issue.
It's essential to consider the van's storage capacity when planning a trip, as it can greatly impact the overall experience. A well-organized storage system can make a big difference.
A van's water tank capacity can range from 10 to 50 gallons, depending on the model and intended use. Proper water conservation techniques are crucial for long trips.
A van's battery can be drained quickly if the lights or appliances are left on for extended periods. Using a battery isolator can help prevent this issue.
Customization and Options
Customization and options are where a DIY truck bike carrier really shines. You can move the mounts around to accommodate more bikes or different-sized bikes, giving you the flexibility you need.
DIY allows for complete customization, ensuring that the rack meets your specific needs. This is especially useful for mountain bikers who need to transport multiple bikes.
Some bolt-on tracks, like the RockyMounts Bolt-on Track, require drilling, but they come in handy lengths of 47” and 60”.
RockyMounts HotRod
The RockyMounts HotRod is a versatile option that can accommodate different axle sizes, making it a great choice for those with multiple bikes or who ride with friends.
It's designed to fit three different axle sizes, including 12×100, 15×100, and Boost 15×110 millimeter thru-axles.
This feature is especially useful for riders who switch between bikes with varying axle sizes, or for those who like to ride with friends who have different bikes.
The three included interchangeable sleeves allow the HotRod to adapt to different axle sizes, making it a convenient option for riders with multiple bikes.
Direct-to- (Option 1)
Direct-to-Bed DIY Truck Bed Bike Rack (Option 1) is a straightforward and cost-effective way to install a bike rack in your truck bed. You can skip the adjustable and removable features, and simply install the universal fork mounts directly to the bed or bed rails of your pickup truck.
To ensure a secure installation, choose a mounting location that's free from obstructions and vital vehicle components. You'll want to check the measurements of your bike, without the front wheel, to ensure there's enough clearance in the bed of your truck.
Use a silver sharpie to mark the mounting hole locations on the bed of your truck, and then use a centering punch to guide the drill bit. Typically, rivnuts are M6 or 1/4-20, so make sure to use the correct diameter drill bit.
Rivnuts are a great choice for their strength and ease of removal. To install them, use the rivnut installation tool to insert and secure them into the bed of your truck.
Here's a quick rundown of the hardware you'll need:
- Truck Bed Bike Rack Fork Mount
- M6* or 1/4-20 Bolts*
With the rivnuts installed, you can now secure your Fork Mount bike rack to the truck bed using the M6 or 1/4-20 bolts. Mount your bike in the bed of your truck, and you're ready to hit the trails!
Recommended read: Rv Bike Carrier Bumper Mount
Customization
Customization is a game-changer for anyone looking to create a one-of-a-kind product.
DIY allows for complete customization, ensuring that the rack meets your specific needs.
Storage and Hauling
If you're looking for a budget-friendly option, consider building your own DIY truck bed bike rack. You can find inspiration online, including a DIY wood frame truck bed bike rack that's a great starting point.

For those who want to get creative, a DIY PVC pipe bike rack is a great option. It's a versatile and customizable solution that can be tailored to fit your specific needs.
If you're working with a high-performance bike, a DIY Thru-axle bike mount is a great choice. This type of mount is specifically designed for bikes with thru-axles, providing a secure and stable ride.
If you're looking for some DIY inspiration, here are a few options to consider:
- DIY wood frame truck bed bike rack
- DIY PVC pipe bike rack
- DIY Thru-axle bike mount
Featured Images: pexels.com