Building your own utility box cover can be a fun and rewarding DIY project. With the right materials and a little creativity, you can create a cover that matches your home's style and protects your utility box from the elements.
You'll need to choose a material that can withstand outdoor conditions, such as wood or plastic. Consider the size and shape of your utility box when selecting a material, as you'll want to ensure a snug fit.
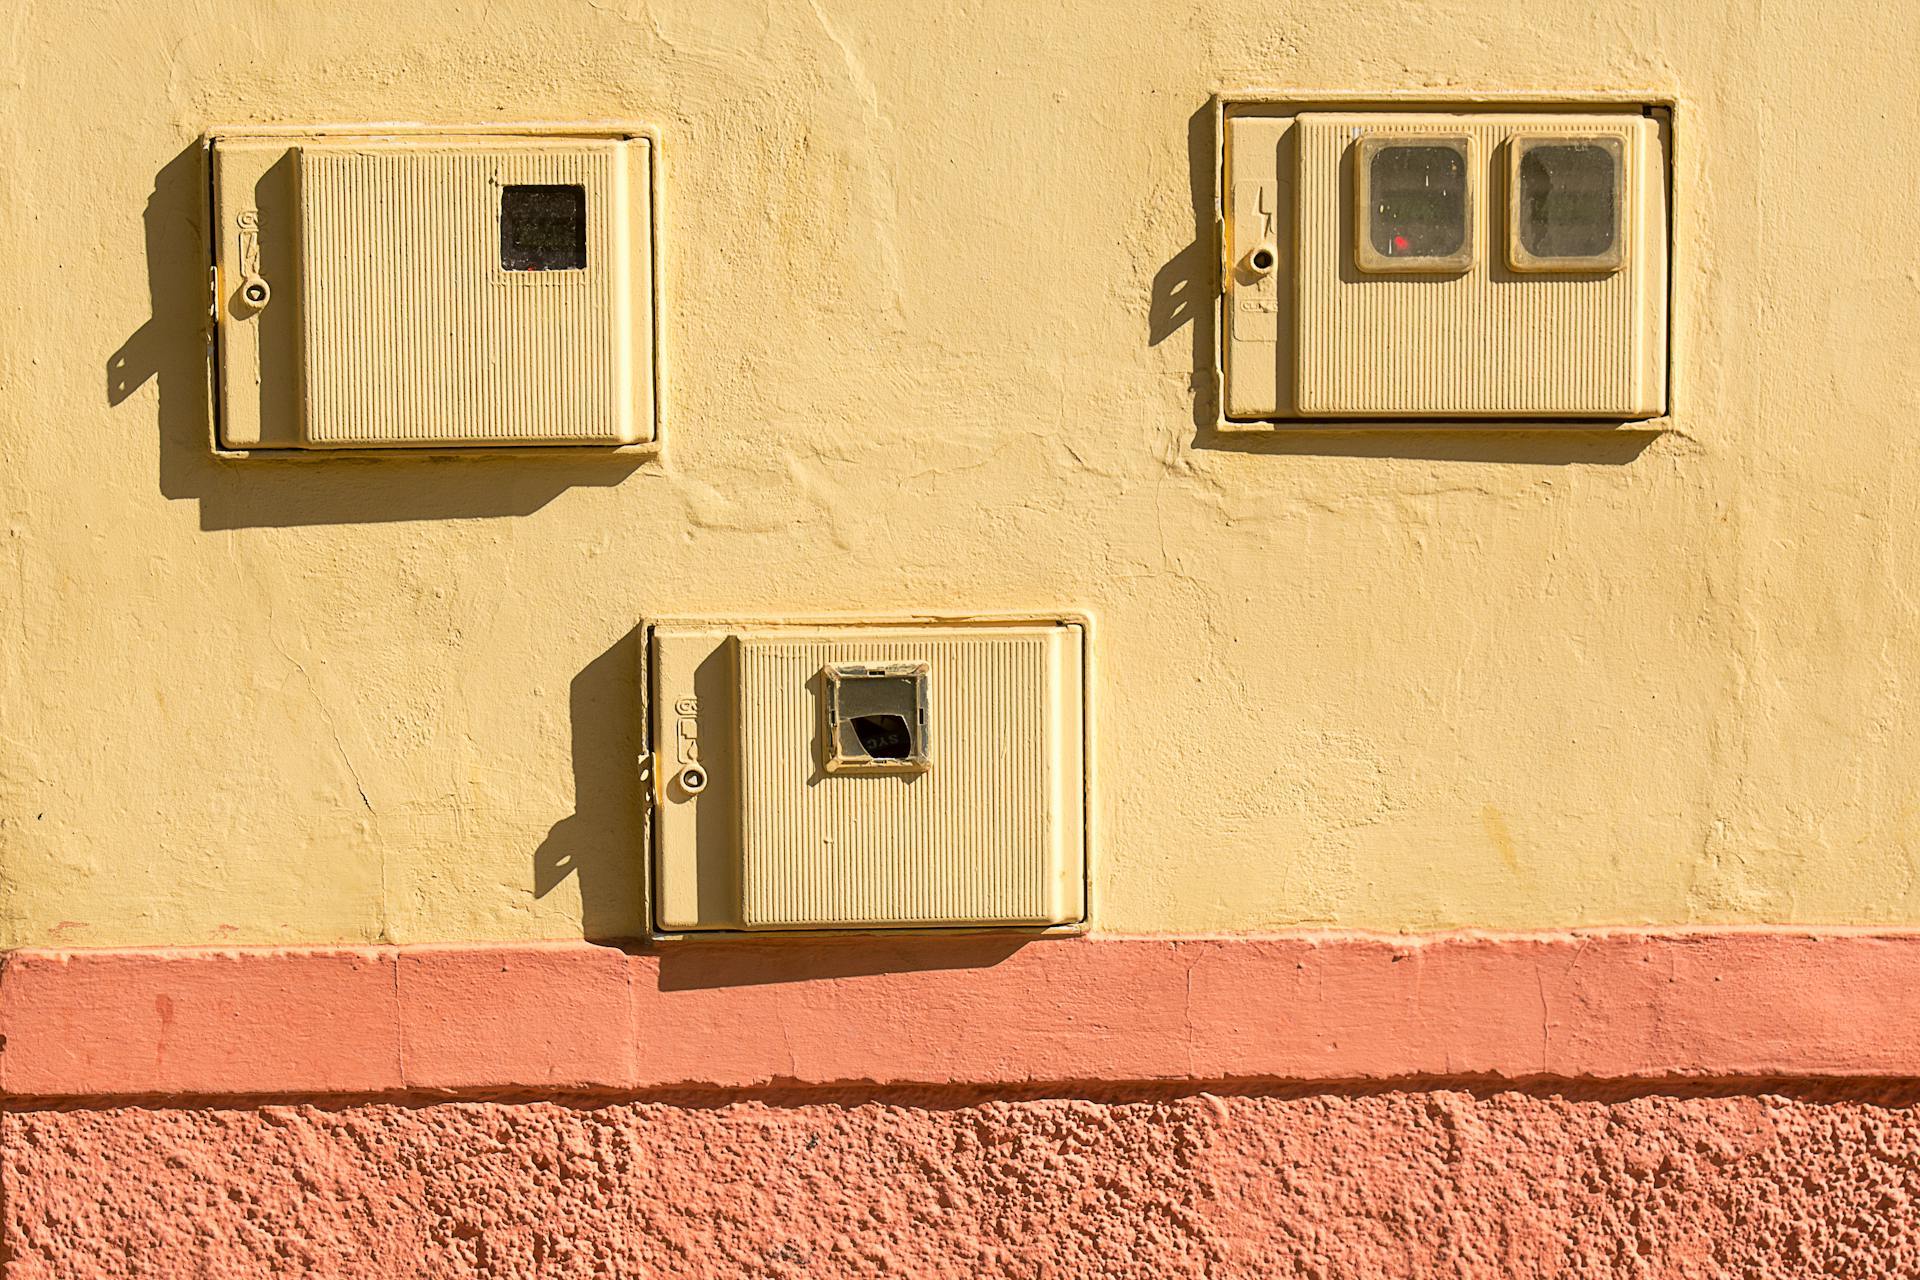
A utility box cover can be made to blend in with your home's exterior, making it a great way to maintain your property's appearance.
Intriguing read: How to Cover a Box with Material
Building the Frame
Building the frame of your utility box cover is a crucial step in creating a stable and secure structure. To start, you'll need to stack fence boards edge to edge, spacing them 1/8 inch apart.
The frame structure requires careful planning, so make sure to measure the meter's total height and ensure all boards are taller than the meter. This will ensure a snug fit and prevent any gaps or instability.
Worth a look: Box Frame Cover
To build the frame, you'll need to cut six cedar two-by-fours to the length required. These will serve as the posts that hold the frame in place.
Here's a quick rundown of the materials you'll need for the frame:
- Cedar two-by-fours (6 pieces)
- Fence boards
By following these simple steps, you'll be well on your way to building a sturdy frame for your utility box cover.
Build the Base
The base of your DIY utility box cover is crucial for keeping the structure stable and in place. It's the foundation that will support the rest of the project.
To build the base, you'll need to decide on the materials to use. This will depend on your personal preference and the design you're going for.
The base will keep the structure stable and in place, as mentioned earlier. It's a crucial step in the process, so make sure you get it right.
If you're looking for a DIY wood screen utility box cover, you can expect it to be a project of intermediate difficulty. This means you'll need some basic knowledge of woodworking terms and cuts.
Before starting this project, be certain you have a clear understanding of your local utility company's requirements for clearance around and access to meters. This will ensure that your DIY utility box cover is compliant with regulations.
Attach Wood Cleats
Attaching wood cleats to your utility box cover is a crucial step in building the frame. This will help keep the plywood from warping and provide a secure surface to attach the cleat to later.
To attach the wood cleats, you'll need to attach a 2×2 to the back, vertical edge of each side panel. This helps prevent warping and gives you a better surface to attach the cleat to later.
A 2×2 wood cleat is used to enable easy removal of the cover if you need to access the utility boxes. It also prevents the screen from shifting during strong winds or storms.
To attach the cleat, you'll need to attach one side to the utility box cover and the other side to the house. This is shown in the instructions.
Here's a quick summary of the steps to attach the wood cleats:
Remember to always follow your local utility company's requirements for clearance around and access to meters.
Adding Side Panels
Adding side panels to your utility box cover is a crucial step in creating a sturdy and secure enclosure. Cut the side panels from plywood to the appropriate size, taking into account any unique features of your DIY project.
To ensure consistent gaps between the panels, use removable 1/8-inch spacers. This will make it easy to adjust the panels as needed and maintain a professional finish.
Attach the side panels using a brad nailer, as recommended in the instructions. If you're working with a staircase, you may need to cut the side panels to different sizes, so be sure to measure carefully before cutting.
Attach Side Panels
To attach side panels, you'll need a brad nailer. We used a brad nailer for this step, as it's perfect for small nails that won't split the wood.
Taping the edges of your wood with painter's tape before nailing is a good idea. You'll see why in the next step, where we'll be painting the project.
For this step, attach the side panels to your project using your brad nailer.
Step 4: Cut Side Panels
Cutting the side panels is a crucial step in adding side panels to your DIY utility box cover. You'll want to cut them from plywood to the appropriate size.
If your utility box cover isn't along a staircase, the sides will probably be the same size. However, if it's in a unique location, cut them to the correct size.
To ensure accurate measurements, refer to the distance from the open end of the cover to the front of the post. This measurement will help you cut fence boards to the right length for the side panels.
Attach Side Boards
To attach the side boards, you'll need to measure the distance from the open end of the cover to the front of the post. This will give you the length you need to cut the fence boards.
Cut the fence boards to this length, and then attach them using stainless steel screws. It's a good idea to use removable 1/8-inch spacers between each course for consistent gaps.
You'll want to repeat this process on both sides of the cover to ensure an even look. This will help you achieve a professional-looking finish.
Here's a quick rundown of the process:
- Measure the distance from the open end of the cover to the front of the post.
- Cut fence boards to this length.
- Attach boards using stainless steel screws.
- Use removable 1/8-inch spacers between each course for consistent gaps.
- Repeat on both sides.
By following these steps, you'll have a sturdy and attractive side panel in no time!
Attach Additional Vertical Supports
Attaching additional vertical supports to your utility box cover is a crucial step to ensure its stability and longevity. This involves attaching a 2 x 2 to the back, vertical edge of each side panel.
This might seem like an extra step, but it helps prevent the plywood from warping and provides a solid surface to attach the cleat to later. I've seen many DIY projects where this step was skipped, and it's amazing how much of a difference it makes.
Here are the key steps to follow:
- Measure the distance from the open end of the cover to the front of the post.
- Cut fence boards to this length.
These measurements are crucial to ensure your side boards fit perfectly and are evenly spaced. Use stainless steel screws to attach the boards, and don't forget to add removable 1/8-inch spacers between each course for consistent gaps.
Finishing Touches
Now that you've built your utility box cover, it's time to add the final details to make it look and function perfectly.
Add a decorative trim to give your utility cover a polished finish. This will not only enhance its appearance but also protect the edges from wear and tear.
Choose a trim that complements the style and color of your home or building to ensure a seamless integration. I've seen utility covers with trim that matches the surrounding siding, and it looks great.
Add a secure latch or handle to make it easy to open and close the cover. This is especially important if you plan to use the cover frequently or have pets that like to play with it.
Consider adding a coat of paint or varnish to protect the cover from the elements and extend its lifespan. This will also help maintain its appearance over time.
Remember to follow the manufacturer's instructions for any additional components you add, such as trim or latches. Safety first!
Customization and Upcycling
You can give your utility cover a personalized touch to match your home's exterior and landscaping. One way to do this is by painting the cabinet the same color as your exterior walls, just like painting the boxes the color of your wall can have an amazing effect.
If you're short on space, a repurposed wood cabinet with an empty back can be a great solution to hide wall-mounted utility boxes. Mount it on the wall to encase the boxes, and the electrical boxes will be no longer visible.
Customize Your
You can personalize your utility cover to match your home's exterior and landscaping.
A utility cover can be a great way to add some visual interest to your yard, and it's also a functional way to hide unsightly utility lines.
By choosing a utility cover that complements your home's exterior, you can create a cohesive look that ties everything together.
You can even choose a utility cover that matches your home's siding, trim, or other exterior features.
This can help your utility cover blend in seamlessly with the rest of your yard.
Upcycle Old Cabinet to Hide Storage
Repurposing an old cabinet is a great way to hide storage and add some personality to your home's exterior.
You can use a repurposed wood cabinet with an empty back to encase wall-mounted utility boxes, making them no longer visible.
Mount the cabinet on the wall and paint it the same color as your exterior walls to make it blend seamlessly with your home's look.
Painting the cabinet the same color as your exterior walls is a simple trick that has an amazing effect.
You can also request permission from the utility company to paint the boxes the color of your wall, which is a good option if you're keen on perfectly crafted exteriors.
DIY Tutorial and Tips
You can build a DIY wood screen utility box cover with intermediate difficulty, requiring basic knowledge of woodworking terms and cuts.
The wood screen DIY utility box cover is removable, so you can easily access the meter if needed. In fact, the author of the project hasn't heard any complaints from their electric company about the ability to read the meter.
Before starting the project, make sure you have a clear understanding of your local utility company's requirements for clearance around and access to meters. This will save you from any potential issues down the line.
The DIY utility box cover is a simple design that can be modified to fit your specific needs. The visible parts are the front slats and the 2 side panels, while the inside is supported by 2x2s at the corners with 4 corner braces.
Pre-planning is key to a successful project. Take your time to measure out and plan your project, sketching it out and determining the height and width you want the screen to be.
If you're concerned about access to the meter, you can hinge the front panel, like the author did in version 2 of their project. This will make it even easier to remove the screen when needed.
The wood screen DIY utility box cover is a great way to hide unsightly utility boxes and wires, and it's a relatively quick and easy project to complete. Just be sure to follow the instructions and take your time to get it right.
Frequently Asked Questions
Are you allowed to cover utility boxes?
Covering utility boxes is technically allowed, but you need permission from the utility company first
How to cover exposed electrical boxes?
To cover exposed electrical boxes, use box covers that enclose the box and secure wiring connections. Our durable polycarbonate box covers can withstand extreme weather conditions.
Sources
- https://www.thisoldhouse.com/yards/94512/how-to-build-a-utility-cover
- https://designertrapped.com/diy-utility-box-cover-that-opens-easily/
- https://www.remodelaholic.com/diy-wood-screen-to-hide-utility-boxes/
- https://lawnlove.com/blog/landscaping-ideas-hide-utility-boxes/
- https://www.repurposedmaterialsinc.com/plastic-bins/utility-box-covers/
Featured Images: pexels.com