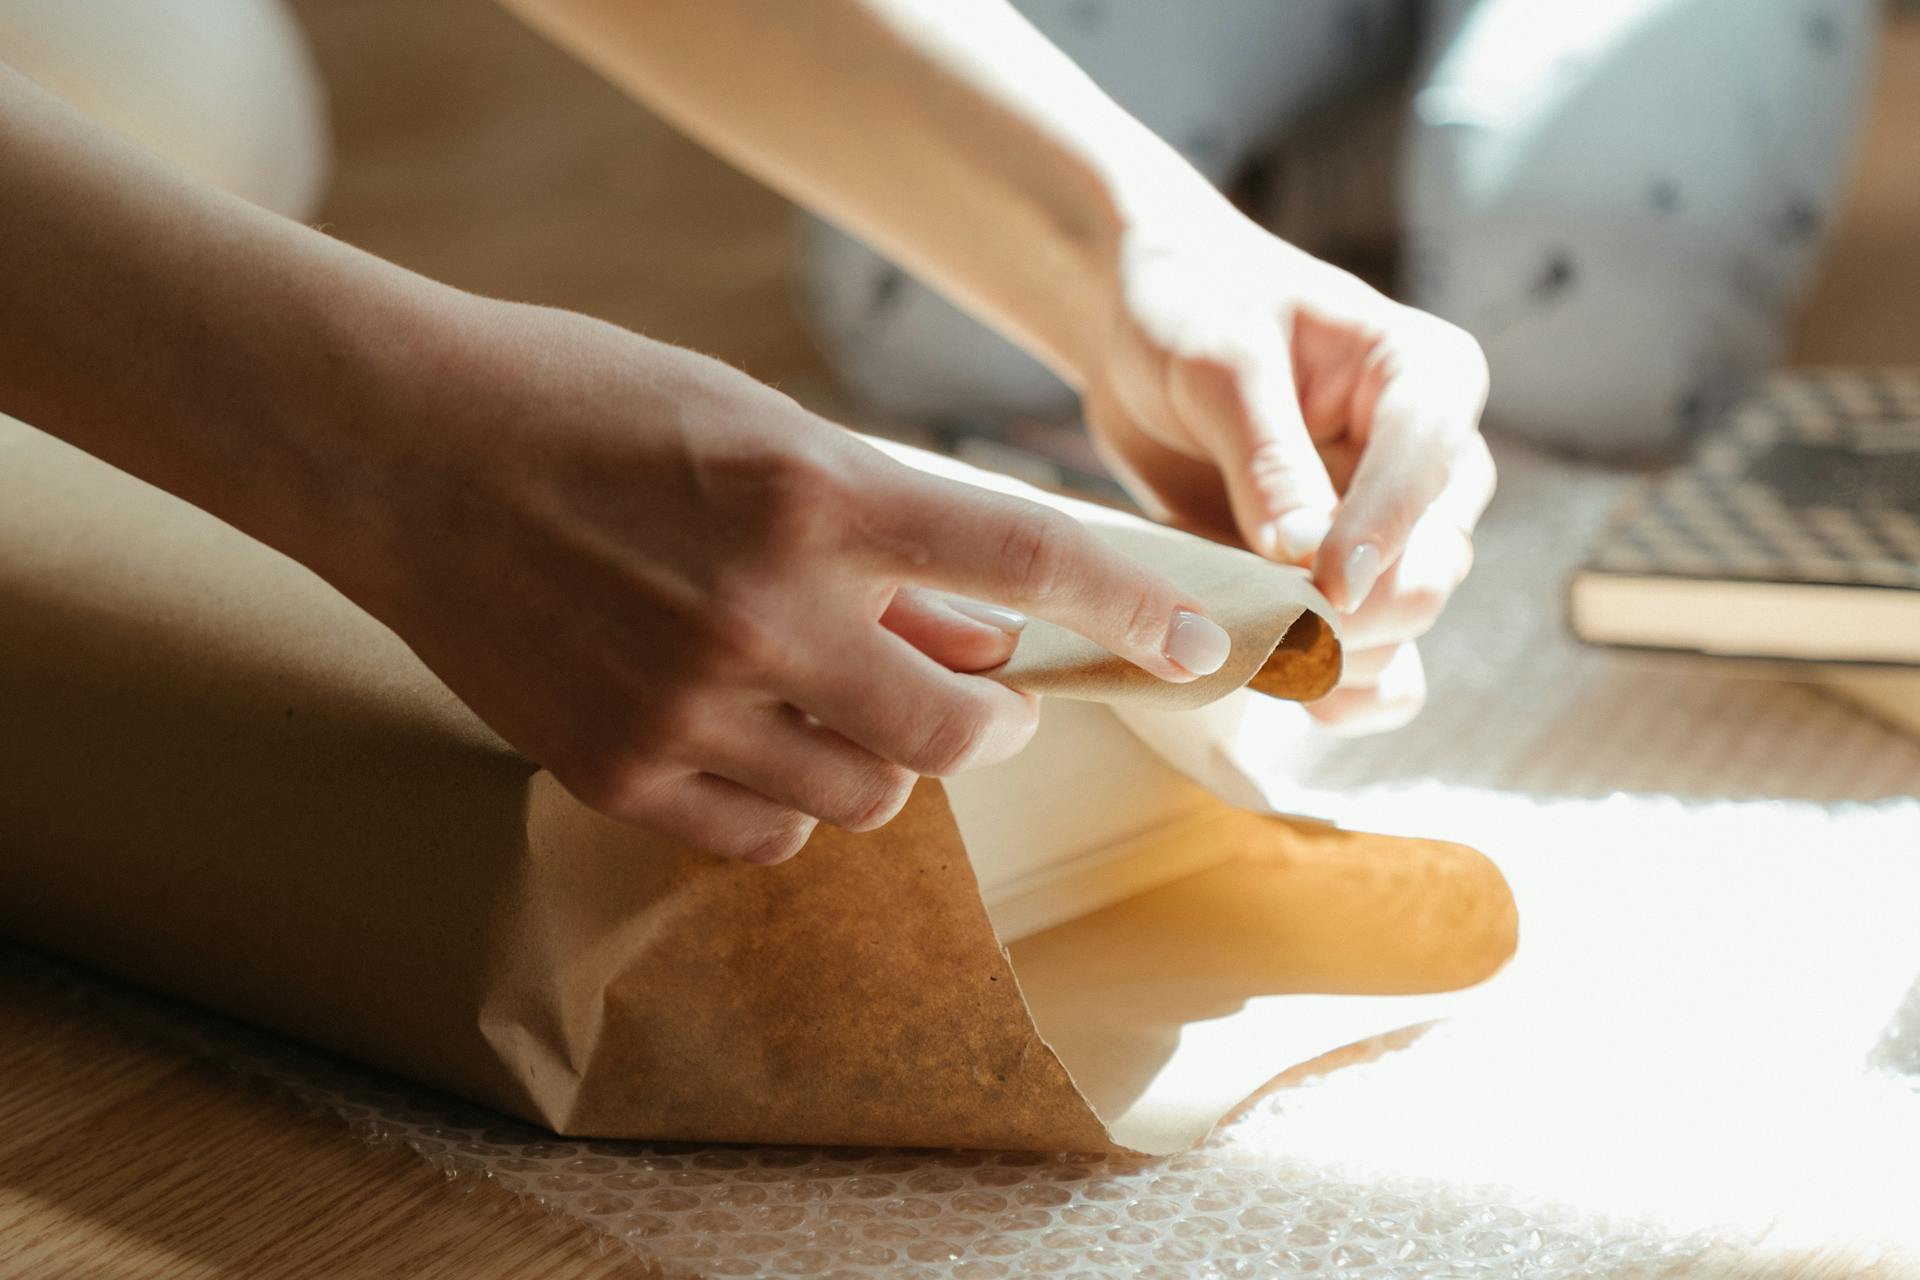
You can create a unique paper sack book cover by decorating a paper lunch sack with paint, markers, or stickers. This eco-friendly alternative to traditional book covers is perfect for kids' books or a fun DIY project.
To get started, gather a paper lunch sack, scissors, and your chosen decorations. You can also add a ribbon or string to create a closure for your book cover.
Choose a design that reflects the book's theme or the child's personality. For example, if the book is about a pirate, you could paint a pirate ship or a treasure map on the sack.
Decorate the paper sack with paint, markers, or stickers, and let it dry completely before attaching it to the book. You can use glue or tape to secure the sack in place.
Check this out: Wine Wrapping Paper
Materials Needed
To make a paper sack book cover, you'll need a few simple materials.
You can use a paper bag or colored wrapping paper as the base material.
Recommended read: Wine Bottle Wrapping Paper
Brown paper bags are a great option, and you can even use colored wrapping paper if you prefer a more vibrant look.
You'll also need some type of tape to secure the cover in place. Clear tape is a good choice, but duct tape can add a fun touch.
Here are the materials you'll need:
- Paper bag or colored wrapping paper
- Clear tape or duct tape
Instructions
To make a paper sack book cover, start by choosing a brown paper bag, either from a grocery store or one you have on hand. You can easily flip the bag so that any writing or handles are on the inside.
Cut along a side seam from top to bottom, then cut around the bottom of the bag to create a large rectangle of paper. Discard the small rectangle that was the bottom of the bag, or have your kids cut it into strips for bookmarks.
To align the book and paper, line up the right side of the back cover of the book with the vertical fold near the right edge of the big piece of brown paper. Make sure there's enough leftover brown paper to make a good flap.
Here's a quick reference guide to get you started:
Step 3: Align Book
To align your book with the paper, you need to line up the right side of the back cover with the vertical fold near the right edge of the paper. This is crucial for creating a snug and even fit.
You can use a brown paper bag or a paper grocery sack, as both work well for this project. The key is to ensure that the edges of the paper are aligned with the edges of the book.
The Spruce suggests lining up the right side of the back cover with the vertical fold near the right edge of the big piece of brown paper. This will give you a good starting point for creating a flap.
In the case of a paper bag, you can fold the top and bottom of the bag where the pencil marks are, and then place the book back on the bag, right in the center. This will help you align the edges of the bag with the edges of the book.
Here are the steps to align your book with the paper:
- Line up the right side of the back cover with the vertical fold near the right edge of the big piece of brown paper.
- Make sure there's enough leftover brown paper to make a good flap.
- Use a pencil mark to guide you, if needed.
- Double-check that the edges of the paper are aligned with the edges of the book.
Fold Top and Bottom Edges
To fold the top and bottom edges of your paper bag book cover, follow these steps. You'll want to make a crease in the paper where it curls over the edge of the book, and do the same on the bottom edge. This will help you fold the edges straight.
A little extra paper is better than being too short, so don't be afraid to leave a small margin. You can see an example of this in the picture above, where the crease runs through the pear shape and just to the left of the "Peach" word.
To ensure a straight fold, line up the creases vertically with one another in a few spots. This will help you get a crisp crease in the paper.
Here's a quick checklist to help you remember the steps:
- Make a crease in the paper where it curls over the edge of the book
- Do the same on the bottom edge
- Line up the creases vertically with one another in a few spots
- Leave a small margin of paper to ensure a good fit
Remember, it's better to have a little extra paper than to be too short. This will give you a nice, snug fit when you slip the book's cover into the flaps later.
How to Make the Cool Version
To make the cool version of the paper bag book cover, you'll need to crumple the bag as much as you can. This is a crucial step, as a distressed look is in style now, and it adds to the overall cool factor.
Crumpling the bag will give it a unique texture and make it more interesting. You can get your child to help with this fun part, making it a great activity to do together.
Next, cut down from the opening of the bag (top) in one of the natural corners, cutting until the bottom and turning. Cut the bottom completely off, and you should have a large rectangle.
A few inches at the sides (where the cover opens) should be left uncut, and then trimmed what's left. This will help you create a neat and tidy edge.
To measure the size of the bag, wrap it around the book and fold over and crease to mark book sides. This will give you a clear idea of how much paper you need to work with.

You can trim the edges with decorative duct tape, which adds a cool touch to the book cover. The pattern of the duct tape should be centered on the edge, making it look neat and tidy.
To make the corners neat, fold in a triangle as pictured. This will help you create a clean and sharp edge.
The paper bag should measure in height a few millimeters larger than the book, and in width a few inches longer than the full cover size when closed. This will ensure that the cover fits snugly around the book.
To finish the cover, center your book on the bag (closed) and fold in ends. Then, tape the outside and inside of the flap that holds the book cover using a small piece of duct tape.
The Project
To start the project, you'll need a brown paper grocery sack. Open the bag and cut along a side seam from top to bottom and then all the way around the bottom of the bag. Cut carefully to avoid tearing the paper.
You'll end up with one large rectangle of paper and a small rectangle of paper that had previously been the bottom of the bag. Discard the small rectangle, or have your kids cut it into strips and decorate it for bookmarks.
Making the Book Cover

Start by opening a paper grocery sack and cutting along a side seam from top to bottom and then all the way around the bottom of the bag until you are left with one large rectangle of paper and a small rectangle of paper that had previously been the bottom of the bag.
Discard the small rectangle, or have your kids cut it into strips and decorate it for bookmarks. This small piece of paper can be repurposed in a creative way, making the process more engaging for kids.
Take the large rectangle of paper and fold it to create a crisp crease. This crease will serve as a guide for wrapping the paper around the book's cover.
To create a snug fit, slide the book's cover inside the edges of the fold, making sure it fits against the crease you just made.
To ensure a proper alignment, line up the right side of the back cover of the book with the vertical fold near the right edge of the big piece of brown paper.
You'll need a few simple materials to complete this project: a paper shopping bag, a book, masking tape, patterned duct tape, scissors, and optional paints for decorating.
Here's a list of the materials you'll need:
- A paper shopping bag
- A book (naturally)
- Masking tape
- Patterned Duct tape
- Scissors
- Optional: paints for decorating
By following these simple steps, you can create a functional and creative book cover from a paper grocery sack.
Sources
- https://www.rossandwallace.com/inthebag/tag/paper+bag+book+cover
- https://www.rubberstamps.com/blogs/diy/how-to-make-a-paper-bag-book-cover
- https://redeemedreader.com/2018/07/how-to-make-a-brown-paper-bag-book-cover-in-10-simple-steps/
- https://www.momsandcrafters.com/paper-bag-book-cover/
- https://www.thesprucecrafts.com/making-a-paper-bag-book-cover-3106756
Featured Images: pexels.com