Labeling a package with the United States Postal Service (USPS) is a straightforward process that requires a few essential details. You'll need to provide the sender's address, the recipient's address, and a description of the package's contents.
The sender's address should include their name, street number, apartment or suite number, city, state, and ZIP code. The recipient's address should also include their name, street number, apartment or suite number, city, state, and ZIP code.
To ensure accurate delivery, make sure to include the correct ZIP code for both the sender and recipient. A ZIP code is a five-digit code that indicates the specific area where the package will be delivered.
USPS offers various labeling options, including using a pre-printed label, printing a label online, or using a mobile app to generate a label.
Discover more: How to Ship without Using Home Address
Creating a Prepaid Label
Creating a prepaid label with USPS is a straightforward process that can save you time and money. You can use either the USPS Click-N-Ship service or PitneyShip, both of which are great options depending on your needs.
To get started, sign up for a service on the USPS website or through a partner like PitneyShip. USPS Click-N-Ship is a free service that lets you ship with Priority Mail or Priority Mail Express and schedule package pickups, earning credits toward your shipping labels if you're a small business.
Once you've created an account, follow the directions for entering the information needed to create your label, which typically includes return and delivery addresses, package details, level of service, and optional service requests.
You can use plain white printer paper or self-adhesive labels to print your label, and USPS recommends using a laser printer or ink jet printer that prints at least 600 dots-per-inch (DPI) for best results.
To print your label, log in to your account, enter the required information, and verify that everything is correct before making any necessary edits and completing the payment steps.
Here are the basic steps to create a prepaid USPS shipping label:
- Create a USPS.com account or sign up for PitneyShip.
- Fill out the required information for your label, including return and delivery addresses, package details, and level of service.
- Verify that your label information is correct and make any necessary edits.
- Complete the payment steps and print your label.
After printing your label, you can arrange a free package pickup with USPS, making it easy to get your package delivered without having to go to the post office.
Label Requirements and Placement
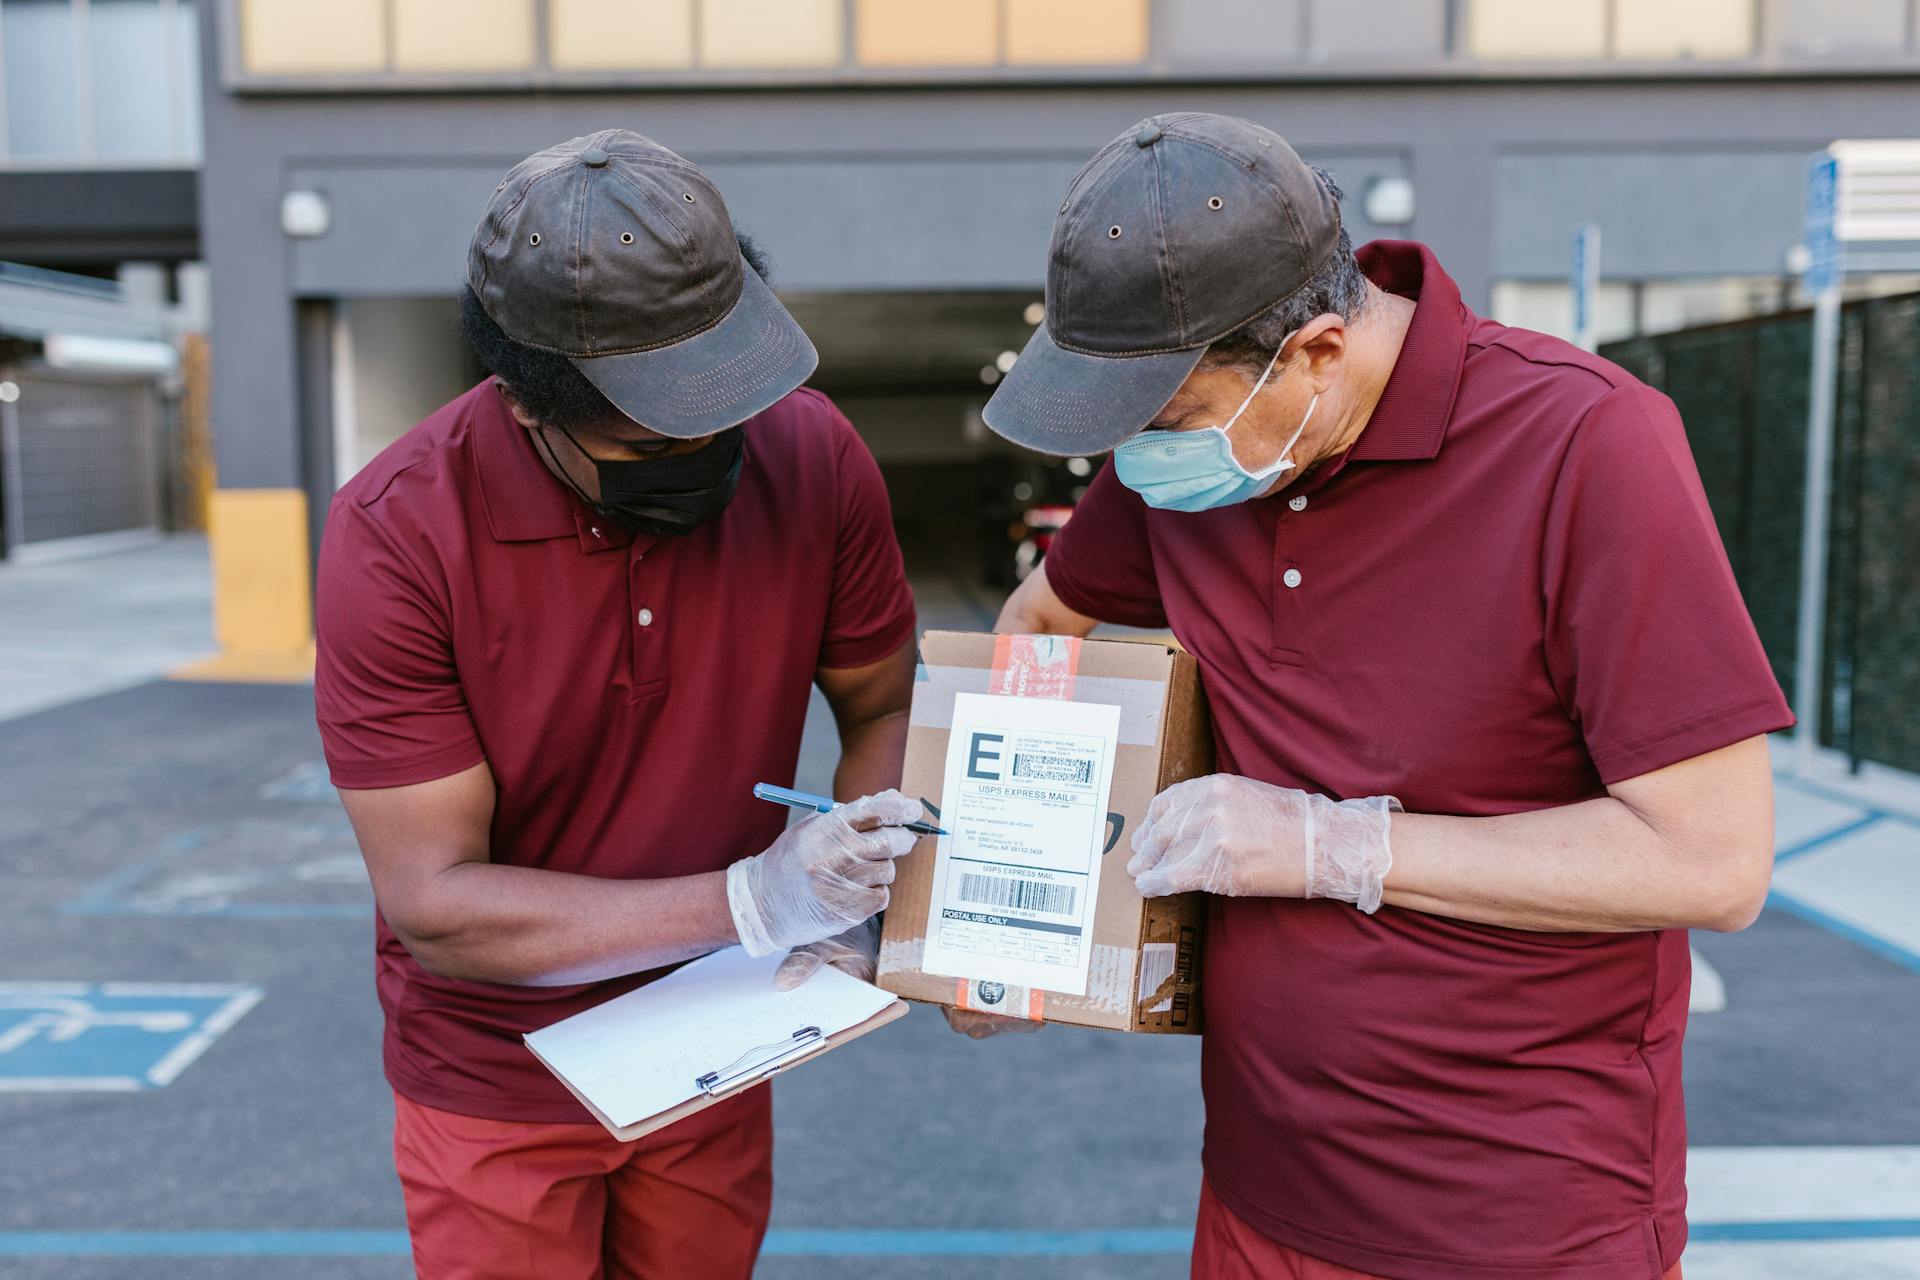
To ensure your USPS shipping label is accurate and easy to read, place it somewhere that's visible for the carrier to see and scan. This will help prevent any delays or issues with delivery.
When it comes to the label itself, make sure it's adhered securely to the package. If you're using paper labels, avoid taping over any barcodes to prevent damage.
Here are some key guidelines to keep in mind:
- Place your label somewhere that’s easy for your carrier to see and scan.
- Make sure the label is adhered securely (if using paper, avoid taping over any barcodes).
- Don’t allow the label to extend over the sides of your package.
Label Requirements
Shipping labels are automated, but knowing the guidelines can help you catch inaccuracies or errors.
You may not need to worry much about the guidelines, but it pays to know how shipping labels are formatted.
Shipping and creating labels has never been easier before.
Perfect Label Placement
Perfect label placement is crucial for a smooth delivery process. Place your label somewhere that's easy for your carrier to see and scan.
To ensure your label is easily visible, make sure it's in a spot where the carrier can quickly spot it. This is especially important for carriers who have to handle a high volume of packages.
Curious to learn more? Check out: Carrier Liability vs Cargo Insurance
The label should be adhered securely to the package, but be careful not to tape over any barcodes if you're using a paper label. This can cause the barcode to become distorted and unreadable.
Here are some tips for perfect label placement:
- Place your label in a central location on the package.
- Avoid placing the label on the sides or bottom of the package.
- Keep the label away from any flaps or folds in the package.
By following these simple tips, you can help ensure that your package is delivered quickly and efficiently.
Label Size and Packaging
The suggested label size for the USPS is 4 x 6 inches, which is the shipping industry standard. This size is recommended for most packages.
You can also use other sizes like 6 x 3 inches and 4 x 4 inches, but 4 x 6 inches is the preferred size. Each size can be printed on a standard-sized sheet of paper, leaving extra space for a personalized message.
Make sure to leave enough space for the label image and don't let the extra message interfere with it. This will ensure that your label looks professional and easy to read.
Suggestion: Us Mail Package Size Limits
Measure Twice
Measuring your package correctly is key to avoiding costly mistakes.
Double-checking your package specs before printing is crucial to avoid refund processes or shipping mishaps.
Verify your addresses, as even a single digit out of place can cause a package to be lost or delayed.
Measuring your package's dimensions and weighing it first ensures every detail is right.
Size
The size of your label can make a big difference in shipping. The USPS preferred label size is the shipping industry standard of 4x6 inches.
You can use other sizes like 6x3 inches or 4x4 inches, but 4x6 inches is the most widely accepted. This size can be printed on a standard-sized sheet of paper.
Each size has extra white space that you can use to include a personalized message. Just make sure it doesn't interfere with the label image.
For more insights, see: Cd Packaging Size
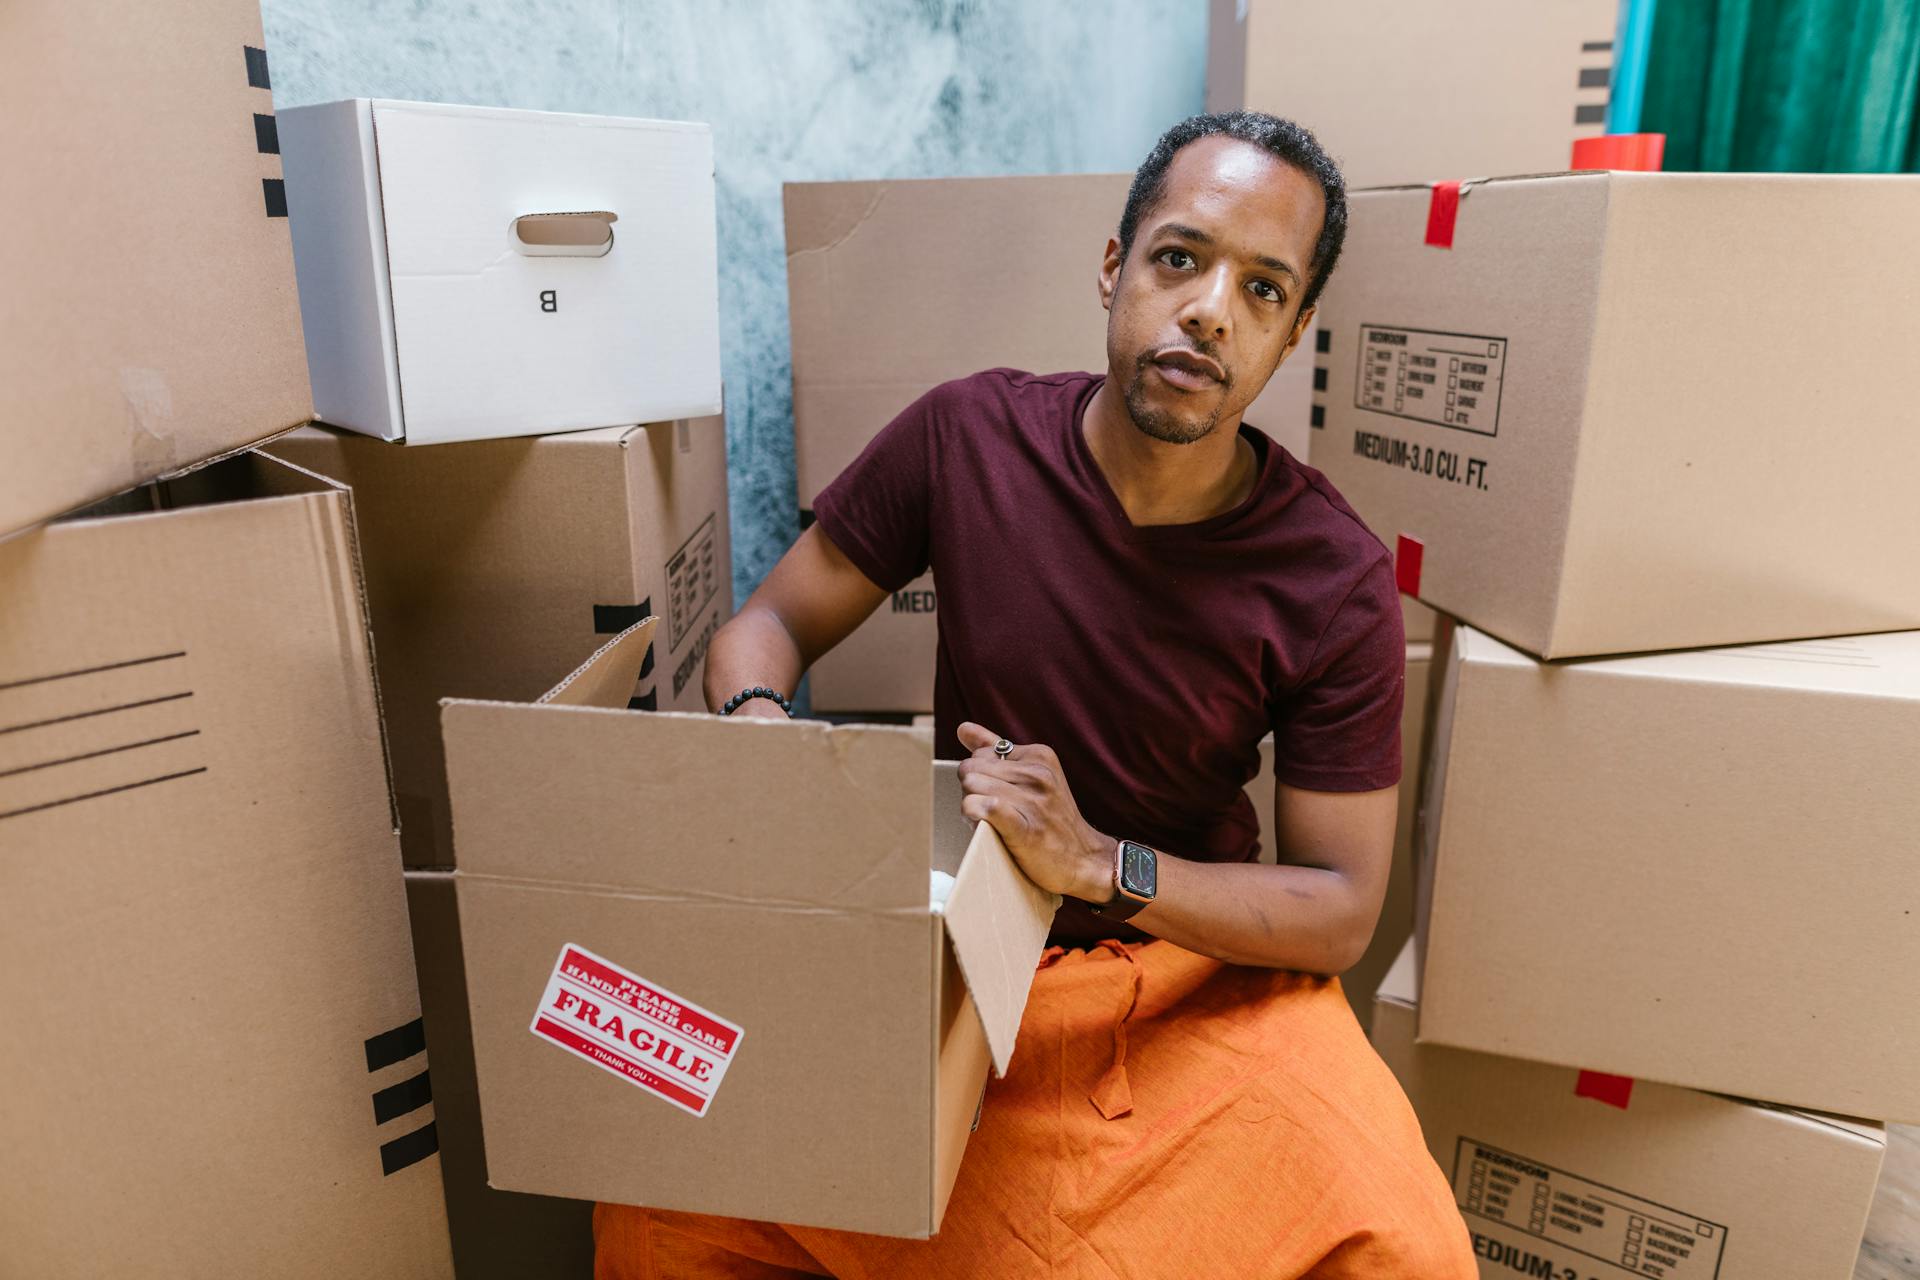
How to Package
To package a package for USPS delivery, you should use a durable, plain box or envelope. This will help ensure that your package arrives safely and securely.
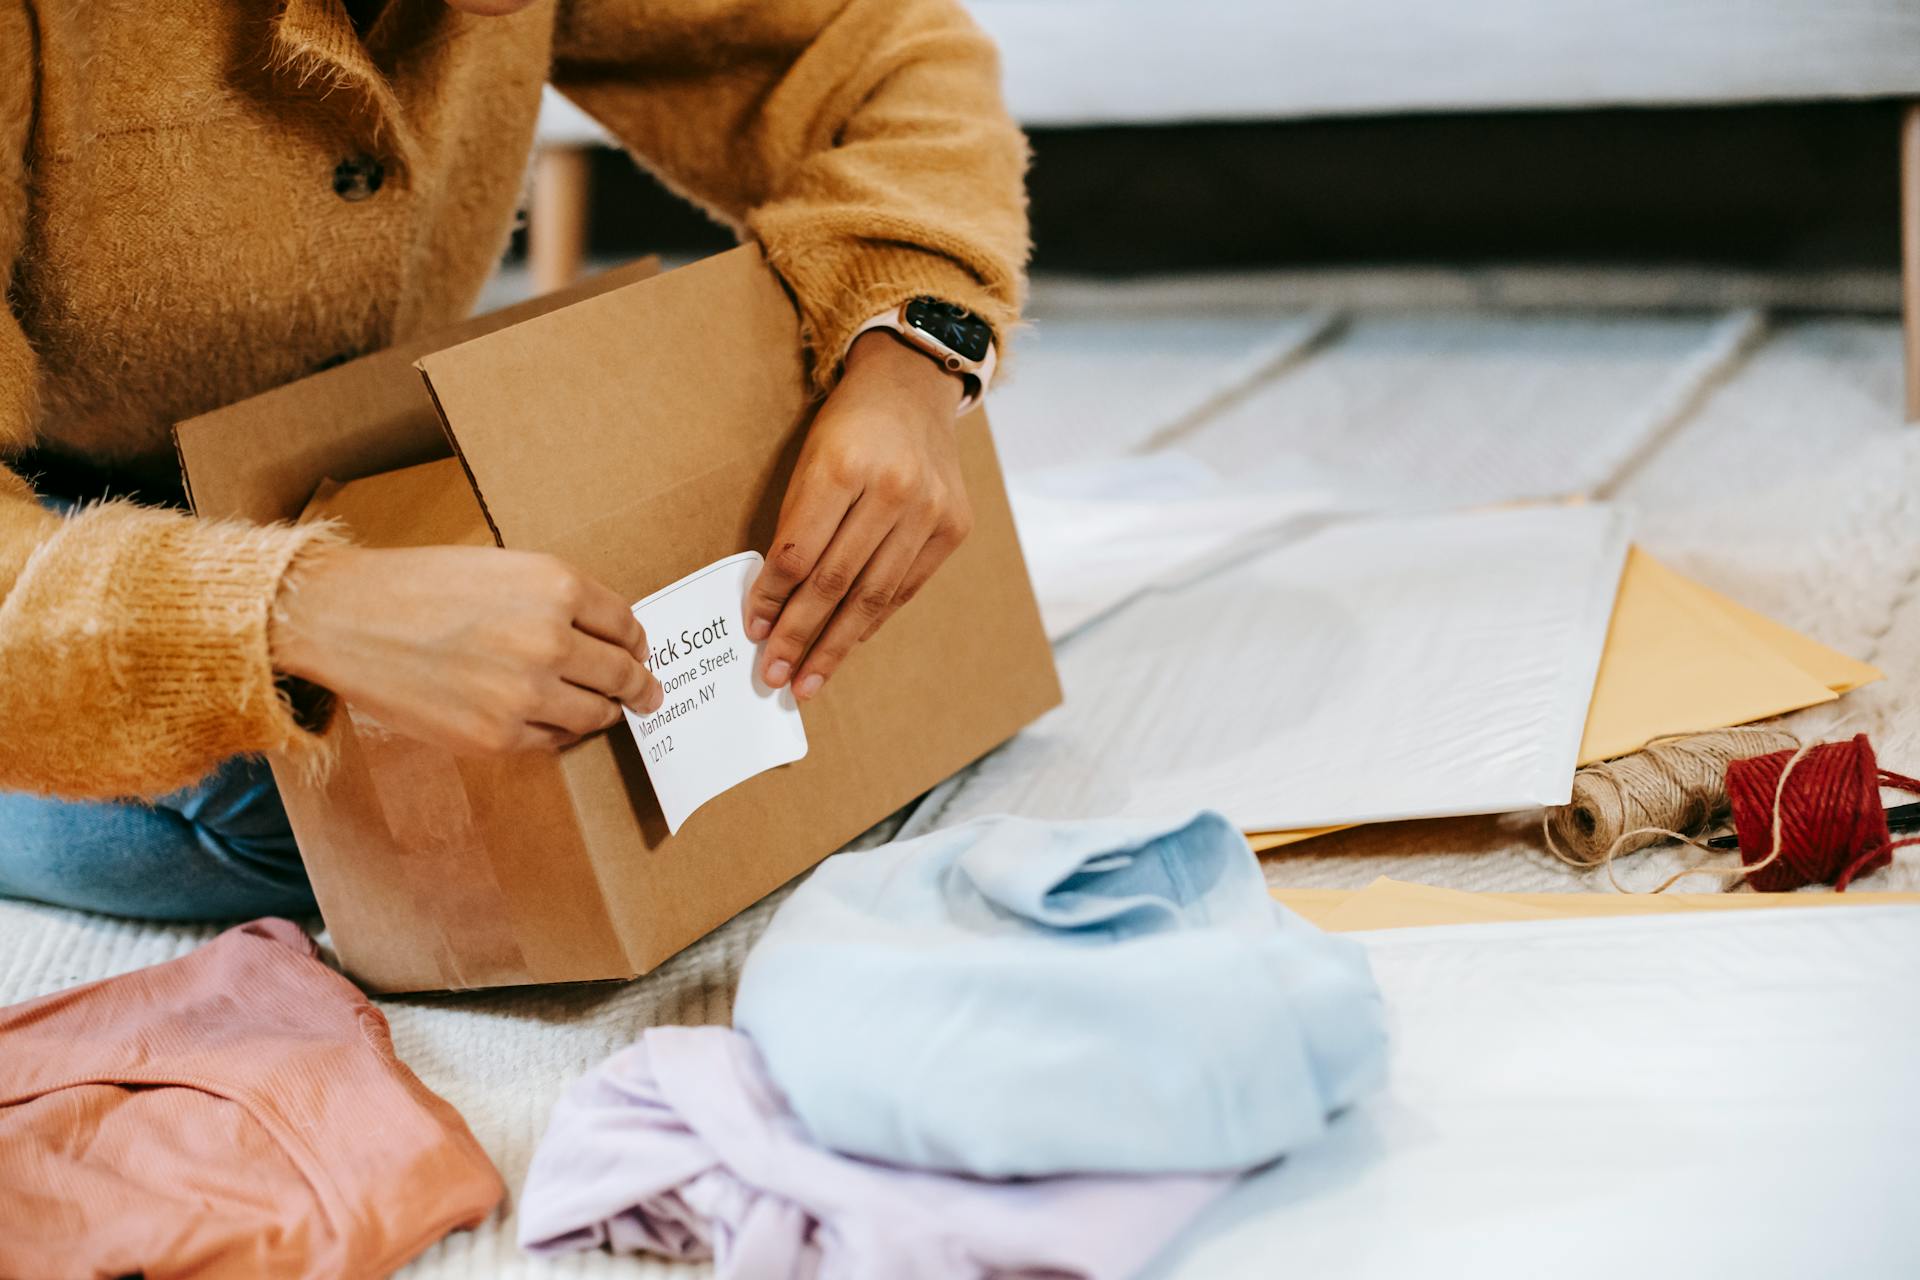
The recipient's address should be written in the center of the package, including their name, street address, city, state, and ZIP code. Make sure to use a clear and legible font to ensure accurate delivery.
A return address should also be included on the package, in the top left corner. This will allow the USPS to return the package to you if it is undeliverable or if there are any issues with the delivery.
When labeling a package for USPS, it's essential to use a clear and legible font for the recipient's name and address. The complete address, including the ZIP code, should be included on the label.
To ensure that your package is properly labeled, follow these guidelines:
Remember to measure your package's dimensions and weigh it before printing the label to ensure accuracy. This will help prevent any shipping mishaps or refunds.
Labeling and Packaging Options
You can use your own packaging for USPS shipments, as long as it meets the size and weight requirements for the selected shipping service.
It's a good idea to use a durable, plain box or envelope for your package, as it will withstand the rigors of shipping and handling.
Make sure to write the recipient's address in the center of the package, including their name, street address, city, state, and ZIP code, to ensure accurate delivery.
If you're using a USPS shipping label, make sure to affix it securely to the package to prevent it from coming off during transit.
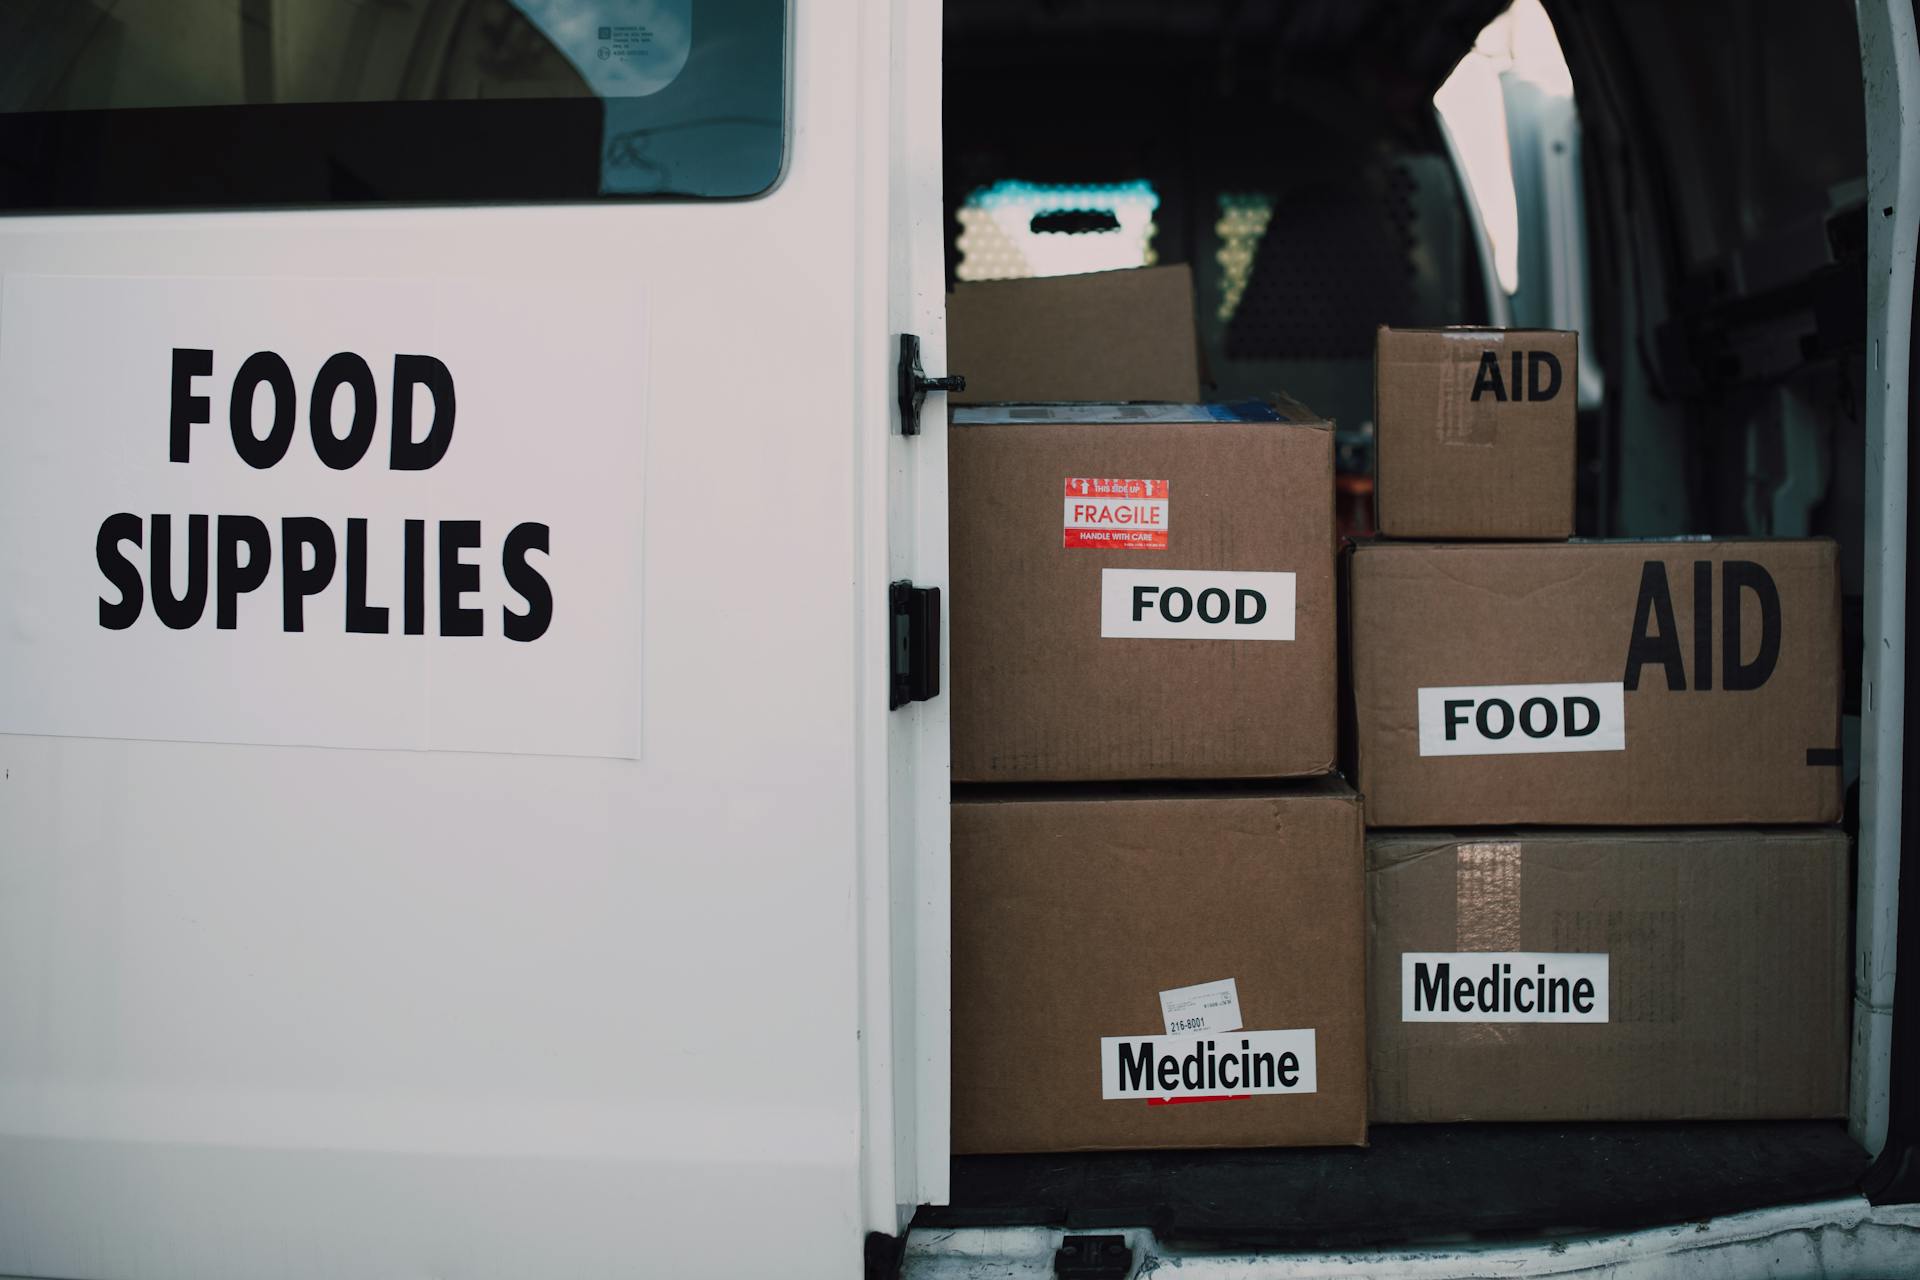
Consider adding "Fragile" or "Handle with Care" labels if your package contains delicate items, to alert handlers to take extra precautions.
You should use a clear and legible font for the recipient's name and address, and make sure the address is easy to read.
Include the complete address, including the ZIP code, on the label to ensure accurate delivery.
Remember to include a return address on your package, in case the package is undeliverable or if there are any issues with the delivery.
Expand your knowledge: Yang Ming Line Scac Code
How to Add Labels in PayPal
To add labels in PayPal, log in to your account and select the "Activity" tab. From there, locate the sale you want to print a shipping label for and click on the "Print shipping label" box.
You'll be prompted to verify your phone number, address, and the type of printer you're using. This information is necessary for PayPal to calculate the shipping cost and provide you with the shipping label.
Once you've confirmed your details, you'll be able to choose your packaging and shipping options, input your package weight and dimensions, and calculate the shipping cost. After clicking "Calculate Shipping Cost", you'll be taken to a confirmation page where you can review your order and pay for the shipping label.
To finalize the purchase, click on "Add to Cart" to buy the shipping label that's ready to print. If you need to make more labels, you can click "Add to Cart and Start New Label" to begin the process again.
Expand your knowledge: Us Postal Rates for Overnight Delivery
Labeling and Printing Options
If you're shipping a package without a printer, don't worry, there are options. You can use the USPS Label Broker Service, which allows you to buy postage online and get a QR code to bring to a Post Office location equipped with Label Broker or a self-service kiosk.
You can also use the USPS Label Delivery Service, which delivers a physical shipping label directly to you for a $1.55 fee per label. Business account users can even create a prepaid return label to make it easier for customers to send items back.
To create a prepaid USPS shipping label, sign up for a service like Click-N-Ship or PitneyShip. Both options are great, but Click-N-Ship is a free service that's perfect for small businesses with low shipping volumes.
With PitneyShip, you can access a range of options and save money, especially with high or low volumes of packages and mail. Once you've created an account, simply enter the necessary information, such as return and delivery addresses, package details, and level of service.
Curious to learn more? Check out: Liner Service
Before printing your label, make sure to verify the information is correct and complete any required payment steps. PitneyShip technology even verifies your addresses to ensure everything is in order.
To ensure your label is properly placed, place it somewhere easy for the carrier to see and scan. Make sure it's adhered securely, especially if you're using paper, and avoid taping over any barcodes.
Labeling and Payment Options
You can print USPS shipping labels without a printer, which is super convenient. You can use the USPS Label Broker Service, where you buy your postage using Click-N-Ship and get a Label Broker ID (a QR code) to bring to a Post Office location equipped with Label Broker or a self-service kiosk.
The USPS Label Delivery Service is another option, where you get a physical shipping label delivered directly to you for a $1.55 fee per label. Business account users can also create a prepaid return label to make it easier for customers to send items back.
If you want to create your own USPS shipping labels, you can sign up for a service like Click-N-Ship or PitneyShip. Both services are great options, depending on your needs. Click-N-Ship is free and offers credits toward Priority Mail and Priority Mail Express shipping labels for small businesses.
PitneyShip partners with all major carriers, including USPS, giving you access to a range of options and more opportunities to save money. To create a PitneyShip account, simply follow the directions for entering the information you need to create your USPS shipping label.
You'll need to input your return and delivery addresses, package details (weight and/or dimensions), level of service, and optional service requests (tracking, insurance, etc.). PitneyShip technology verifies if your addresses are valid and everything is in order before you print your label.
You can also print USPS shipping labels on PayPal, which is a great option if you're already using the service. To do this, log in to your PayPal account, select the "Activity" tab, and locate the sale you want to print a shipping label for.
To create a prepaid USPS shipping label, you can use USPS Click-N-Ship, which is an online shipping service that makes printing labels and purchasing stamps simple and straightforward. You'll need to create a USPS.com account, which only takes a moment to set up.
You might enjoy: Great Eastern Shipping Company Share Price
To make a USPS shipping label, you'll need to fill out the following information: package details (flat cost or weight-based shipping), service type (Priority Mail or Priority Mail Express), and package value (for insurance purposes). You can also add extra services and additional delivery instructions.
Here are the labeling and payment options for USPS shipping labels:
Sources
- https://www.usps.com/ship/online-shipping.htm
- https://www.pitneybowes.com/us/blog/how-to-create-and-print-usps-shipping-labels.html
- https://coolparcel.com/blog/how-to-label-a-package-for-usps/
- https://www.enkoproducts.com/articles/printing-usps-shipping-labels-complete-guide/
- https://coolparcel.com/blog/how-to-label-package-for-usps/
Featured Images: pexels.com