Gift wrapping is an art that requires some planning and preparation, but don't worry, it's easier than you think.
To get started, make sure you have a clean and clutter-free workspace to avoid any mess or distractions.
Choose a wrapping paper that complements the occasion and the gift itself, such as a festive holiday paper for a birthday present.
Measure the gift to determine how much wrapping paper you'll need, a general rule of thumb is to add 2-3 inches to the gift's dimensions for a standard wrap.
Readers also liked: Wine Bottle Wrapping Paper
Materials Needed
When wrapping gifts, it's essential to have the right materials on hand. You can choose from a variety of gift wrap styles, from homemade and rustic to polished and professional.
For a cohesive and coordinated look, consider the overall aesthetic you want to achieve. A roll of designer wrapping paper, brown kraft paper, or hand-painted newsprint can all work well.
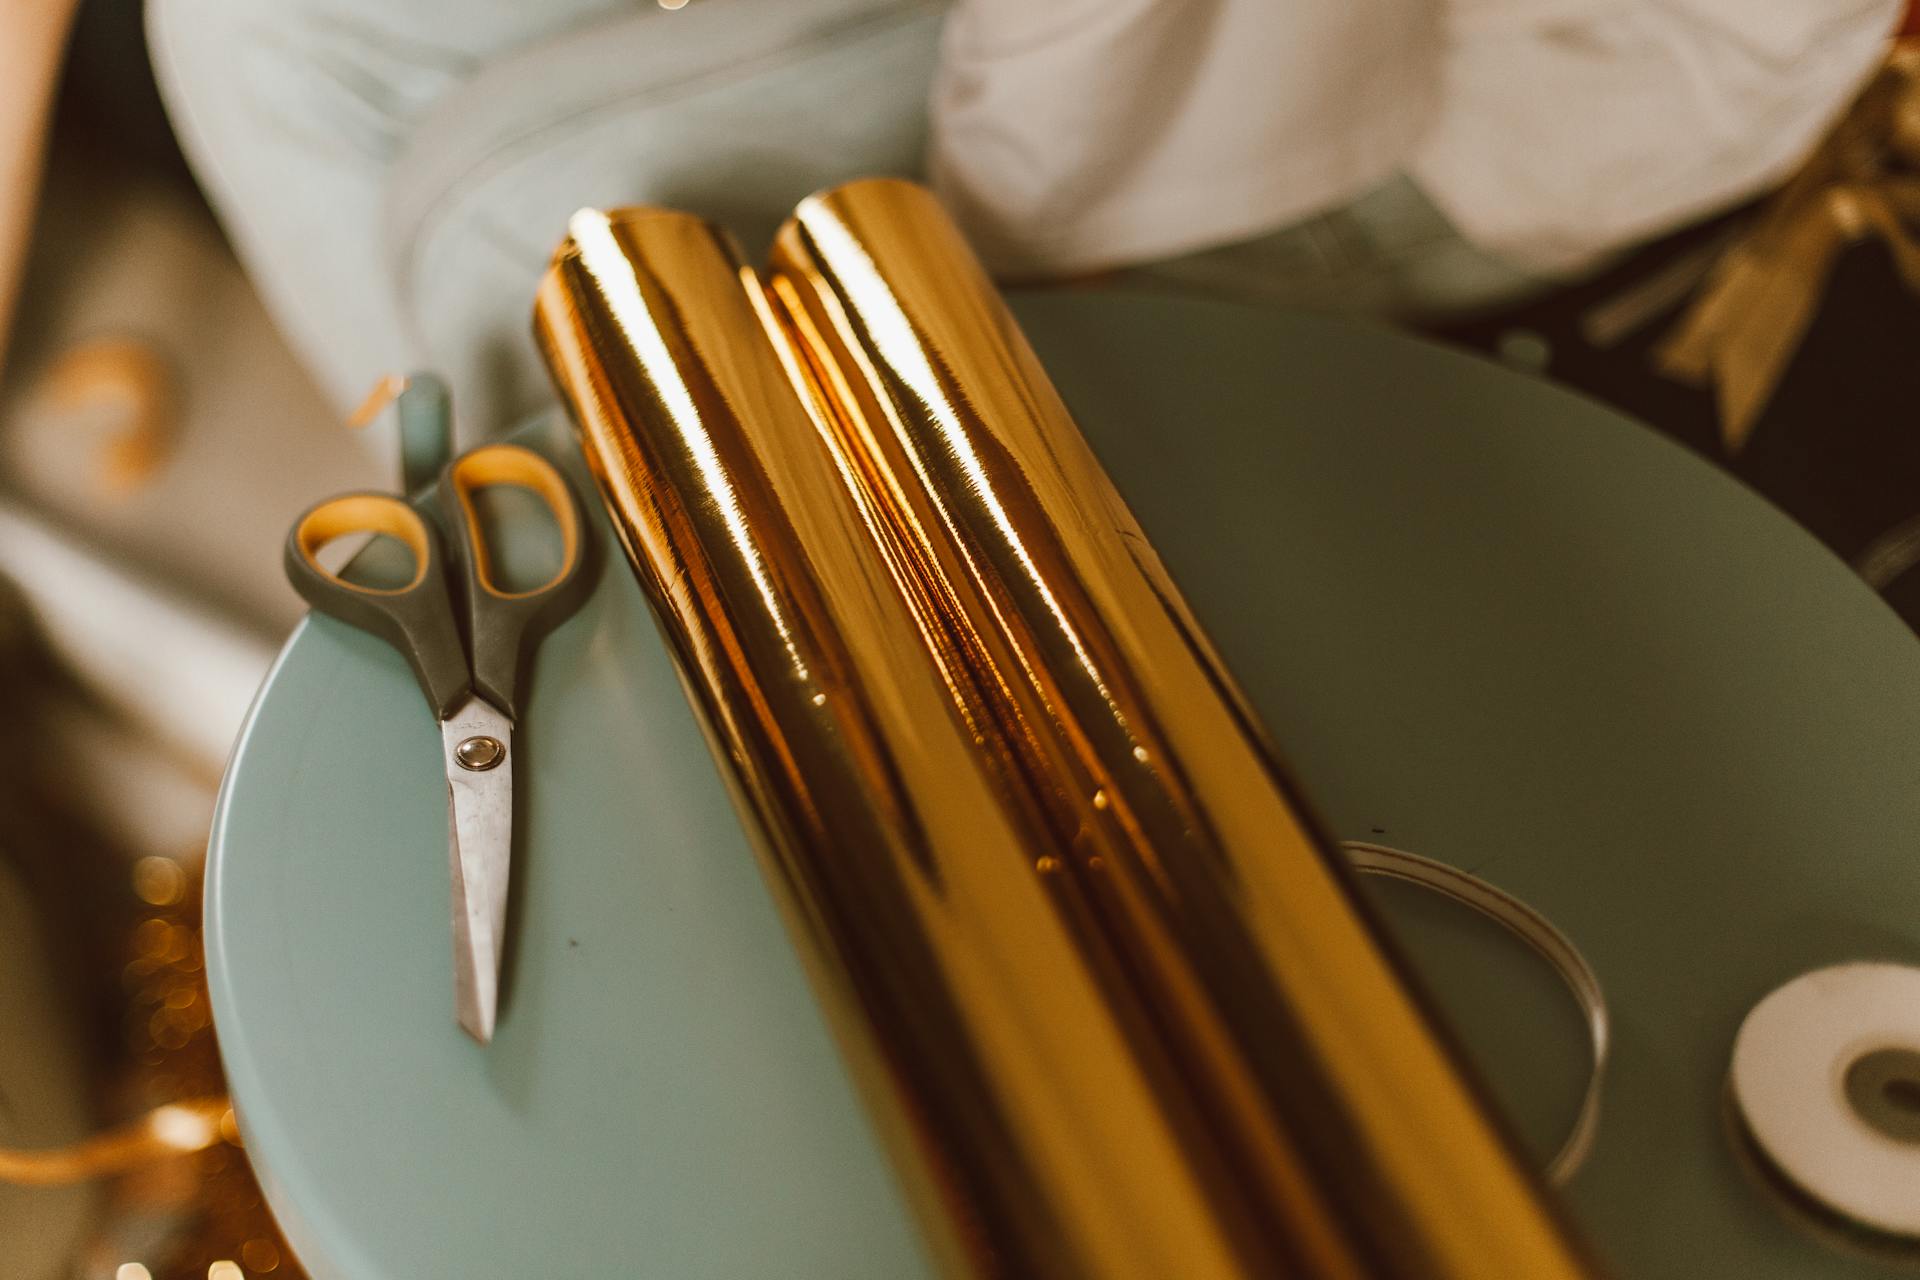
A sharp pair of scissors is a must-have for cutting straight lines and gliding smoothly along the paper. You can also use translucent gift wrap tape for a more subtle look.
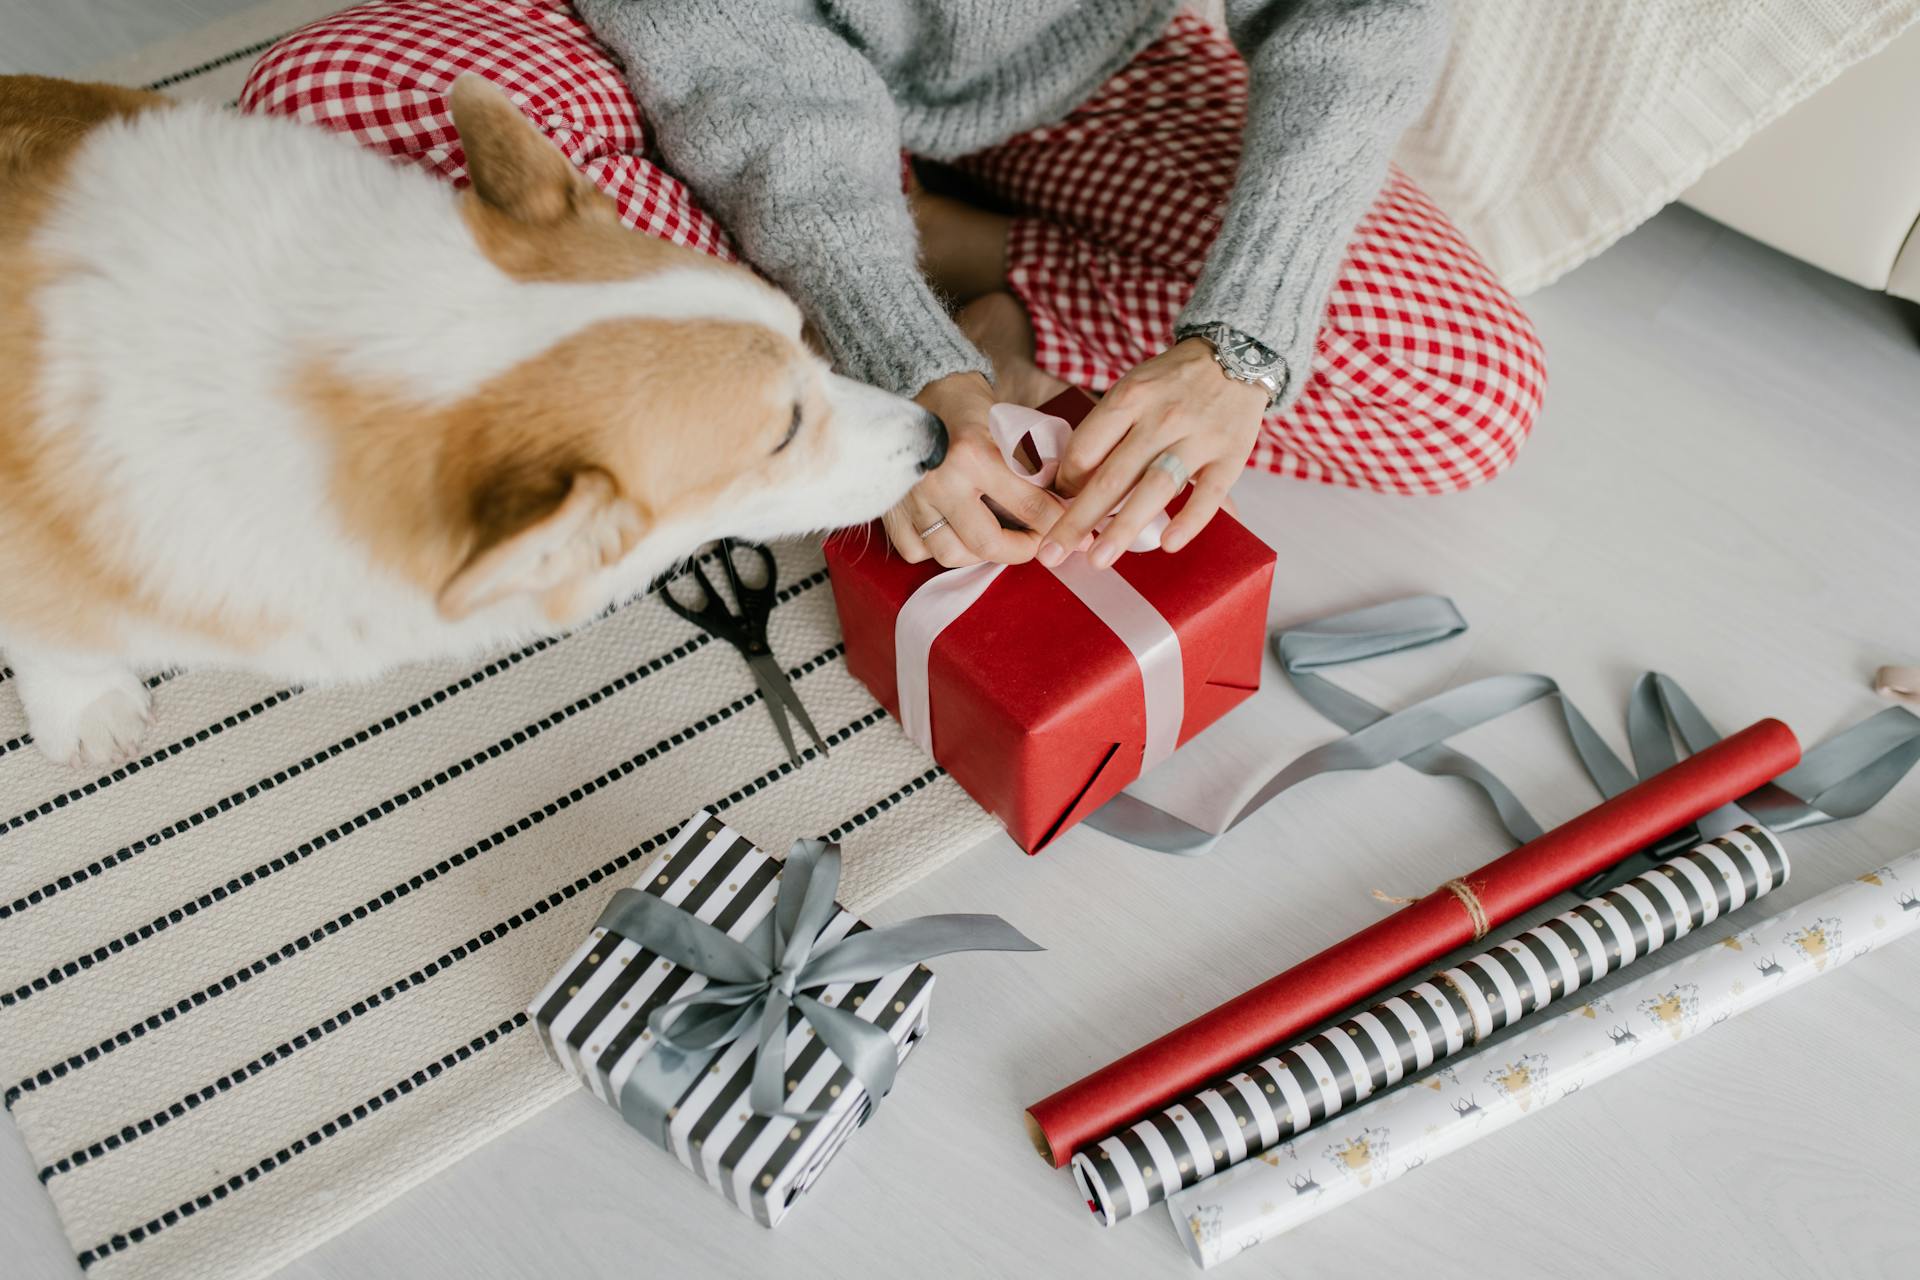
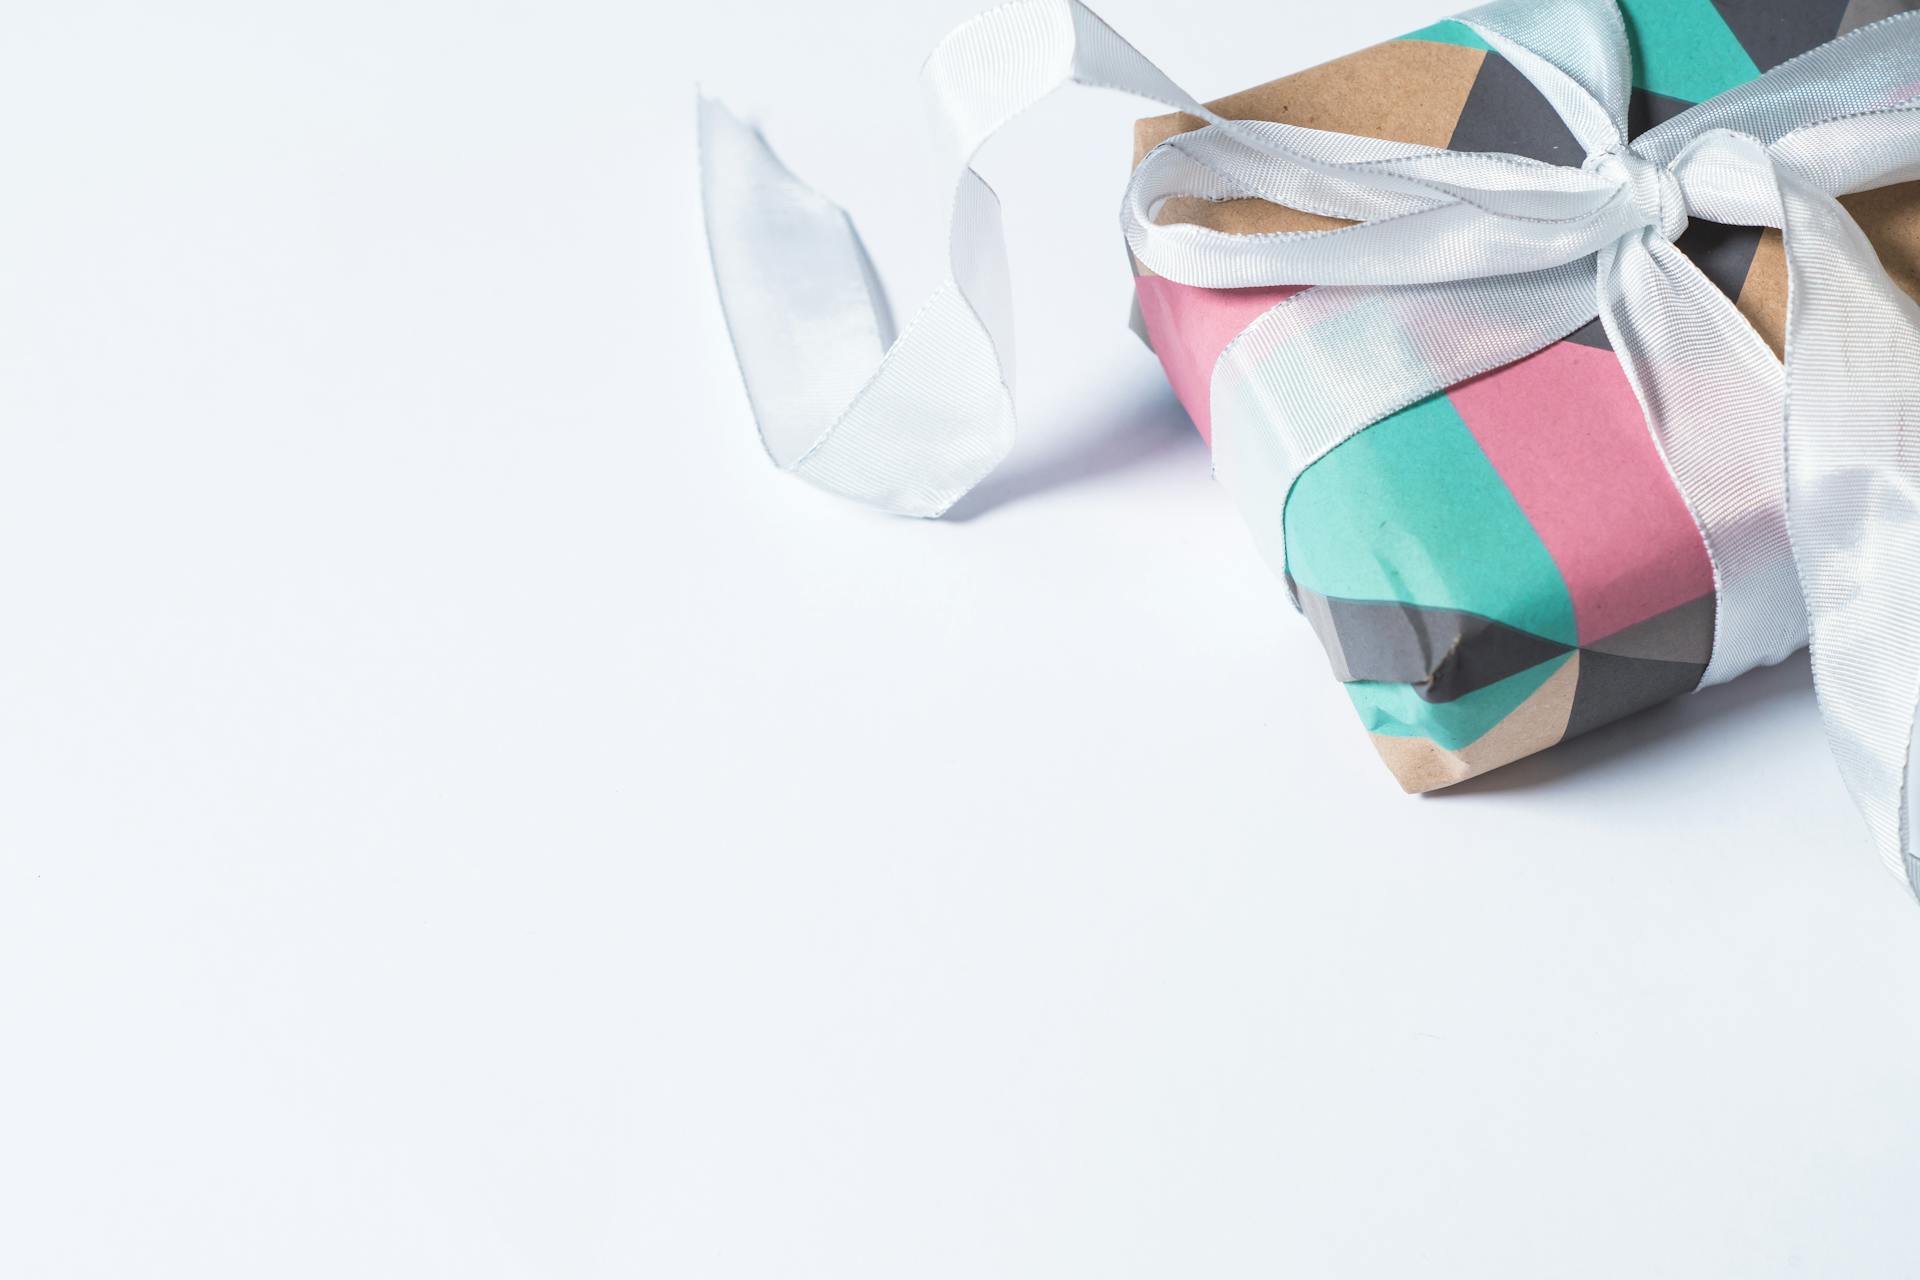
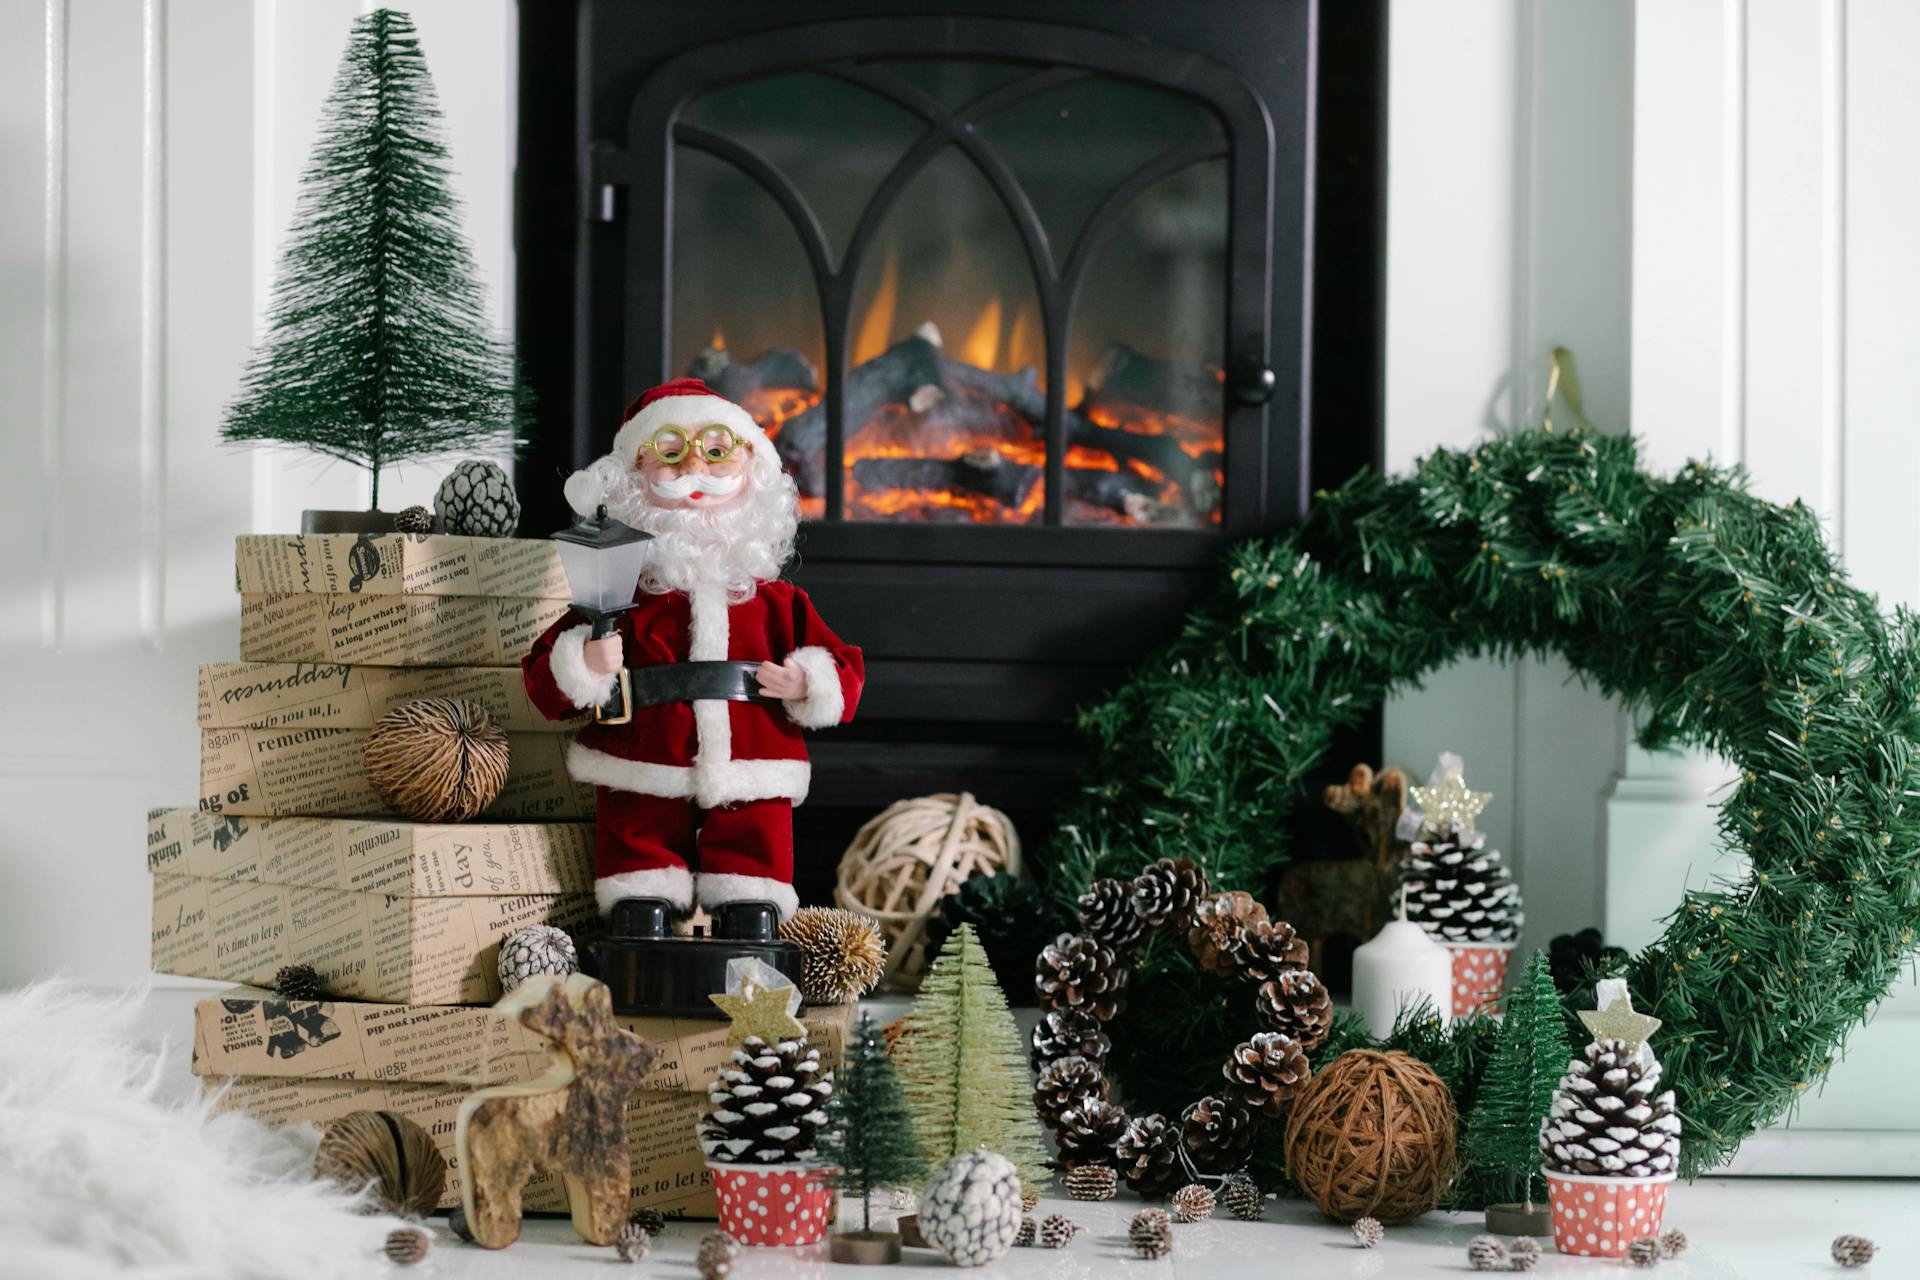
Ribbon is optional, but it adds a special touch to gifts, especially during Christmas. Twine or yarn can be a stylish alternative for a rustic look.
Don't forget to label your gifts with decorative tags to keep things straight and add to the overall wrapping job. A bow on top is also a nice touch, but it's optional.
Here are the essential materials you'll need to get started:
- Gift Wrap: Choose from designer wrapping paper, brown kraft paper, or hand-painted newsprint.
- Scissors: Sharp scissors will make cutting easier and more precise.
- Tape: Use translucent gift wrap tape for a more subtle look.
- Ribbon: Add a special touch with ribbon, or try twine or yarn for a rustic look.
- Gift tags: Decorative tags will keep your gifts labeled and add to the wrapping job.
Preparing the Gift
First, remove or black out the price tag from the present. This will ensure that the recipient doesn't see the price and get any ideas about how much the gift cost.
To prepare the gift for wrapping, it's essential to identify the top and bottom of the present. This will help you determine how to fold the wrapping paper correctly.
You'll also need to identify the sides of the present, which will come in handy when you're folding and tucking in the wrapping paper.
If you have too much paper, trim some off until it's easier to fold. This will save you time and frustration in the long run.
Wrapping the Gift
To start wrapping, grab your wrapping paper and unroll enough to comfortably cover the entire gift. Place your box in the center of the wrapping paper, with the longer sides parallel to the edge of the paper.
For boxes or cylinder presents, pull one side of the paper up and over the box, reaching just past the middle of the top surface. Do the same with the other side, ensuring both sides meet with about an inch of overlap.
For round presents, lay the gift on its side, rolling it towards the center to make sure the paper will cover all the way around. Pull one side of the paper up and over the present, leaving about an inch of extra paper to cover the edge where the two sides meet.
To secure the edges, fold the other edge of your paper to meet the edge that is taped down. Fold and neatly place a piece of tape over the seam to keep it in place.
Here are the key steps to keep in mind:
- Pull the paper tight and tape it in place, leaving the ends of the gift exposed.
- Place the box on its side to prevent it from sliding while wrapping the sides.
Measure and Cut
To wrap a gift like a pro, you need to start with the basics: measuring and cutting the wrapping paper. Grab your wrapping paper and unroll enough to comfortably cover the entire gift. Whether it's a holiday box or an oddly shaped birthday present, this step is key to avoiding awkward gaps and uneven folds.
For boxes or cylinder presents, place your box in the center of the wrapping paper, with the longer sides parallel to the edge of the paper. Pull one side of the paper up and over the box, it should reach just past the middle of the top surface.
When cutting the wrapping paper, it's okay if you cut it too big. You can cut off the excess paper in later steps.
To ensure you have enough to tape down securely without leaving any gaps, pull the other side of the wrapping over the present, leaving about an inch of extra paper to cover the edge where the two sides meet.
Here's a quick guide to help you get started:
Fold Edges
Folding the edges of your wrapping paper is a crucial step to creating a clean and polished look. You can fold the edges to create a clean edge by folding the sides of the wrapping paper.
To make the edges even neater, you can gather the excess paper on the short side and gently pleat it into triangles, moving toward the center. This creates a tidy and visually appealing finish.
You can use tape to secure the edges in place, ensuring they don't come undone. To do this, simply crease the paper as you go and tape it down.
For a crisp, clean look, you can press the short sides of the wrapping paper in toward the center, forming two triangular flaps on the top and bottom. This is especially important when dealing with oddly shaped gifts.
Here's a quick reference guide to help you remember the steps:
- Fold the edges of the wrapping paper to create a clean edge.
- Gather excess paper on the short side and pleat it into triangles.
- Crease the paper as you go and tape it down.
By following these simple steps, you can create beautifully folded edges that add a professional touch to your gift wrapping.
Fold the Flaps
Folding the flaps is a crucial step in wrapping a gift, as it helps create a clean and polished look. To start, you'll want to trim away any excess paper to avoid bulky, uneven folds.
You can then take the bottom flap you've created and fold it toward the center of the gift, making sure it lines up neatly. This is a key step in creating a smooth, clean finish.
To secure the flap, simply smooth out any creases and press down the edges, and then use tape to hold it in place. Repeat this process with the other flap, making sure to trim excess paper and smooth out any creases.
For cylindrical shapes, you'll want to fold over one side of the paper, pressing it flat. Then, work your way around, folding the paper at an angle to create a smooth, clean look.
Here's a step-by-step guide to folding the flaps:
- Take the bottom flap and fold it toward the center of the gift.
- Secure the flap with tape.
- Repeat the process with the other flap.
- For cylindrical shapes, fold over one side of the paper and work your way around to create a smooth, clean look.
By following these steps, you'll be able to create a beautifully wrapped gift with clean, polished edges.
Add Finishing Touches
Adding finishing touches to your gift wrap is where the magic happens. It's the final step in making your present truly special.
A classic bow is a timeless addition that can instantly elevate your gift wrap. Whether you choose a simple ribbon or a more elaborate design, it's a great way to add a touch of elegance.
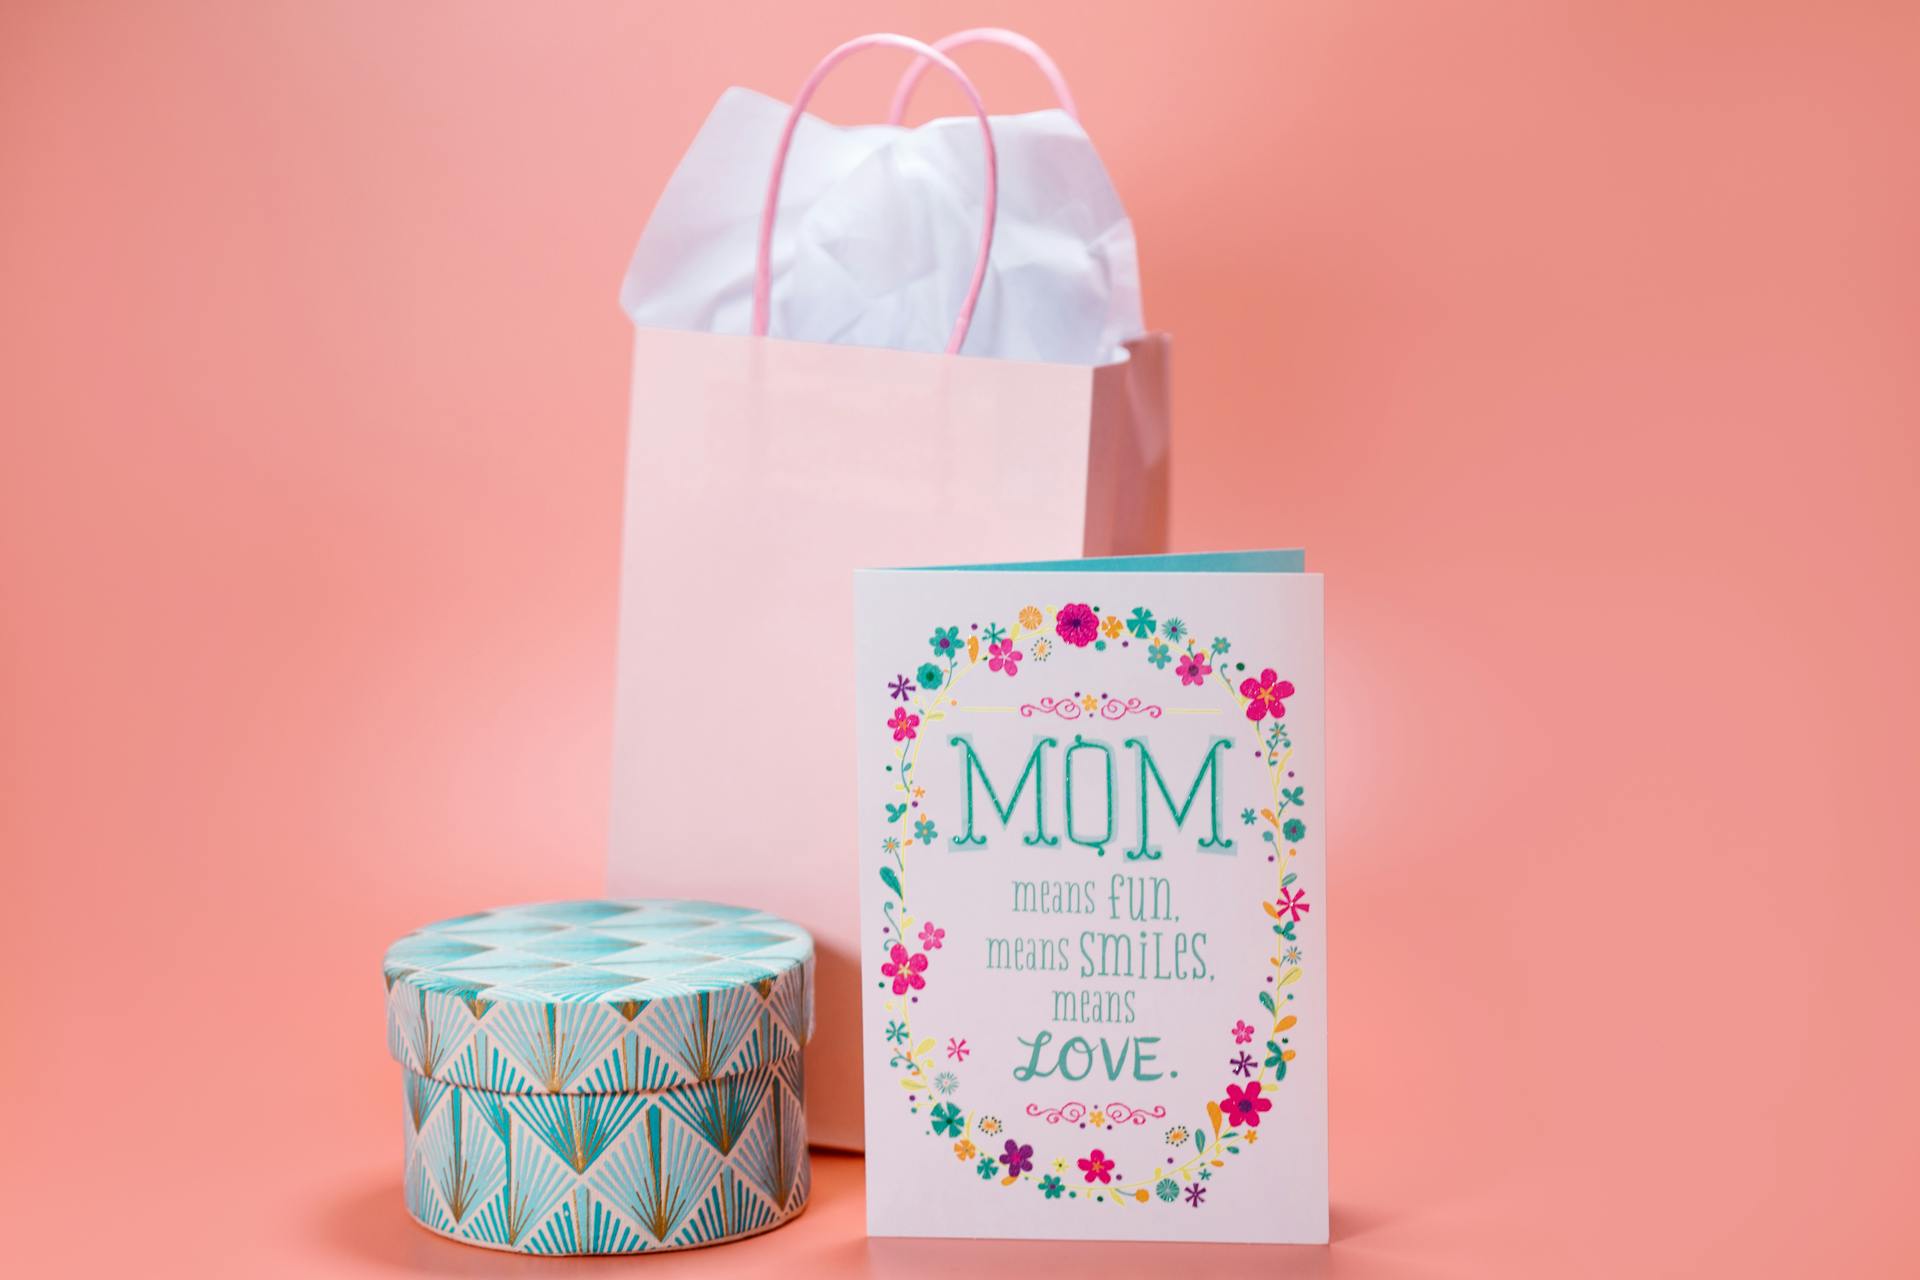
Thoughtful notes are a wonderful way to make your gift even more personal. Take a moment to write a heartfelt message or a fun joke to make the recipient smile.
Playful holographic stickers can add a fun and whimsical touch to your gift wrap. They're a great way to add some personality to your present and make it stand out.
Giving the Gift
As you're finishing up your gift, it's time to add the final touches. First, make sure to remove or black out any price tags, and identify the top, bottom, and sides of your present. This will help you wrap it neatly and evenly.
To get started, prep several pieces of tape ahead of time and stick them to the edge of your table. This will make wrapping much smoother, especially when you're trying to hold things in place.
If you're wrapping a circular gift, try gently creasing the paper as you wrap it around the round object. This will help the paper fit the shape more snugly. Once you've covered the gift, tie it off with a ribbon for a decorative touch.
To add a bow, try the "Tiffany Bow" method. Place the ribbon horizontally across your wrapped box, then wrap the long end of the ribbon around to meet it in the middle.
Here's a quick rundown of the steps to create a beautiful bow:
- Place the ribbon horizontally across your wrapped box.
- Wrap the long end of the ribbon around to meet it in the middle.
- Fold the long end of the ribbon down toward you (the bottom of the package).
- Wrap the long end of the ribbon around the vertical edge of the box until you reach the middle.
- Tuck the ribbon under the center and pull it toward the upper left quadrant.
- Tie a basic bow using both halves of your ribbon.
- Add gift tags or other decorations.
Finally, don't forget to trim any excess paper from your gift until it's easier to fold. This will make the wrapping process much neater and more efficient.
Frequently Asked Questions
How do you wrap a birthday gift card creatively?
You can creatively wrap a birthday gift card by placing it in a card, gift bag, or shirt box, or by attaching it to a stuffed animal or jar candle for a personalized touch. Consider adding a ribbon or decorative element to make it a unique and thoughtful gift.
How do you wrap a birthday present without wrapping paper?
Wrap a birthday present without wrapping paper by reusing items like old newspapers, magazines, brown paper bags, fabric, or even empty jars and biscuit tins. Get creative and explore the many eco-friendly alternatives to traditional wrapping paper
Sources
Featured Images: pexels.com