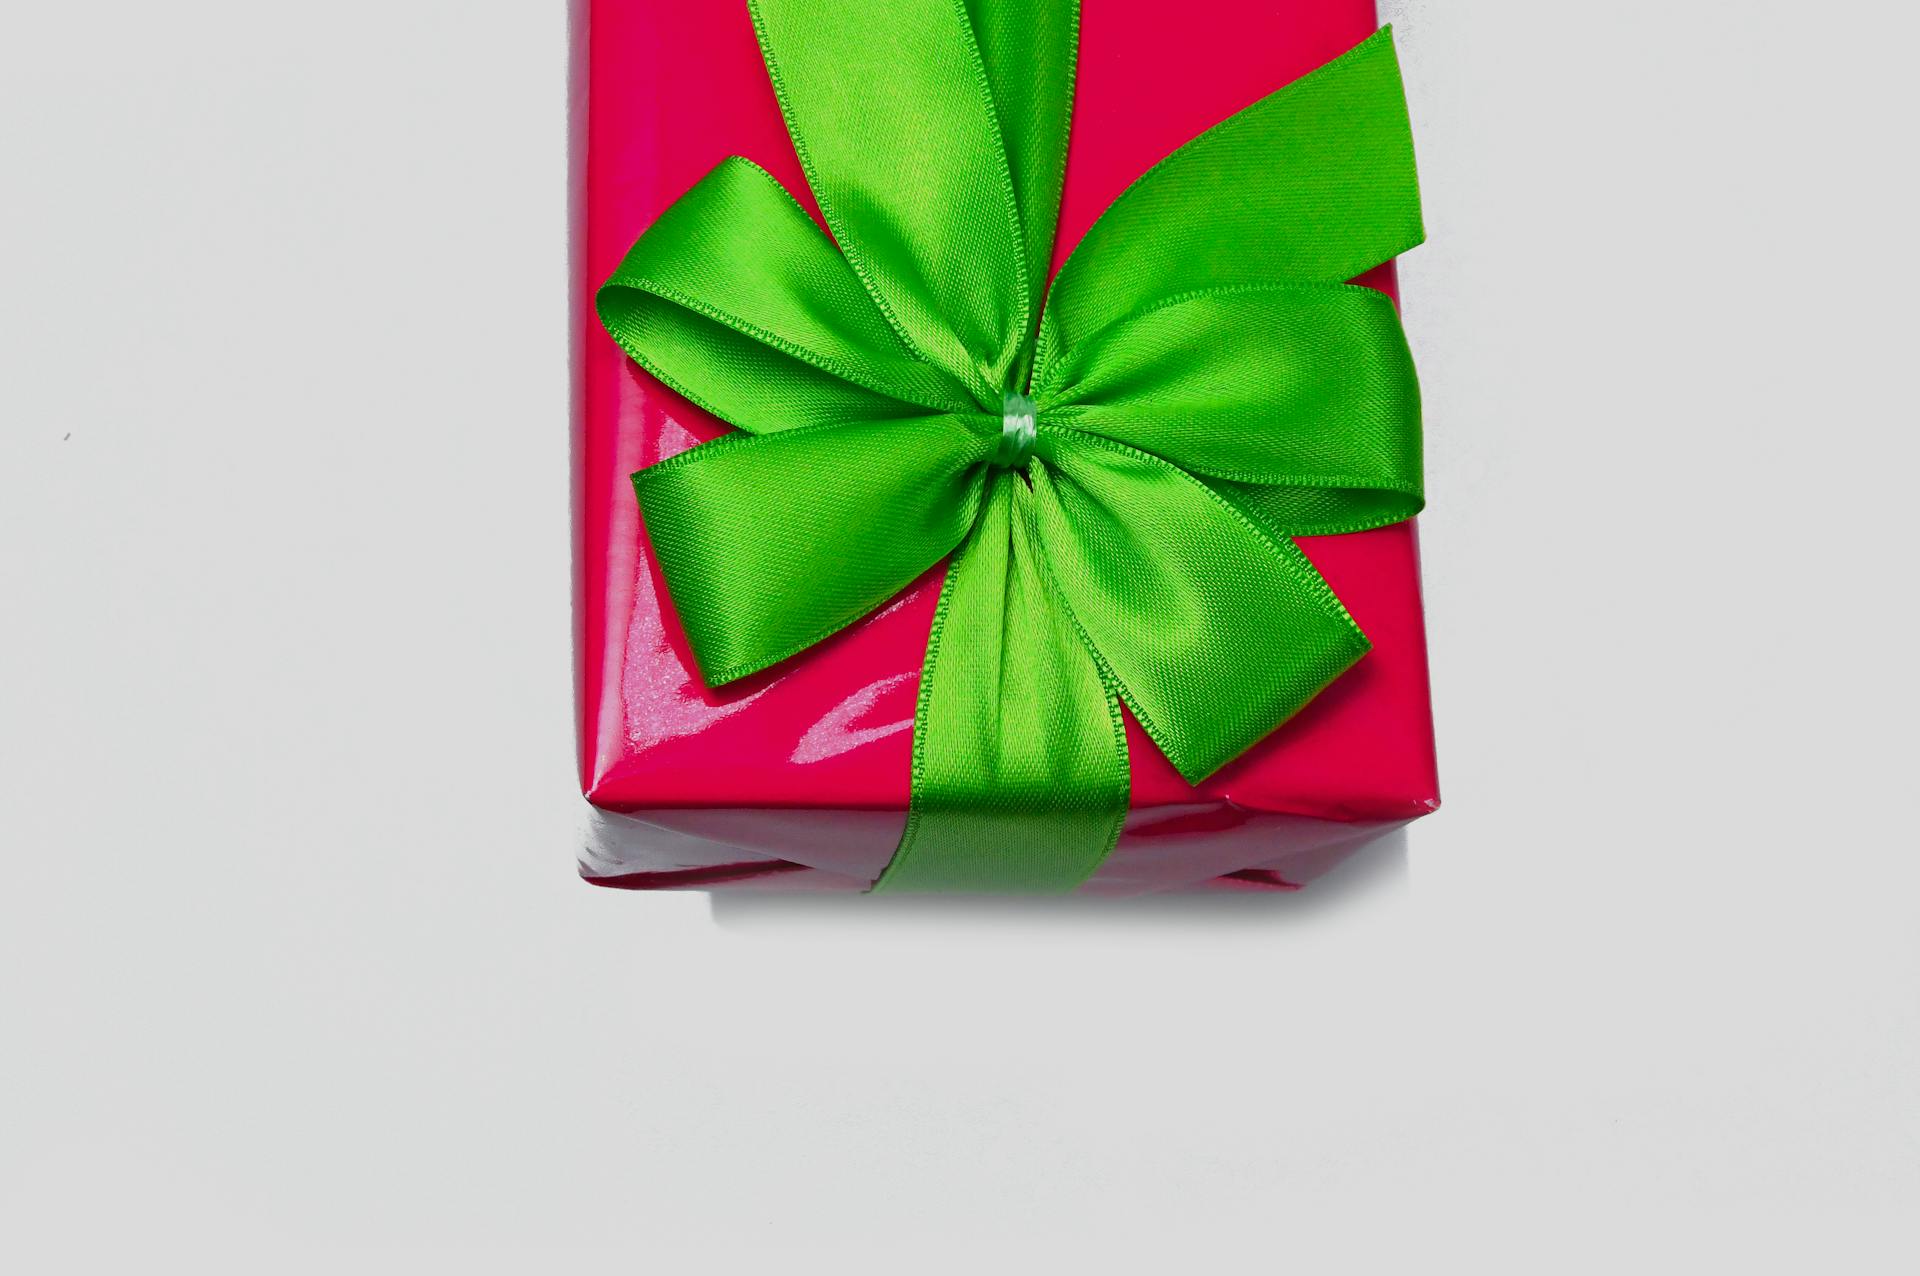
A perfectly wrapped gift is a beautiful thing, and the right gift wrap bow can make all the difference. A well-placed bow can elevate your gift from ordinary to extraordinary.
To achieve this level of perfection, it's essential to choose a bow that complements the occasion and the gift itself. A gift wrap bow's size and shape can greatly impact its overall appearance.
A standard gift wrap bow typically measures between 3 to 5 inches in diameter. This size range is versatile and suitable for most gifts.
Wrapping Bows
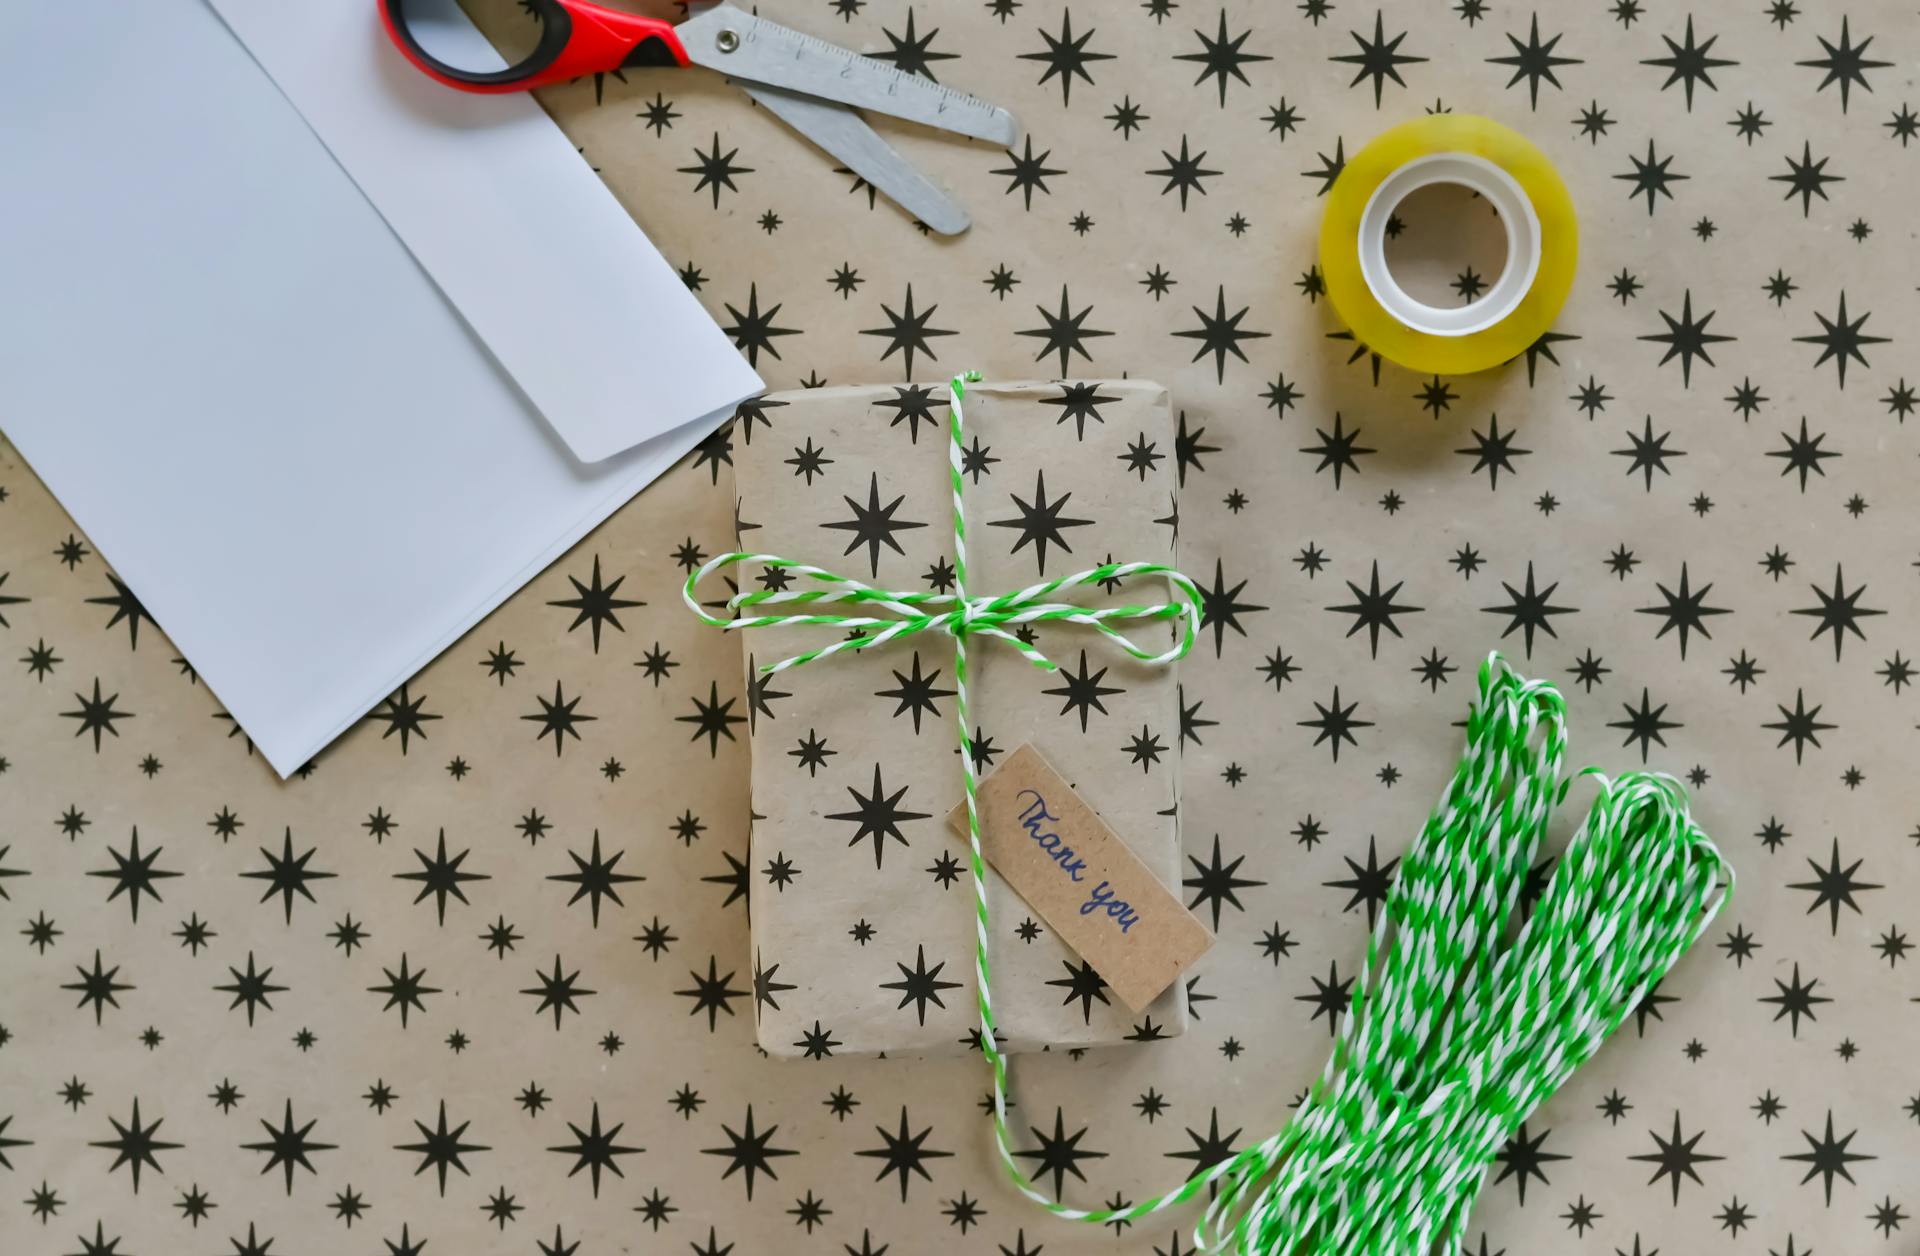
You can create beautiful bows using regular wrapping paper, cardstock paper, and tracing paper. To get started, decide on a wrapping paper design you love and use it to create the strips of paper needed for the bow.
You'll need 3 of each: large, medium, and small strips, and 1 separate smaller strip. You can use a pencil to trace the strips on the wrapping paper, no ruler needed!
Suggestion: How to Wrap Wine Bottle with Wrapping Paper
The strips can be cut from wrapping paper, cardstock paper, or tracing paper. For a more distressed look, you can use a mini distress ink like Tea Dye on the edges of the strips.
Here are the basic supplies you'll need:
- Regular wrapping paper (use your favorite)
- Cardstock paper
- Tracing paper (as a substitute for regular wrapping paper)
- Laserjet printer or inkjet printer
- Scissors
- Mini distress ink – I used Tea Dye
- Blending tool with foam (I prefer the domed one)
- Stapler (preferably a small one)
- Double sided tape
You can use the same technique to create a Christmas bow using wrapping paper scraps from the holiday season. The project might seem a little strange for summer, but it's a great way to reuse and recycle leftover wrapping paper.
Tying and Making
To create a beautiful gift wrap bow, you'll want to focus on tying and making it a success.
To form a ribbon circle, start by winding the ribbon around, forming at least eight circles. The more times you wrap the ribbon around, the more loops you'll have in the center, making your bow fuller.
You can use any ribbon for this, but a ribbon with wire edges will be the easiest to style. To cut the ribbon, make a diagonal cut at each corner, being careful not to cut too much off, or the center of your finished bow will look a little flat.
Here's a quick guide to help you create a beautiful pom-pom ribbon bow:
- Form a ribbon circle approximately the width of the bow you'd like to make.
- Flatten the loops and use craft scissors to make a diagonal cut at each corner.
- Refold the flattened loops so that the cut notches meet in the center.
To finish your bow, arrange the loops as needed, and if you used a wire-rimmed ribbon, the loops should stay in place as you style them.
How to Tie Perfectly
To tie perfectly, you'll need a few strips of paper, preferably with a bit of texture or pattern to give your bow some personality. You can use wrapping paper, cardstock, or even tracing paper as a substitute.
Start by printing your bow templates on cardstock paper, and choose the larger or smaller set of strips depending on the size of bow you want to create. The templates will have numbers to indicate how many strips of each size you'll need.
To create one bow, you'll need 3 of each: large, medium, and small strips, and 1 separate smaller strip. You can use a pencil to trace the strips on wrapping paper, no ruler needed!
To tie the bow, follow the same steps as creating the regular gift wrap bows, but with your strips in hand. You can also use a stapler to attach the strips together, making it easier to shape the bow.
Here's a quick guide to help you get started:
Remember, practice makes perfect, so don't be discouraged if your first few bows don't turn out exactly as you hoped. With a bit of patience and experimentation, you'll be tying perfectly in no time!
How to Make Pom-Poms
Making pom-poms is a fun and easy DIY project that can add a personal touch to your gifts. You can use any ribbon, but a ribbon with wire edges will be the easiest to style.
To make a pom-pom ribbon bow, you'll need to form a ribbon circle approximately the width of the bow you'd like to make. This can be about six inches across, as in our example.
The more times you wrap the ribbon around, the more loops you'll have in the center, making your bow fuller. At least eight circles are recommended for a fuller bow.
To shape the loops, flatten them and make a diagonal cut at each corner using craft scissors. Be careful not to cut too much off, or the center of your finished bow will look a little flat.
Here's a quick reference guide to help you remember the steps:
You can adjust the loops as needed to finish the bow, and if you used a wire-rimmed ribbon, the loops should stay in place as you style them.
Christmas and DIY
To make your gift wrapping stand out, try using leftover wrapping paper to create a beautiful bow.
You can practice folding and mastering different bow styles.
The floral faux wrapping paper bow is a great example of a unique and creative design.
With a little bit of creativity, you can bring joy and a big smile to anyone receiving a gift.
For more gift wrapping tips, check out my post on how to put tissue paper in a gift bag.
Frequently Asked Questions
How do you make a bow out of a wrap?
To make a bow out of a wrap, interlock the ends together and pinch them in place to secure the bow shape. This creates a simple yet elegant bow that can be finished with a small tie.
Does Hobby Lobby sell gift bows?
Yes, Hobby Lobby sells gift bows to complete your holiday gifts. Stock up on our variety of gift bows to elevate your gift-giving experience.
Featured Images: pexels.com