Building a shed using pallets is a great way to create a functional storage space without breaking the bank. Pallets are readily available and can be sourced for free or at a low cost from local businesses.
You can use pallets to build a variety of structures, including sheds, greenhouses, and even outdoor furniture. I've seen pallets transformed into beautiful planter boxes and garden benches.
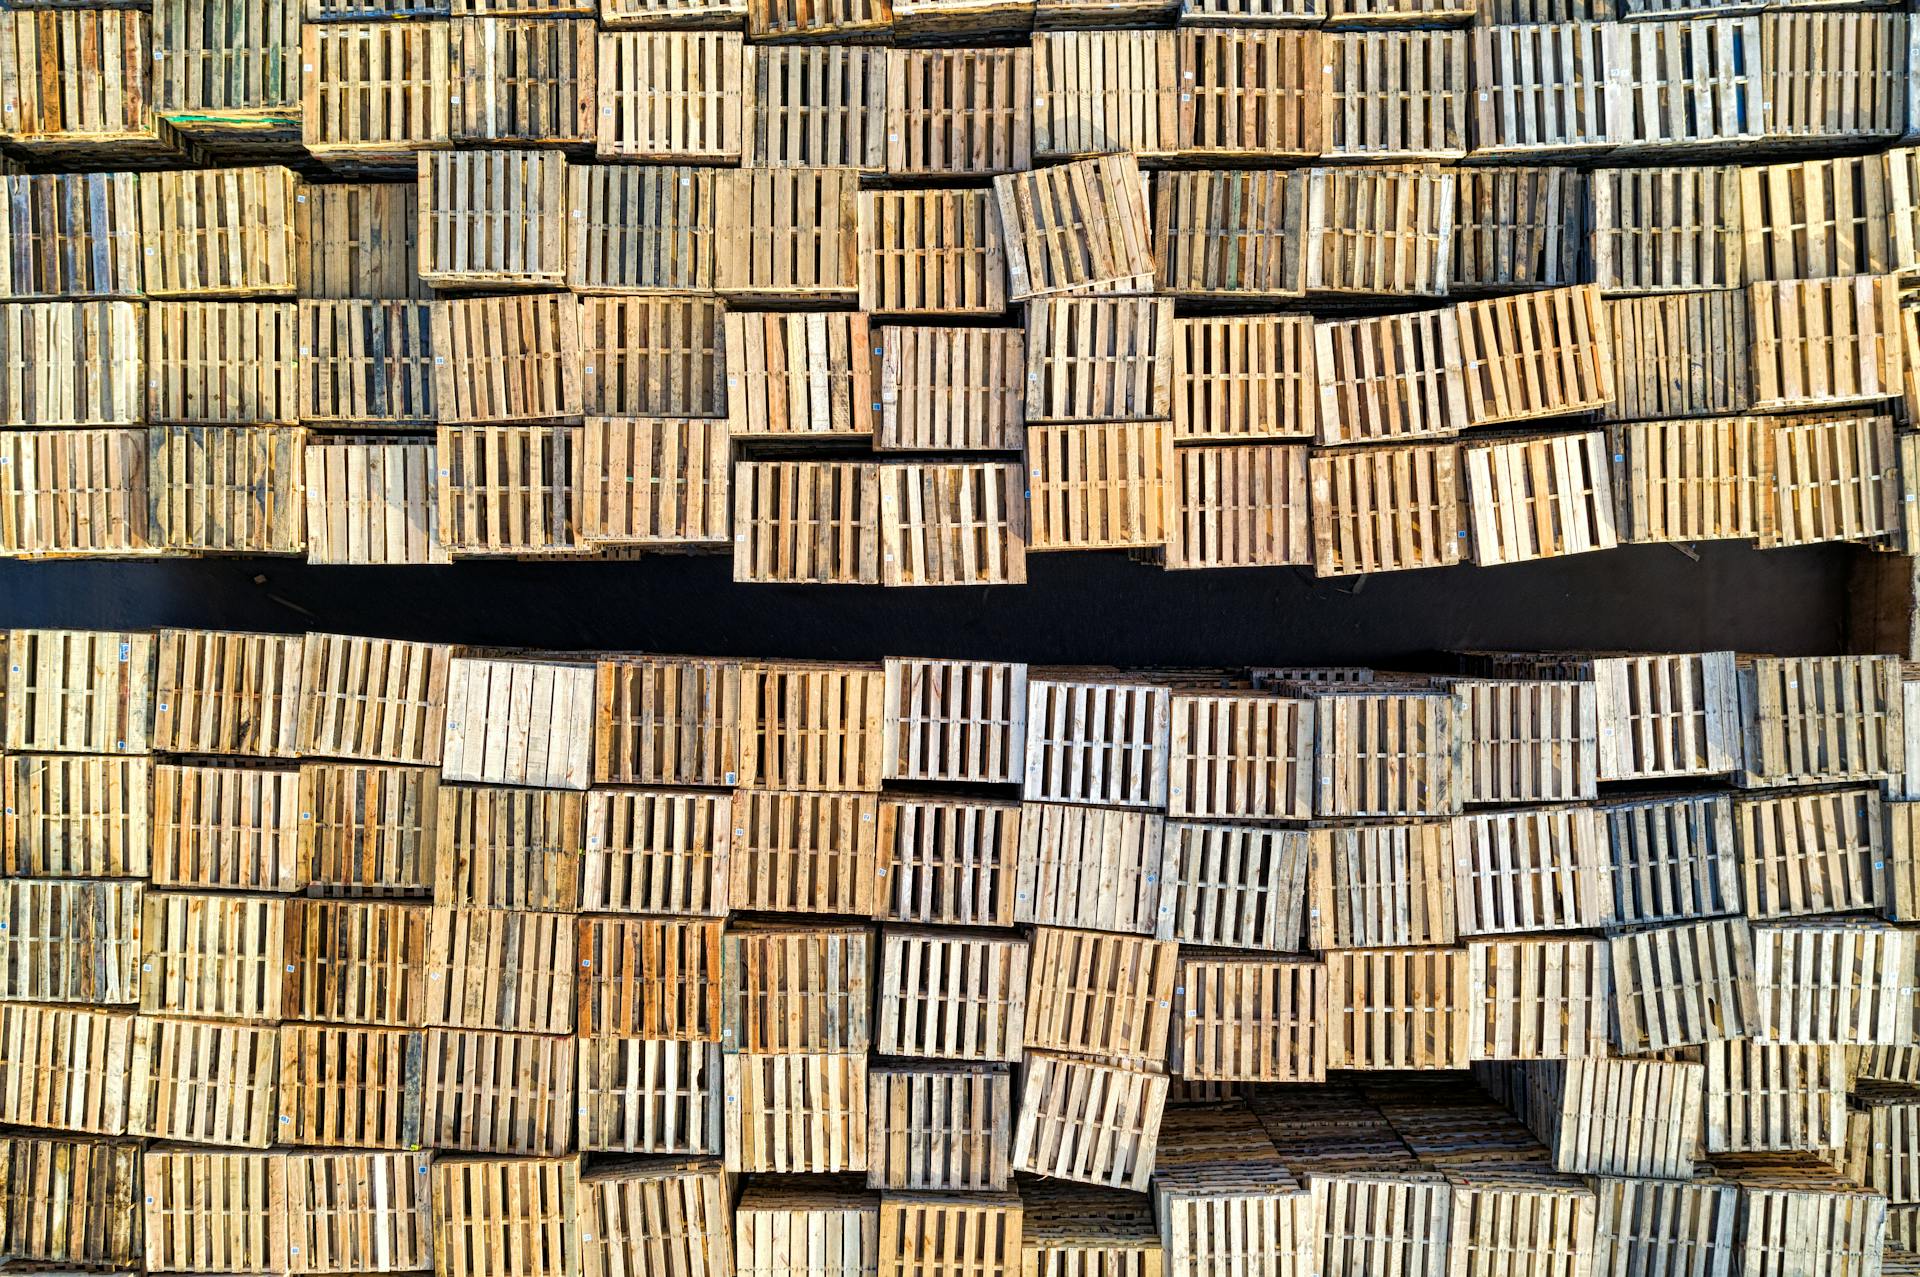
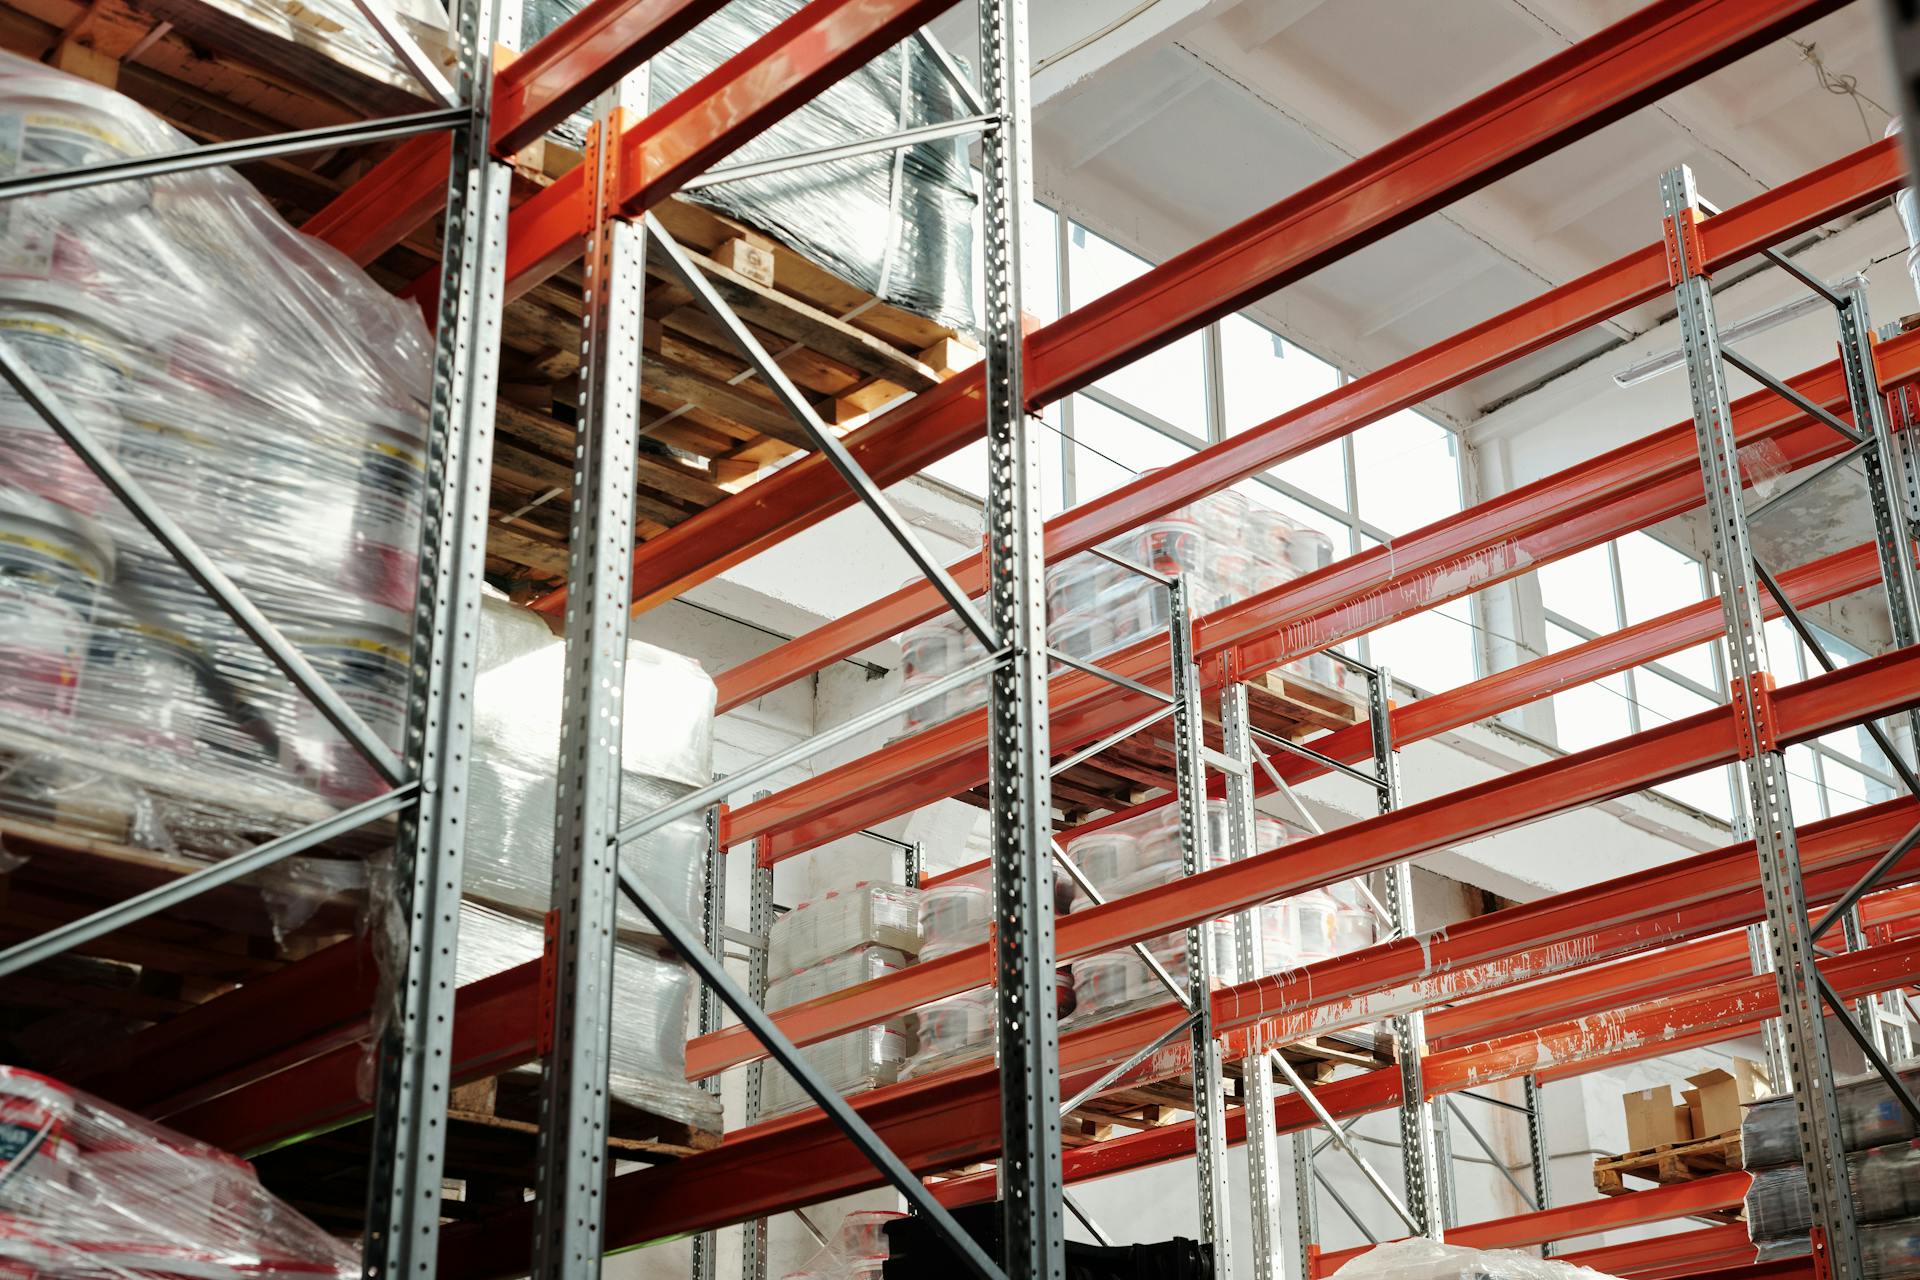
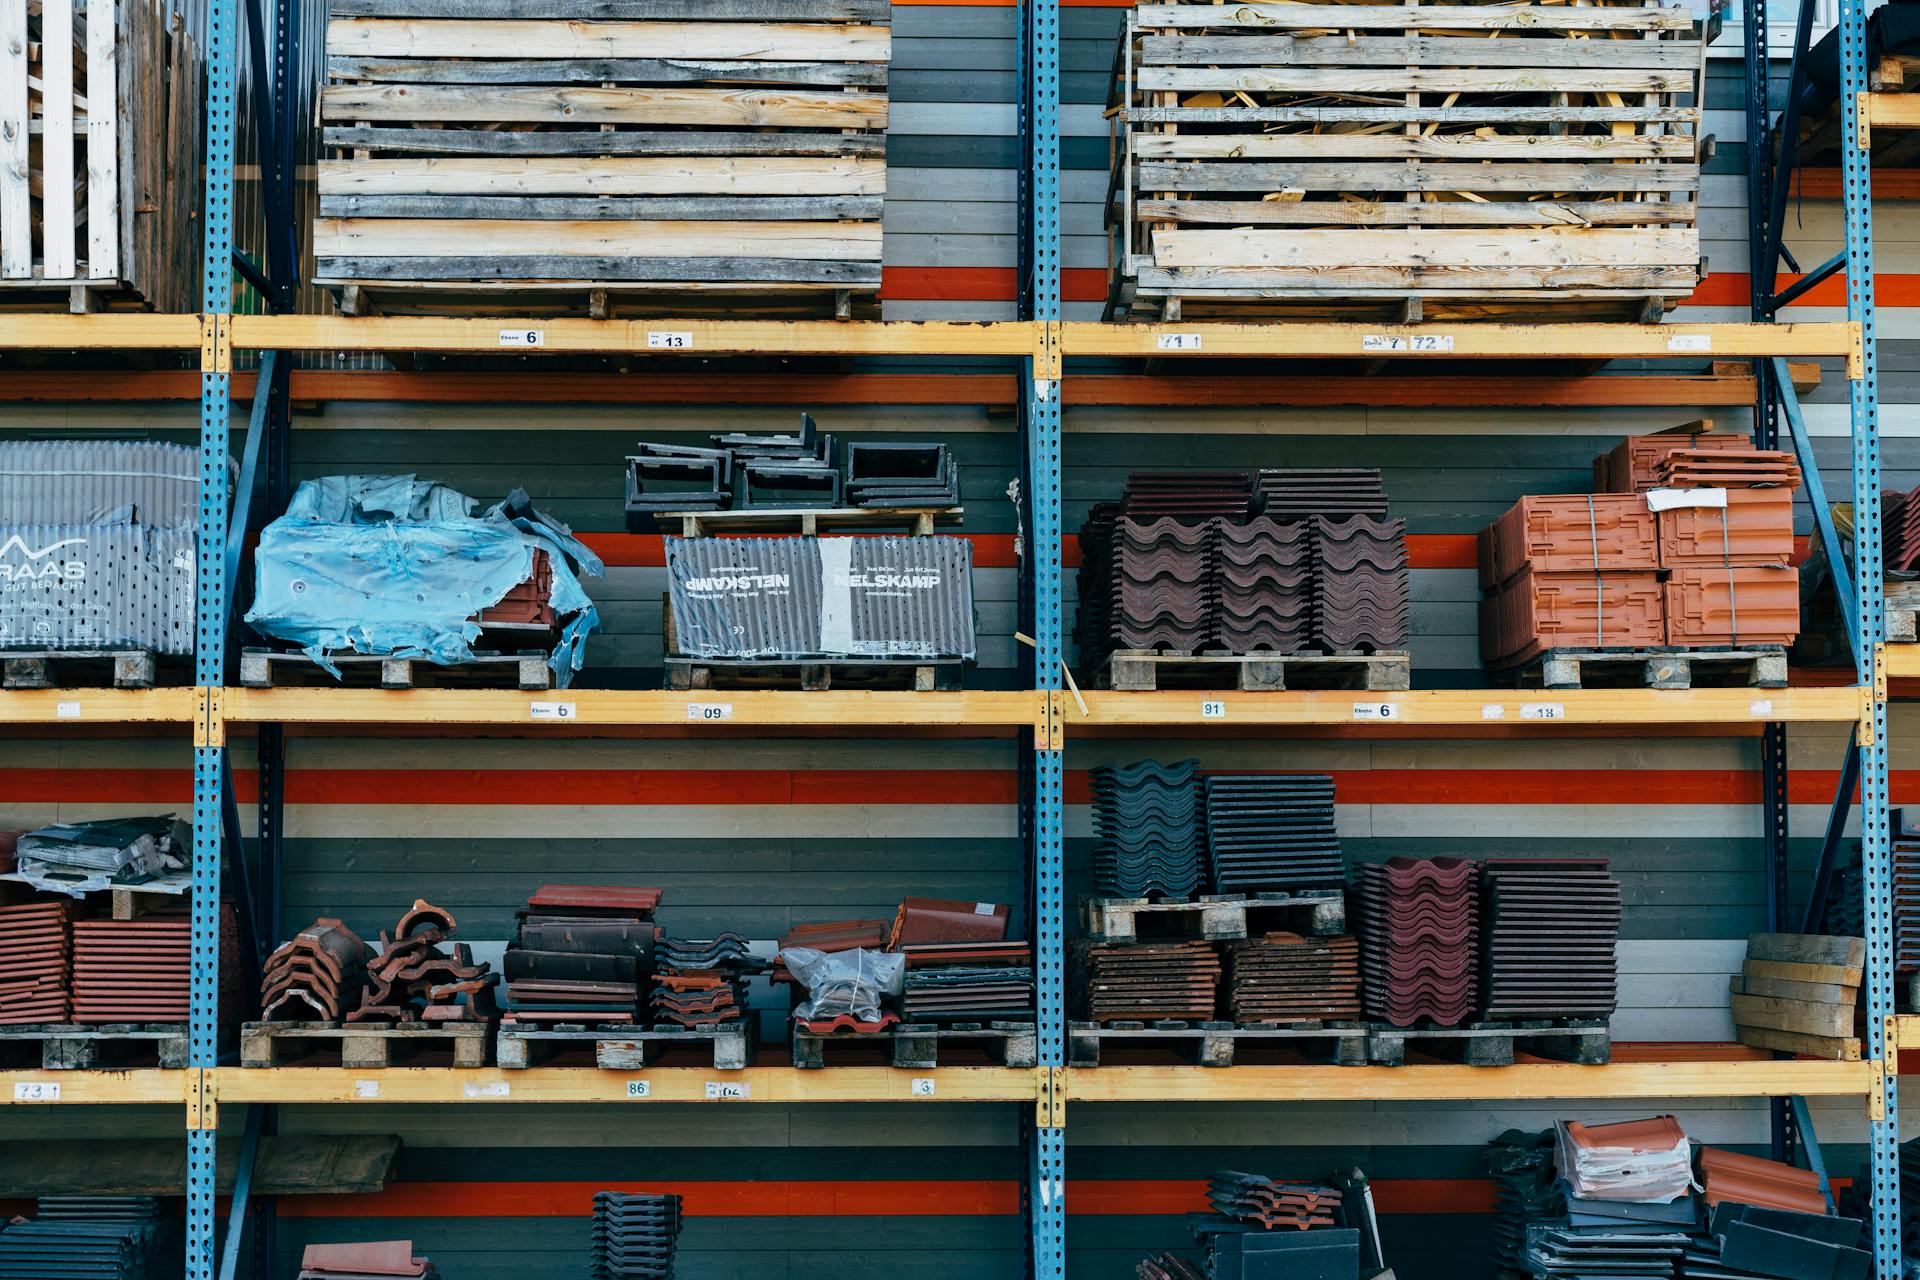
Pallets are made of durable wood, typically 40" x 48" in size, and can support a significant amount of weight. This makes them perfect for building a shed or other structure that needs to hold a lot of weight.
A single pallet can yield up to 8-10 individual planks, which can be used for the frame, walls, and floor of your shed.
Additional reading: Building Pallets
Project Preparation
Before you start building with pallets, it's essential to prepare your materials and workspace.
Gather a variety of pallets in good condition, as they will serve as the foundation of your project.
Consider the size and weight of your pallets, as well as any special features like handles or slats.
Pallets are typically made from wood, which can be sanded and stained to create a unique finish.
Choose a workspace with adequate ventilation and a flat surface to assemble and disassemble your pallets.
Building a Shed
Building a shed can be a daunting task, especially when you're on a budget. The good news is that you can build a shed using pallets, and it's surprisingly easy.
To start, you'll need nine pallets in good condition, each measuring 48 inches by 40 inches. You can find these at a local printing company or other businesses that use pallets.
The pallets will form the base of your shed, which will be 4 feet deep by 6.5 feet wide. This size is perfect for storing a riding mower and other yard equipment, as the authors of the pallet shed project discovered.
You might enjoy: Shed Base Pallets
You'll also need to gather some additional materials, including pressure-treated posts, boards, and roofing metal. Here's a list of the materials you'll need:
- Nine 48-inch by 40-inch pallets in good condition
- Four 4-inch by 4-inch by 10-foot pressure-treated posts
- Six 2-inch by 4-inch by 8-foot pressure-treated boards for rafters
- Three 1-inch by 4-inch by 10-foot pressure-treated boards for purlins and joiners
- Four 2-inch by 4-inch by 8-foot boards for bracing
- Two 26-inch by 10-foot sheets of galvanized roofing metal
- Six galvanized rafter ties
- Box of 3-inch deck screws
- Box of 1 1/2-inch metal roofing screws
- Four wooden stakes
- Fast-drying concrete mix
- A can of brightly colored spray paint
Shed Materials
So you're looking to build a shed, huh? Well, let's start with the materials you'll need. You'll need nine 48-inch by 40-inch pallets in good condition, stained to preserve the wood.
The pallets are a great starting point, but you'll also need some other materials to complete the shed. Four 4-inch by 4-inch by 10-foot pressure-treated posts will provide the foundation for your shed.
You'll also need to add some rafters to give your shed some structure. Six 2-inch by 4-inch by 8-foot pressure-treated boards will do the trick. And don't forget the purlins and joiners - three 1-inch by 4-inch by 10-foot pressure-treated boards will cover those.
For bracing, you'll need four 2-inch by 4-inch by 8-foot boards. And to top it all off, you'll need two 26-inch by 10-foot sheets of galvanized roofing metal.
Here's a quick rundown of the materials you'll need:
- 9 x 48-inch by 40-inch pallets
- 4 x 4-inch by 4-inch by 10-foot pressure-treated posts
- 6 x 2-inch by 4-inch by 8-foot pressure-treated boards
- 3 x 1-inch by 4-inch by 10-foot pressure-treated boards
- 4 x 2-inch by 4-inch by 8-foot boards
- 2 x 26-inch by 10-foot sheets of galvanized roofing metal
- 6 galvanized rafter ties
- Box of 3-inch deck screws
- Box of 1 1/2-inch metal roofing screws
- 4 wooden stakes
- Fast-drying concrete mix
- A can of brightly colored spray paint
Step 2: Assembling
As you start building your shed, it's essential to focus on assembling the pallets correctly. You'll need to create a level and square base to ensure your building remains true and plumb later on.
To start, you'll need to prepare your site by leveling out a 10' square area using cement blocks. This will provide a solid foundation for your shed.
Cut one of your 1-by-4-inch pieces of lumber into ten 1-foot-long pieces to use as joiners for your pallets. These will help you connect the pallets together securely.
Join two pallets along the 48-inch side to create your floor by screwing two of your joiner pieces where they meet. The floor will measure 48 inches by 80 inches.
To create the back wall, cut one of the pallets in half, creating two halves measuring 24 inches by 40 inches. Then, join these halves to two of the other pallets to create two wall pieces measuring 40 inches by 72 inches.
You'll also need to create two side walls, which can be done by cutting a 32-inch section off two other pallets to create two pieces measuring 32 inches by 48 inches. Join these pieces to two separate pallets along the 48-inch length.
Here's a summary of the steps to assemble the pallets:
Step 5: Working Sides
To build the sides of your shed, you'll need to add smaller pallets to complete the walls. These pallets should be around 40"x48" in size.
You can attach them to the ground contact lumber using screws, which will provide a sturdy foundation. Make sure to use allthread bolts to attach the pallets to each other side to side for added stability.
If you're using long, skinny pallets for the sides, you may need to add some extra support to ensure they can hold their shape. A good option is to use 2x4 lumber to frame the doorway and add some structural integrity.
Remember to use a good crowbar, circular saw, and jigsaw to take apart the pallets if needed, as the wood can be quite stubborn.
Consider reading: Furniture Out of Pallets
DIY Projects
You can use pallet wood for a wide range of DIY projects, from composting bins to firewood storage bins. Generally, wood pallets measure 48 by 40 inches, an ideal size for a backyard composter.
Pallet wood planks and 2x4s are often made of dense hardwoods, but sometimes they're made of softwoods, which may not be as durable for structural purposes. The beauty of pallet wood lies in its variations, so never assume the boards are the same thickness or width.
To make pallet projects, consider where accuracy is needed and where you can keep the rustic character. For example, if you're building a pallet bench with a flat top, you'll need to carefully select boards of the same thickness. Using a planer can also be helpful, but be sure to check for hidden old nails first.
Expand your knowledge: Diy with Pallets
Project Ideas
Wood pallets are a versatile material that can be repurposed into a wide range of DIY projects.
You can use pallet wood to create a composting bin, ideal for a backyard composter, by lashing four pallets together at the corners with baling wire or nylon rope.
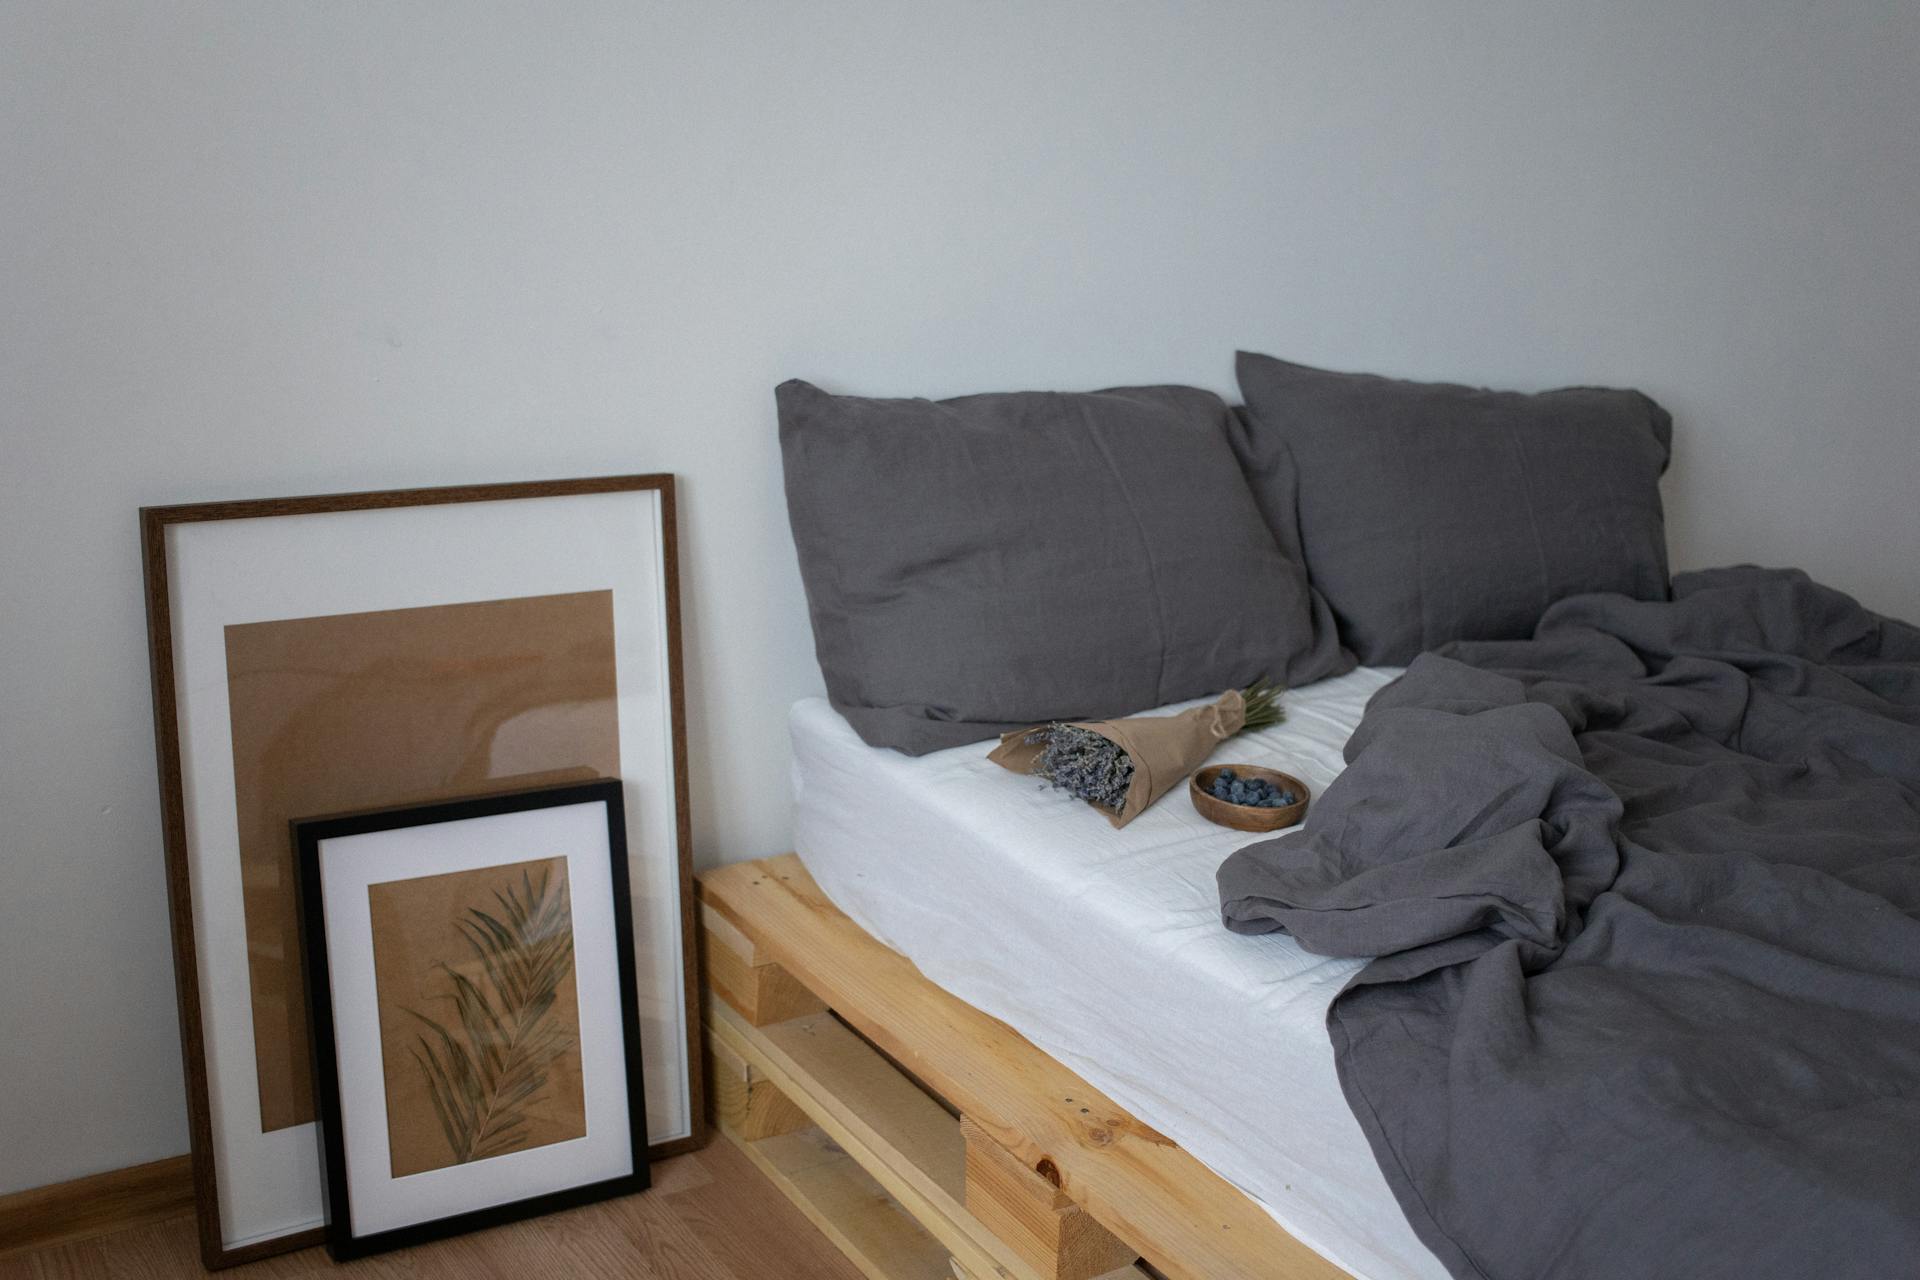
Pallets can be transformed into furniture for your home with minimal work, such as building a pallet sofa or coffee table in one afternoon.
A pallet can also be used as a wall shingle in a DIY clubhouse for your kids, or as a material for a raised bed or planter.
To deconstruct a pallet, you'll need a good crowbar, a circular saw, and a jigsaw, as the wood shrinks tightly around the nails, making it a challenge to remove them.
You can use a reciprocating saw to cut the length of the boards off, or try to wrestle the nails out, but be careful not to end up with bits of broken nails in your driveway or workspace.
Splinters are a common issue with pallet wood, so it's a good idea to smooth the wood with a random orbit sander to take down edges and prevent injuries.
Broaden your view: Pallet Jack How to Use
Free Resources
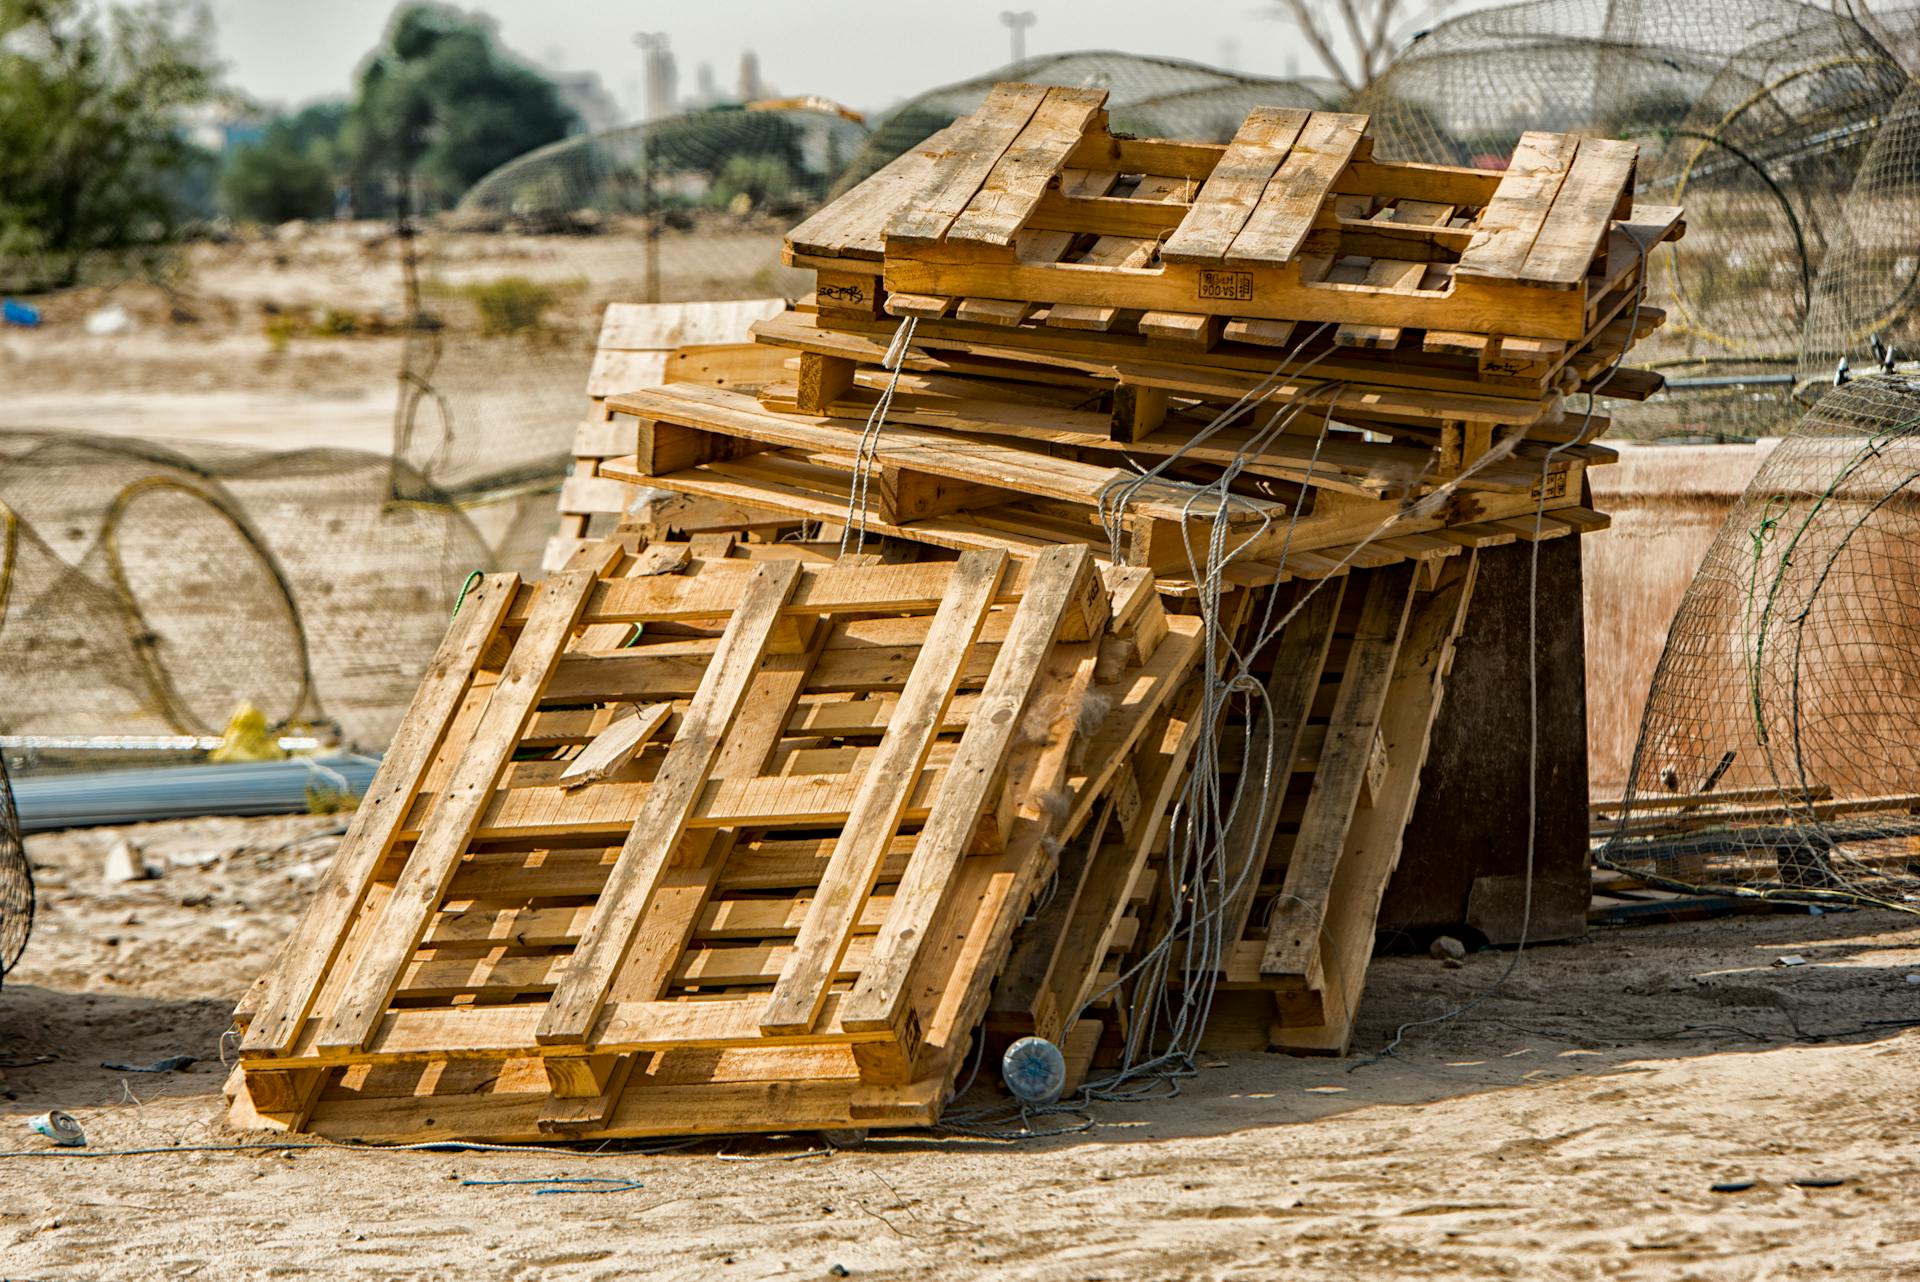
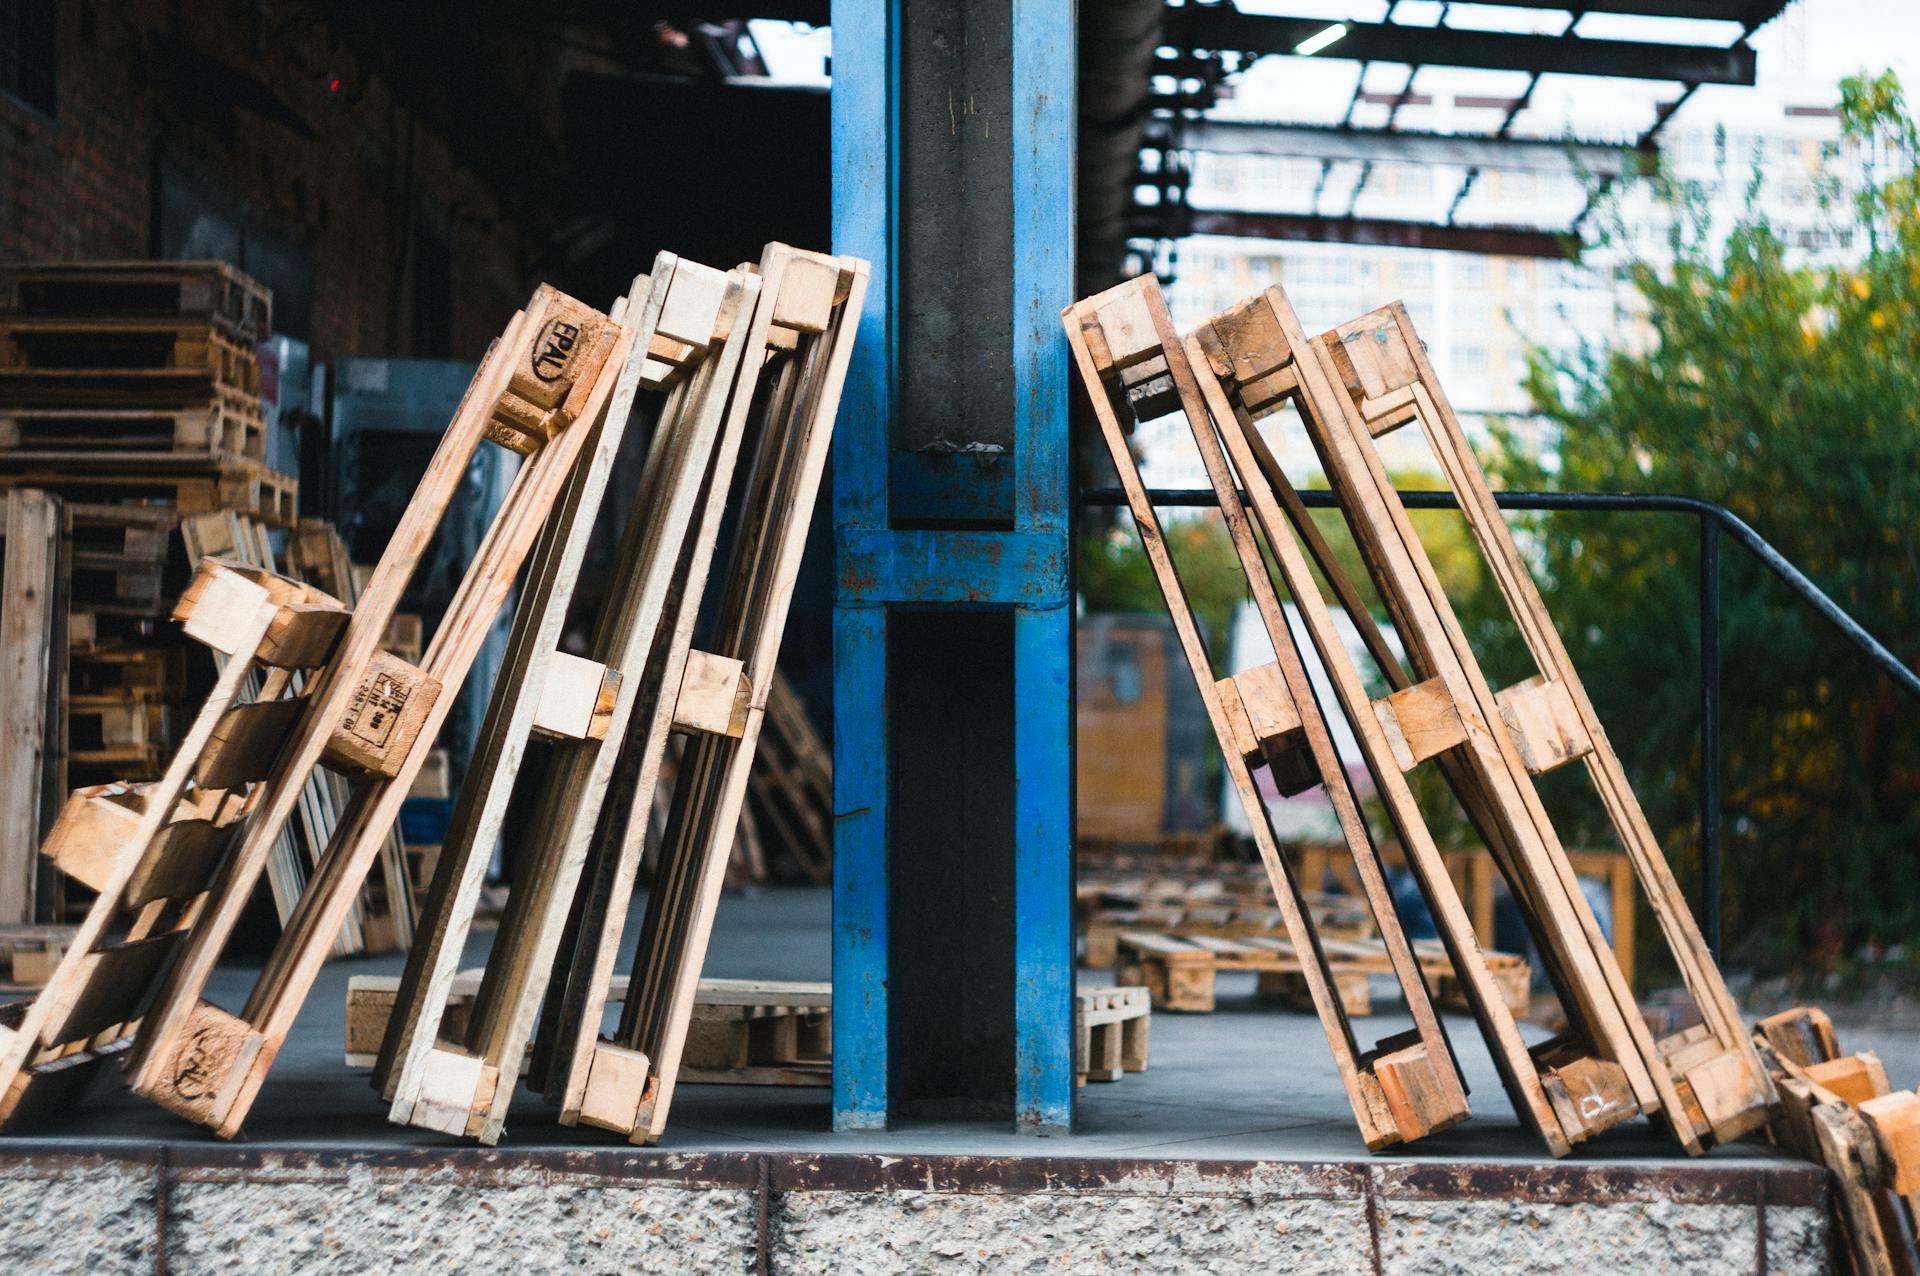
You can find free pallets at garden nurseries, tile and stone showrooms, masonry supply stores, construction sites, and wood or carpet flooring stores.
Just ask nicely if they plan to reuse them or discard them, and you might be surprised by how often they say yes!
Not all wood pallets are made equal, so make sure to look for HT stamps, which indicate heat-treated pallets.
A quick glance for signs of spray, spill, or mold, and a few splits in the boards, will help you select clean and sturdy pallets.
Build Your Base
To build a sturdy base for your DIY project, start by leveling out a 10' square area by digging into the ground and elevating with cement blocks.
This will ensure your building stays true and plumb later on. A 10' square area is a good size to start with, giving you room to work with while keeping your project manageable.
Attach your first two pallets to ground contact rated 2x4's using 3" screws. These will become the first corner of your building.
Use a 5/8's drill bit to drill through the pallets and attach them to each other in a square formation. This will provide a solid foundation for your project.
Measure and cut a piece of allthread a couple inches longer than each hole needed, and bolt the pallets together top, bottom, and center using nuts and washers. Allthread is a cheap and safe option for added stability.
Recommended read: Building a Fence Out of Pallets
DIY Projects Pros and Cons
Pallet wood can be a game-changer for DIY projects, but it's essential to consider its pros and cons.
Pallet wood is often made of dense hardwoods, but it can also be softwood, which may not be as durable for structural purposes.
The beauty of pallet wood lies in its variations, which can be both a blessing and a curse.
Never assume pallet wood boards are the same thickness or width, even if they're from the same pallet.
Using a planer can be a great way to smooth out pallet wood, but make sure to use a metal detector first to avoid hidden old nails that can ruin the blade.
If you need accuracy in your DIY project, such as a flat top, you'll need to carefully select boards of the same thickness.
Worth a look: Do You Need a Certification to Use a Pallet Jack
Fire Pit or Bench
Pallet wood is a great material for building a fire pit or bench, especially if you're going for a rustic look. It's perfect for creating a cozy outdoor seating area.
Using pallet wood for a fire pit or bench is a cost-effective way to add a functional piece of furniture to your backyard. You can find plans online or create your own design.
Pallet wood has a natural, weathered look that fits well with a nature-inspired aesthetic. It's also a great way to reuse and recycle old pallets.

A firewood storage bin made from pallet wood can be a handy addition to your outdoor space, especially if you have a wood-burning stove or fireplace. It's a great way to keep your firewood dry and within reach.
Building a fire pit or bench using pallet wood is a fun and rewarding DIY project that can be completed with basic tools and materials.
When to Avoid DIY Ideas
When to avoid DIY ideas, you want to be aware of the potential risks involved. Reusing pallet wood, for instance, can be a hazard if it hasn't been properly treated.
The U.S. Department of Agriculture has guidelines that indicate pallet manufacturers must treat wood packaging materials to prevent the spread of pests and invasive species. This is crucial to know before reusing pallet wood.
Treated pallets are stamped with IPPC codes, so be sure to avoid any marked MB (for methyl bromide), as it means the pallet wood is unsafe to reuse.
Curious to learn more? Check out: Are Pallets Pressure Treated
How to Finish?
Finishing your DIY project can be a breeze. You can use 120 grit sandpaper to make sure the wood is free of splinters.
If you want to leave the wood natural, consider using butcher block oil finishes or outdoor wax finishes to protect it from stains and UV. These finishes can be a great alternative to traditional coatings.
To create a rustic look, keep the wood surface as is after sanding. This will help preserve the character of the wood.
You can also give your project a fresh new look by painting the pallet wood or using a whitewash wood technique to achieve a farmhouse style.
Disassembling and Dismantling
You'll need to disassemble a pallet before you can start using it for your project, and there are a few ways to do it.
First, make sure you have a pair of thick work gloves and wear eye goggles to protect yourself from nails that may pop out.
There are three efficient methods to disassemble a pallet, two of which don't need power tools.
One of the most efficient methods is to use a deck wrecker or pallet buster, which lifts pallet boards easily and allows you to take out the nails with a hammer.
This method is 20 times quicker than other methods and results in less splitting of the wood, giving you better pallet planks for your project.
If you plan to do a lot of pallet projects, a pallet buster is really worth the investment.
Another method is to use a hammer and a pry bar, which is the least expensive way to start but requires more work and time.
You can also use a hammer and a pry bar to take out the nails, but this method is more time-consuming than using a pallet buster.
A unique perspective: How to Use a Pallet Truck
Shed and Garden Ideas
If you're looking to give your shed or garden a unique touch, consider repurposing pallets to create a one-of-a-kind feature.
You can build a pallet planter box to add some greenery to your garden, or use pallets to create a rustic trellis for climbing plants.
Pallet planters are a great way to add some color and texture to your garden, and can be made in a variety of shapes and sizes to fit your space.
A unique perspective: Make a Raised Garden Bed Out of Pallets
A Plant Wall
Repurposing a pallet as a vertical plant wall requires minimal work, as you can leave it intact and add to it. Sweeney recommends leaving the pallet natural or painting it a fun color to add some personality.
You can find a pallet with some character, like one with a unique design or texture, to make your plant wall stand out. Depending on the tightness of the spacing between slats, you may need to remove a few boards to create space for your plants.
Landscaping fabric and a staple gun are essential tools for creating pouches that can be filled with soil and plants. This will give your plants a chance to thrive and make your plant wall look lush and green.
A Rustic Garden Pathway
Creating a rustic garden pathway using wooden pallets requires some muscle, as you'll need to pry the boards off the pallet stringers or cut the ends of the boards off using a reciprocating saw.
You can create a soft, forgiving base by spreading mulch in your garden area, which will make it easier to arrange the pallet wood horizontally to create a path you can walk on.
One idea is to arrange the pallet wood horizontally to create a path that you can walk on, and you'll end up with a unique and charming addition to your garden.
Intriguing read: Using Pallets for Gardens
Introduction: Shed
A small yard can quickly turn into a storage nightmare, especially when you have a riding mower and other equipment taking up valuable space. We know this from experience, having lost half of our 2-car garage to yard equipment.
The solution can be expensive, with storage sheds costing upwards of $2300 for a 10'x10' shed. That's why we decided to build our own shed, using a more affordable and creative approach.
A different take: Pallets for Storage
A standard pallet measures 48 inches by 40 inches, which is perfect for building a small shed. We used nine pallets to create a structure that's 4 feet deep by 6.5 feet wide.
Pallets are often discarded, but they can be repurposed into a functional shed. We were lucky to find a local printing company that sets out their unwanted pallets for anyone to take.
Each pallet we used measured about 4 feet by 6 feet, making them the perfect size for our shed.
Introduction and Considerations
Building using pallets is a creative and eco-friendly way to create unique structures. Pallets are widely available and often discarded, making them a great material for upcycling.
Pallets can be made of various materials, including wood, plastic, and metal.
The weight capacity of pallets varies depending on their type, with wooden pallets typically supporting up to 4,000 pounds.
Before starting a pallet project, it's essential to inspect the pallets for any damage or wear.
Pallets can be disassembled and reassembled to create custom designs, but this may require specialized tools.
With a little creativity, pallets can be transformed into functional and beautiful structures, such as furniture, shelves, and even entire homes.
Frequently Asked Questions
Is there money in the pallet business?
Yes, selling used pallets can be a profitable venture, with some individuals making serious money from it. Learn how to get started and turn this business idea into a lucrative opportunity.
What can I build with pallets?
You can repurpose wood pallets into a variety of creative projects, including furniture, garden planters, and decorative pieces for your home or garden. From functional items to stylish decor, the possibilities are endless with a little imagination and DIY skills.
How much does it cost to build a pallet house?
The cost to build a Pallet house starts at $7,500 for the smallest 64-square-foot unit, the Pallet 64. This affordable price point makes prefab tiny homes a viable solution for providing shelter to those in need.
Featured Images: pexels.com