
Installing a bicycle carrier can seem daunting, but it's a relatively straightforward process that can be broken down into several key steps.
First, ensure you have the correct type of carrier for your vehicle, as different types fit specific roof styles or hitch classes.
Measure your vehicle's roof or hitch to determine the correct carrier size, taking note of any obstructions such as antenna or roof racks.
Choose a carrier that fits your needs, considering factors like bike capacity, weight capacity, and ease of use.
Before starting the installation process, gather all necessary tools and hardware, including a wrench, socket, and any specific fasteners required for your carrier.
A fresh viewpoint: 4 Bike Roof Carrier
Preparation
Before you start installing your bicycle carrier, take some time to prepare the area. Check for any obstructions that may interfere with the installation process, such as spare tires or accessories.
Clear the area of any clutter or obstacles to ensure a smooth installation process. Remove any loose items from the roof or trunk to prevent damage or interference.
Make sure the roof or trunk is clean and dry to prevent any issues with the carrier's installation or the bikes' attachment.
For another approach, see: 3 Bike Roof Carrier
Wrenches
Having the right tools is crucial for any job, and wrenches are a must-have for this project. You'll need a set of wrenches to tighten bolts and secure the carrier to your vehicle.
A good set of wrenches will include a combination wrench, which is perfect for tasks that require both a socket and a fixed wrench.
To ensure you have the right wrench for the job, it's essential to have a variety of sizes on hand.
Related reading: Mail Carrier Job Description
Removing Front Wheels
Removing the front wheels of your vehicle can give you more space to work with, just like removing spare tires or accessories can do.
For some bike carriers, removing the front wheel is a recommended step to secure the bike better, which can make the installation process smoother.
Be sure to check if your carrier requires this step before starting the installation process, as not all carriers may need the front wheel removed.
For another approach, see: National Association of Letter Carriers
Evaluate Your Bike
Before we start preparing your bike for a bike rack, take a closer look at your bike itself. Familiarize yourself with the parts and equipment you'll be working with.
Your bike's condition is crucial, so give it a once-over to check for any damage or wear and tear. Make sure the tires are properly inflated and the brakes are functioning correctly.
Take note of your bike's make and model, as well as its weight capacity. This information will come in handy when choosing the right bike rack for your needs.
Check the frame of your bike to ensure it's compatible with the type of bike rack you plan to install.
You might like: Folding Bike Carrier Rack
Hitch-Mounted Carriers
Hitch-Mounted Carriers are a great option for transporting bikes, especially heavier ones. They attach to the hitch receiver of your vehicle, providing a sturdy and stable platform.
They can carry multiple bicycles, making them ideal for families or groups of friends who want to bring their bikes on a trip. Hitch-Mounted Carriers are designed to handle heavier bikes, so you don't have to worry about the weight capacity.
Types of Carriers

There are several types of bike carriers to choose from.
Hitch-mounted carriers are just one of the options available.
Trunk-mounted carriers are another type of carrier that can be attached to a car's trunk.
Roof-mounted carriers are also an option for those who need to carry multiple bikes.
Each type of carrier has its own set of advantages and disadvantages.
Hitch-mounted carriers offer the benefit of being able to carry heavy loads, but may require a car's hitch to be installed.
If this caught your attention, see: Deluxe Trunk Bike Carrier
Hitch-Mounted Carriers
Hitch-mounted carriers are a great option for transporting bikes, especially if you have heavier bikes or need to carry multiple bicycles at once.
They attach to the hitch receiver of your vehicle, providing a sturdy and stable platform for transporting bikes.
This type of carrier is ideal for heavier bikes, as it can handle the extra weight with ease.
You can carry multiple bicycles on a hitch-mounted carrier, making it a great choice for families or groups of friends who need to transport multiple bikes.
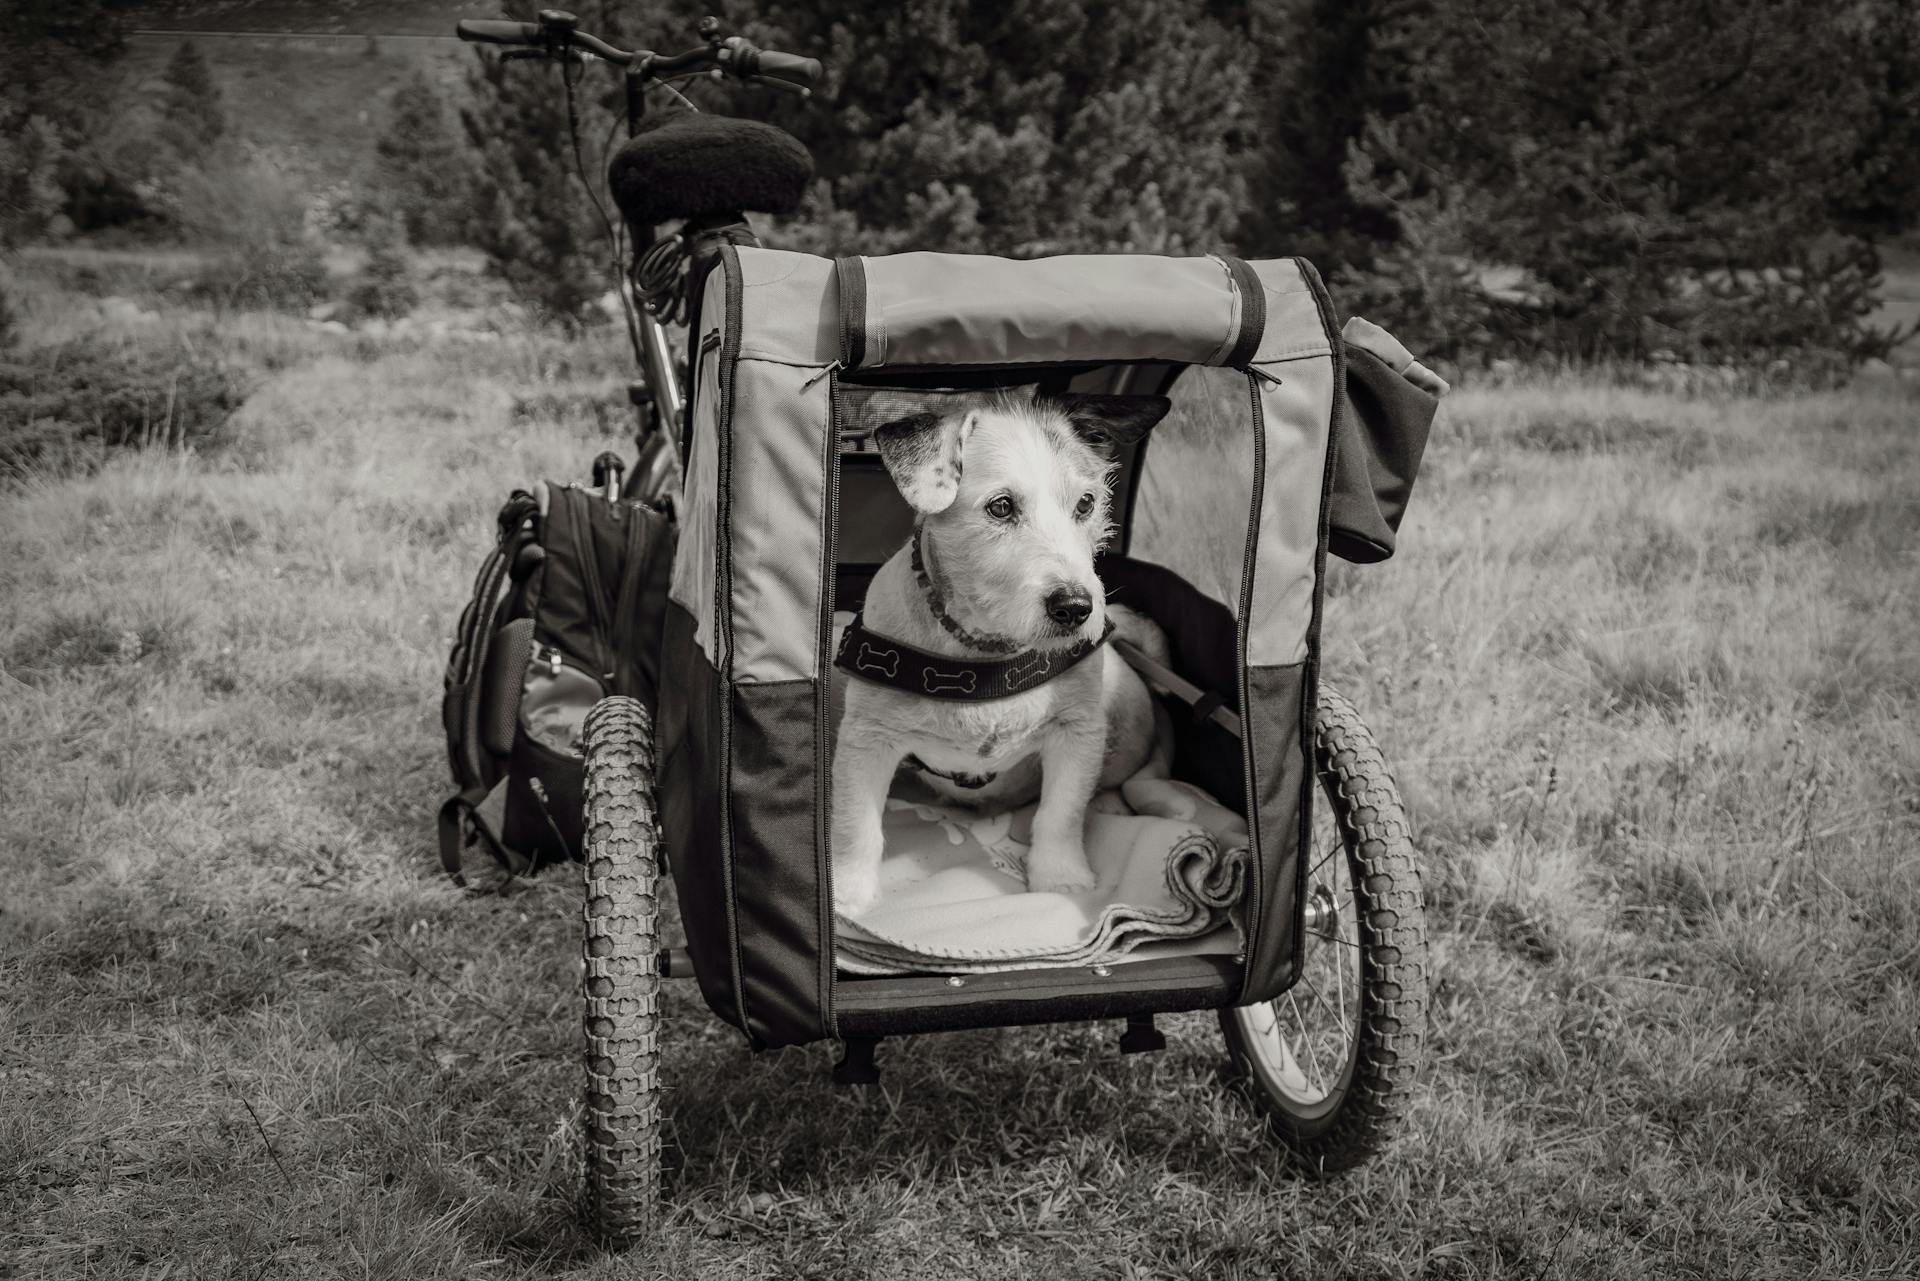
Here's an interesting read: Cargo Trailers for Bikes
Roof-Mounted Carriers
Roof-Mounted Carriers are a great option for those who prioritize aerodynamics. They work best with a roof rack.
These carriers can be a bit of a challenge to load and unload, especially if you have a heavier bike. It's not uncommon to need some extra effort to get your bike securely on the carrier.
Roof-Mounted Carriers require a roof rack to function properly. This is a must-have for a smooth and safe installation.
They're a popular choice among cyclists who value the sleek look and improved airflow that a roof-mounted carrier provides.
For your interest: Trike Carrier Rack
Step-by-Step Installation
Installing a bike carrier can seem daunting, but it's actually quite straightforward. You'll need to start by installing the bike carrier itself, which involves tightening the arms onto the mounts or p-clamps to secure the rack.
To mount the rack to your bike's rear dropout eyelets, you'll need to figure out what size bolt you need, which may depend on your bike's make and model. Most frames use the same size bolts for all accessories, so you might already be familiar with what you need.
Attach the bike rack arms by securing the two sliding arms underneath the rack, twisting them on enough so they're hanging on but not falling all over.
A different take: Installing Conveyor Systems
Removing Obstructions

Before you start the installation process, take a moment to check for any obstructions that may interfere with it. Spare tires can get in the way, so make sure to move them out of the way.
Check your accessories too, as they might be blocking the area where you need to work.
Step-by-Step Installation
To install a bike carrier, start by installing the bike carrier on your vehicle. Ensure it is level and centered.
First, you'll need to figure out what size bolt you need to secure the rack to the bike's rear dropout eyelets. Most frames use the same size bolts for all accessories, so chances are you're familiar with what you need already.
Next, position the bike carrier with the mounting points on your vehicle, ensuring it is level and centered. Align the bike carrier with the mounting points on your vehicle.
Attach the adjustable arms to the underside of the rack by twisting them on enough so they're hanging on and not falling all over. Don't tighten them all the way, as they'll need some play as you get everything attached correctly.

Now that the arms are in position, tighten them onto the mounts or p-clamps to secure the rack. This is also a good opportunity to tighten the adjustable arms to the rack since we won't need them to be able to slide in or out anymore.
To secure the rack to the bike's rear dropout eyelets, give a good tightening to the bolts securing the rack to the eyelet holes on both sides of the bike. Don't tighten too much, but secure them just enough so they're level.
Bend the adjustable arms down until the hole at the end is aligned with the seat stay bolts. If your bike doesn't have mounting points up there, use the included p-clamps and bolts to "add your own"!
Finally, slide the adjustable arms in or out of the bike rack until they are the perfect length to reach the seat-stay bolts.
Securing the Carrier
To secure the carrier, you'll want to follow the installation steps carefully. Installing the bike carrier is a crucial step to ensure it's securely attached to your vehicle.
First, level the rack to ensure it's parallel with the ground. A slanted rack can make hauling harder and just isn't your style.
Pivot the rack at the eyelets until it's nice and level. If you're a perfectionist, you can use a level to get it spot on.
Tighten up the eyelet bolts to lock the rack into position. This will keep the carrier stable and secure during transport.
Final Checks
Before you start using your bicycle carrier, make sure to check the straps and hooks for any signs of wear or damage. Regular inspection will ensure your safety on the road.
The weight capacity of your carrier should be checked against the weight of your bike to avoid any issues. This can be found on the manufacturer's instructions or on the carrier itself.
Tighten all bolts and screws after each use to prevent any loose connections from developing over time. This will help maintain the carrier's stability and prevent damage to your vehicle.

Double-check that the carrier is securely attached to your vehicle's roof or trunk, and that the straps are tightened evenly to avoid any uneven weight distribution. This will help prevent damage to your vehicle and ensure a smooth ride.
It's also a good idea to check the carrier's compatibility with your vehicle's make and model, as specified in the manufacturer's instructions. This will help prevent any installation issues or damage to your vehicle.
Accessories
We have bike rack accessories for every cyclist. You can find a wide range of accessories to suit your needs.
If your bike rack encroaches on safety lights installed on the bike, you may want to add a reflector or light mount. Brackets under the rear of a bike rack make it easy to do so.
You don't have to add a reflector or light mount, but it's a good idea to ensure people coming up behind you can see you.
Frequently Asked Questions
What is the difference between bolt on and clamp on bike racks?
Bolt-on and clamp-on bike racks differ in their attachment methods: bolt-on uses a bolt and adjuster screw, while clamp-on uses a clamp that secures around the towball
Sources
Featured Images: pexels.com