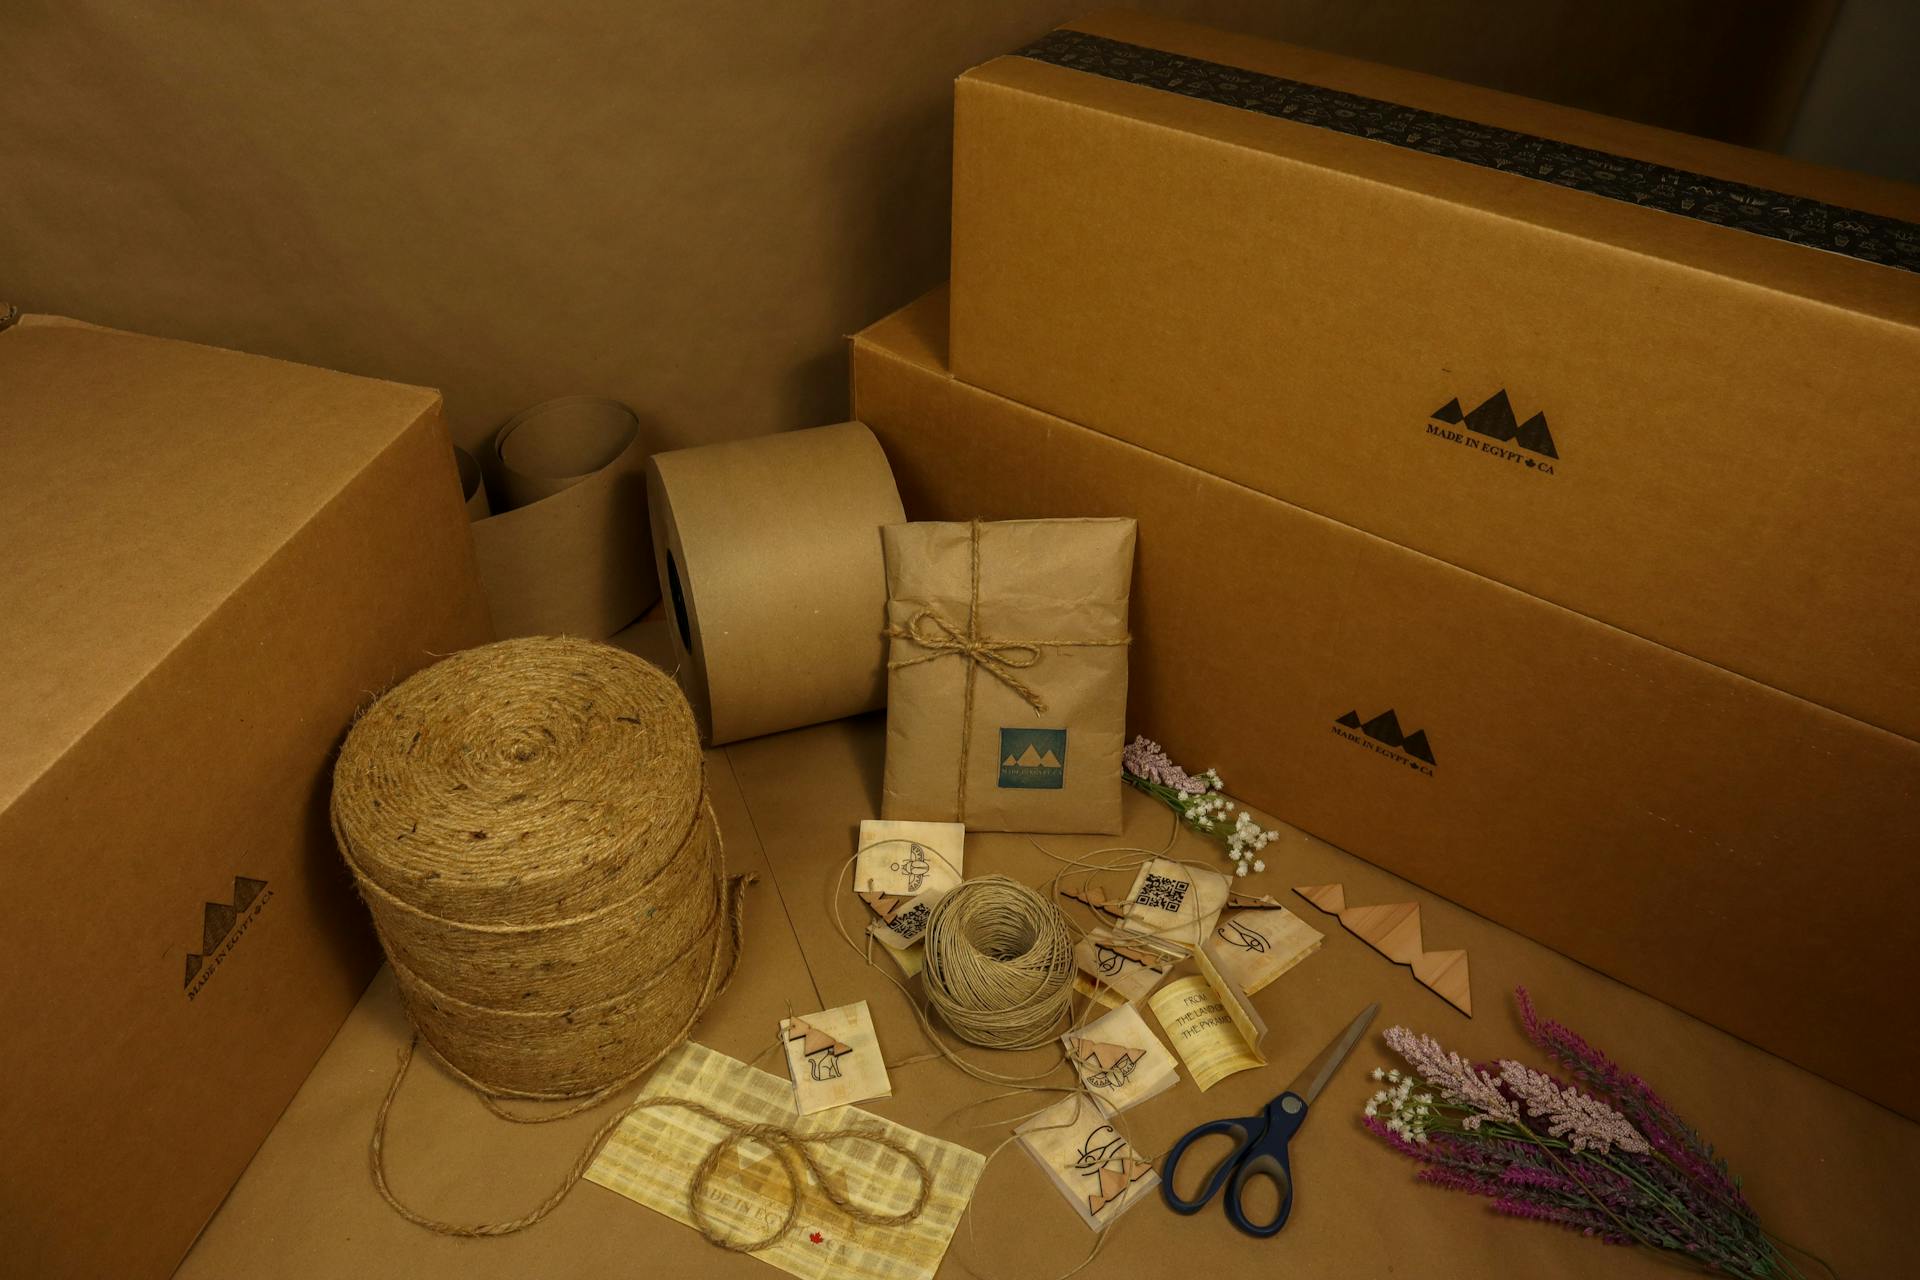
Art pallets are a versatile and cost-effective way to add a personal touch to any room. You can create a unique piece of art using reclaimed wood pallets in just a few simple steps.
To get started, you'll need to collect and clean your pallets. According to the "Gathering Materials" section, it's essential to choose pallets that are sturdy and free of nails or screws.
With your pallets in hand, you can begin to disassemble them and prepare them for use. The "Disassembling Pallets" section explains that you can use a pry bar or a saw to remove the nails or screws holding the pallet together.
Once you have your pallet pieces, you can start to get creative and think about the design of your art piece. The "Designing Your Art Piece" section suggests considering the size, shape, and color of your pallet pieces to create a cohesive look.
Curious to learn more? Check out: Which End of Pallet Industry Standard for Lifting Pallets Forklifts
Art Pallets 101
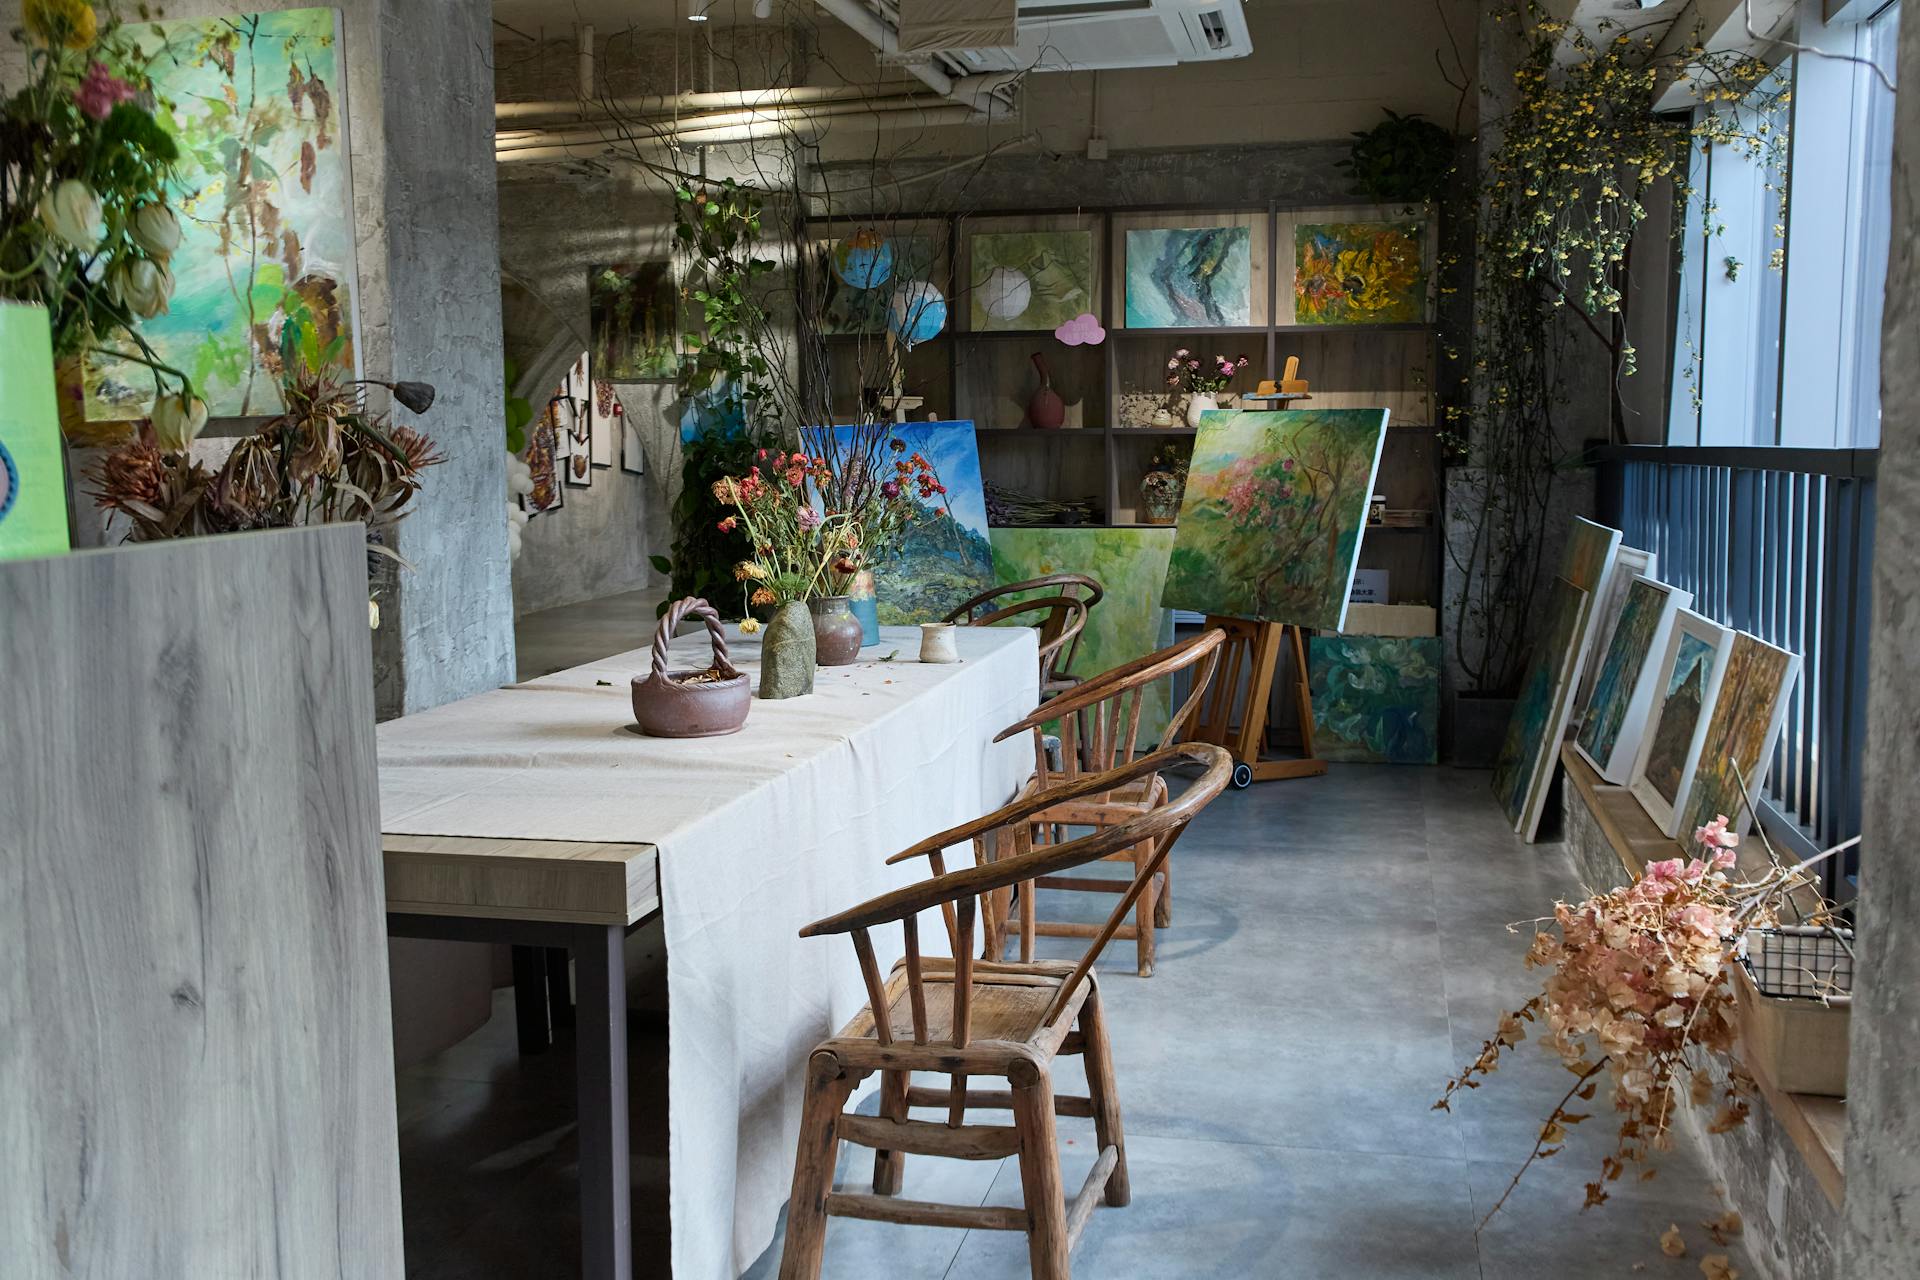
Art pallets are a popular choice for DIY projects and home decor due to their affordability and versatility.
A standard art pallet is typically made of wood and measures 40 inches by 48 inches.
They can be used as a base for a coffee table, a headboard, or even a wall art display.
The wood used in art pallets is often reclaimed from old pallets, making them a sustainable option.
You can easily disassemble and reuse the wood from an old pallet to create a unique piece of art.
Art pallets can be stained or painted to match any home decor style.
The cost of an art pallet can range from $10 to $50, depending on the size and material.
Intriguing read: What to Do with Old Pallets
Choosing the Right Pallet
If you're an artist who paints on the go, you'll want a palette that's compact and lightweight. Ceramic palettes are perfect for watercolor and gouache artists who need precision and durability.
For acrylic paintings, a Tupperware palette can be a good option, but you'll need to figure out how to add the paint. You can lay a plastic paint sheet on top of the wet paper, but it's not the most ideal solution.
Ultimately, the right palette for you will depend on your specific needs and preferences. If you're looking for a more traditional experience, a glass palette might be the way to go. But if you're looking for a stay-wet palette, you'll need to weigh the pros and cons of each option.
Guide to Artists' Paint Types
Janice Mitchell mentioned she understood how to make a Tupperware version of a paint palette, but was unsure about where the paint goes. It's likely that the paint would be placed on the palette, but the exact method isn't specified.
Marilyn has a smaller wet palette that she likes, but often finds it too small for her projects. She's interested in seeing the larger palette described in the article, and would appreciate a link to it.
Malti B Lee has been using Tupperware for her acrylic paintings for a long time, but is looking to upgrade soon. She's considering between a glass palette and a stay wet palette, and would like to know the pros and cons of each.
Here are some key differences between glass and stay wet palettes:
Traditional
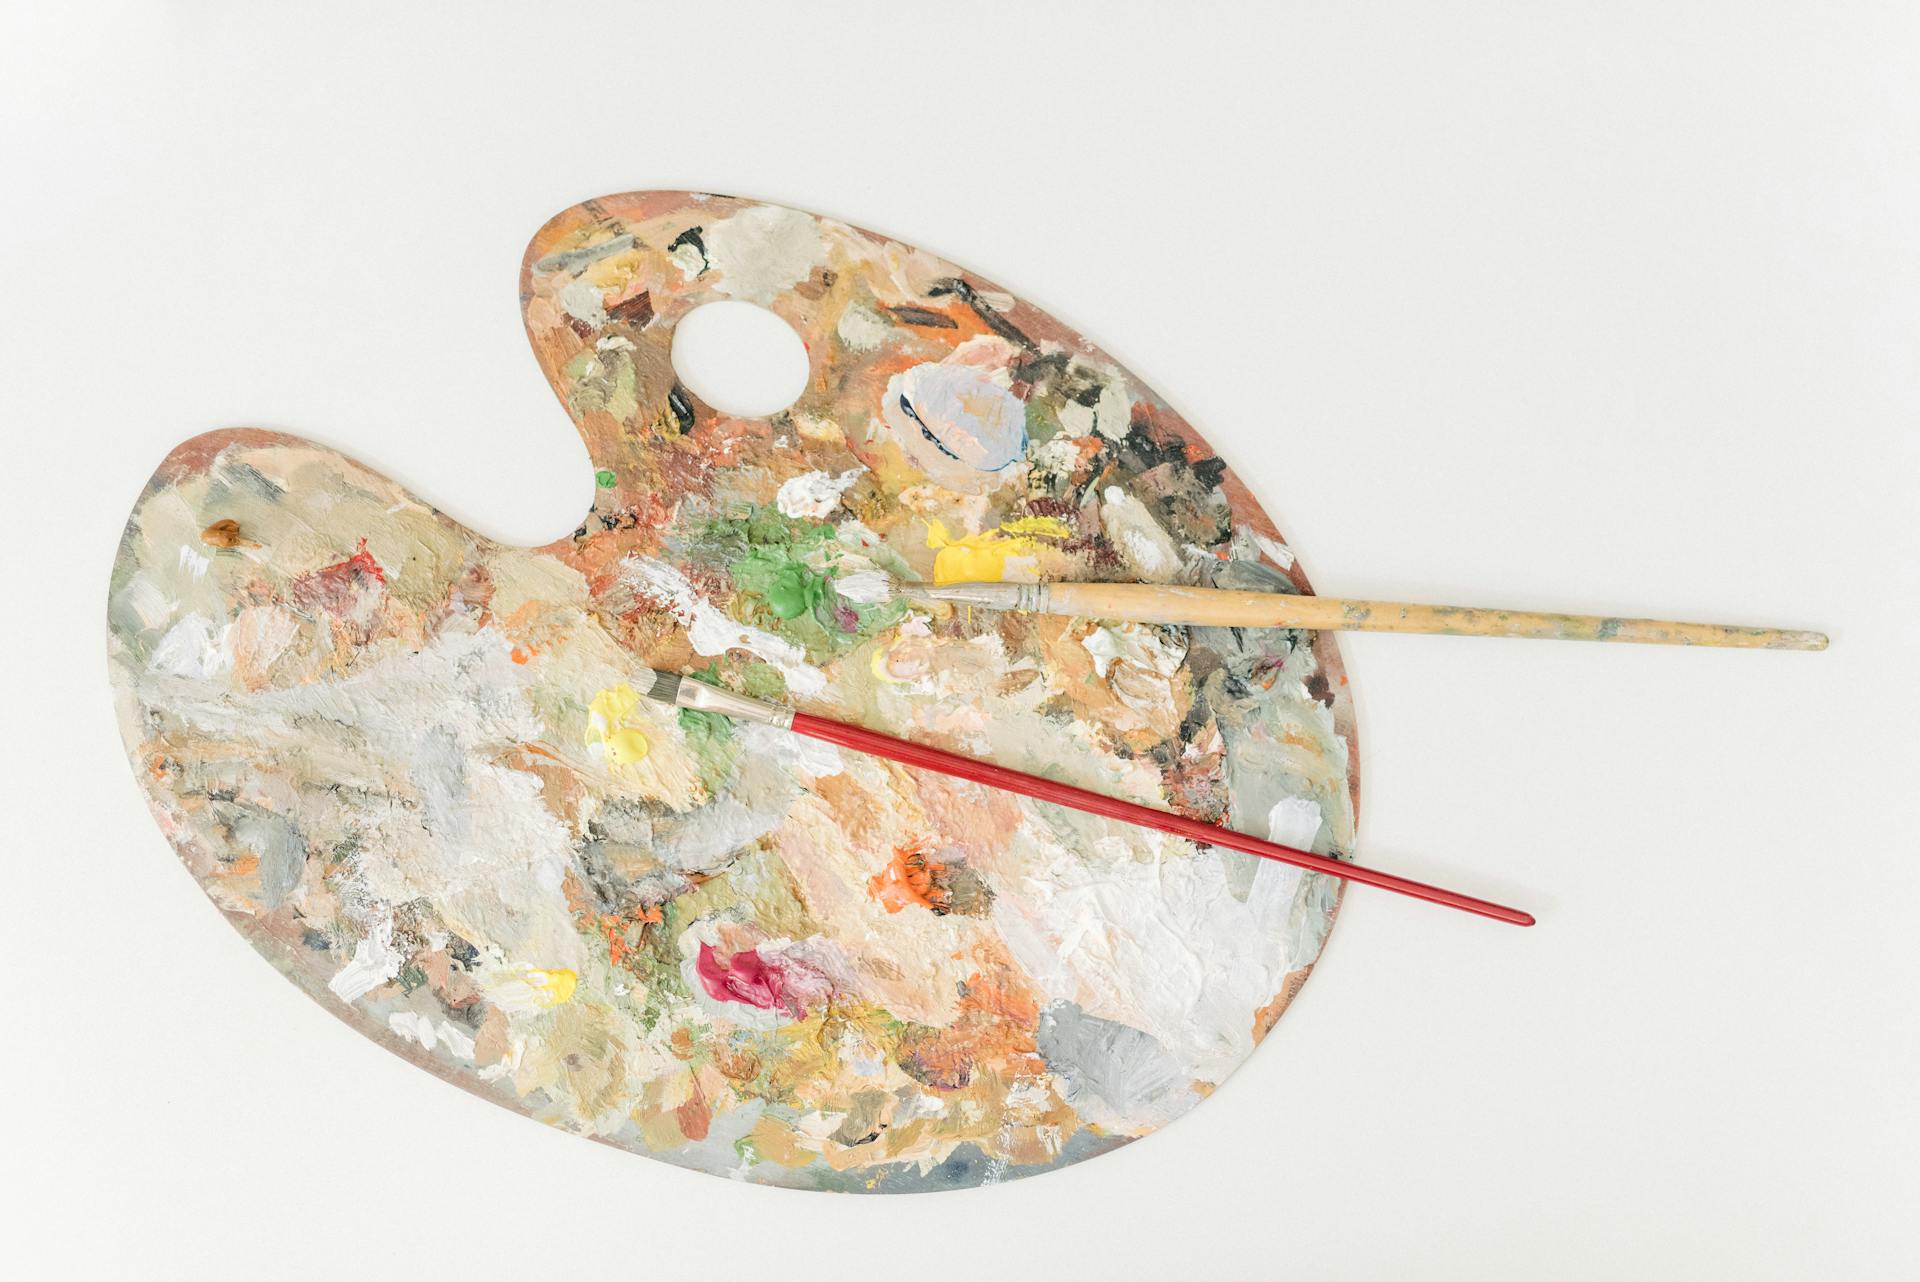
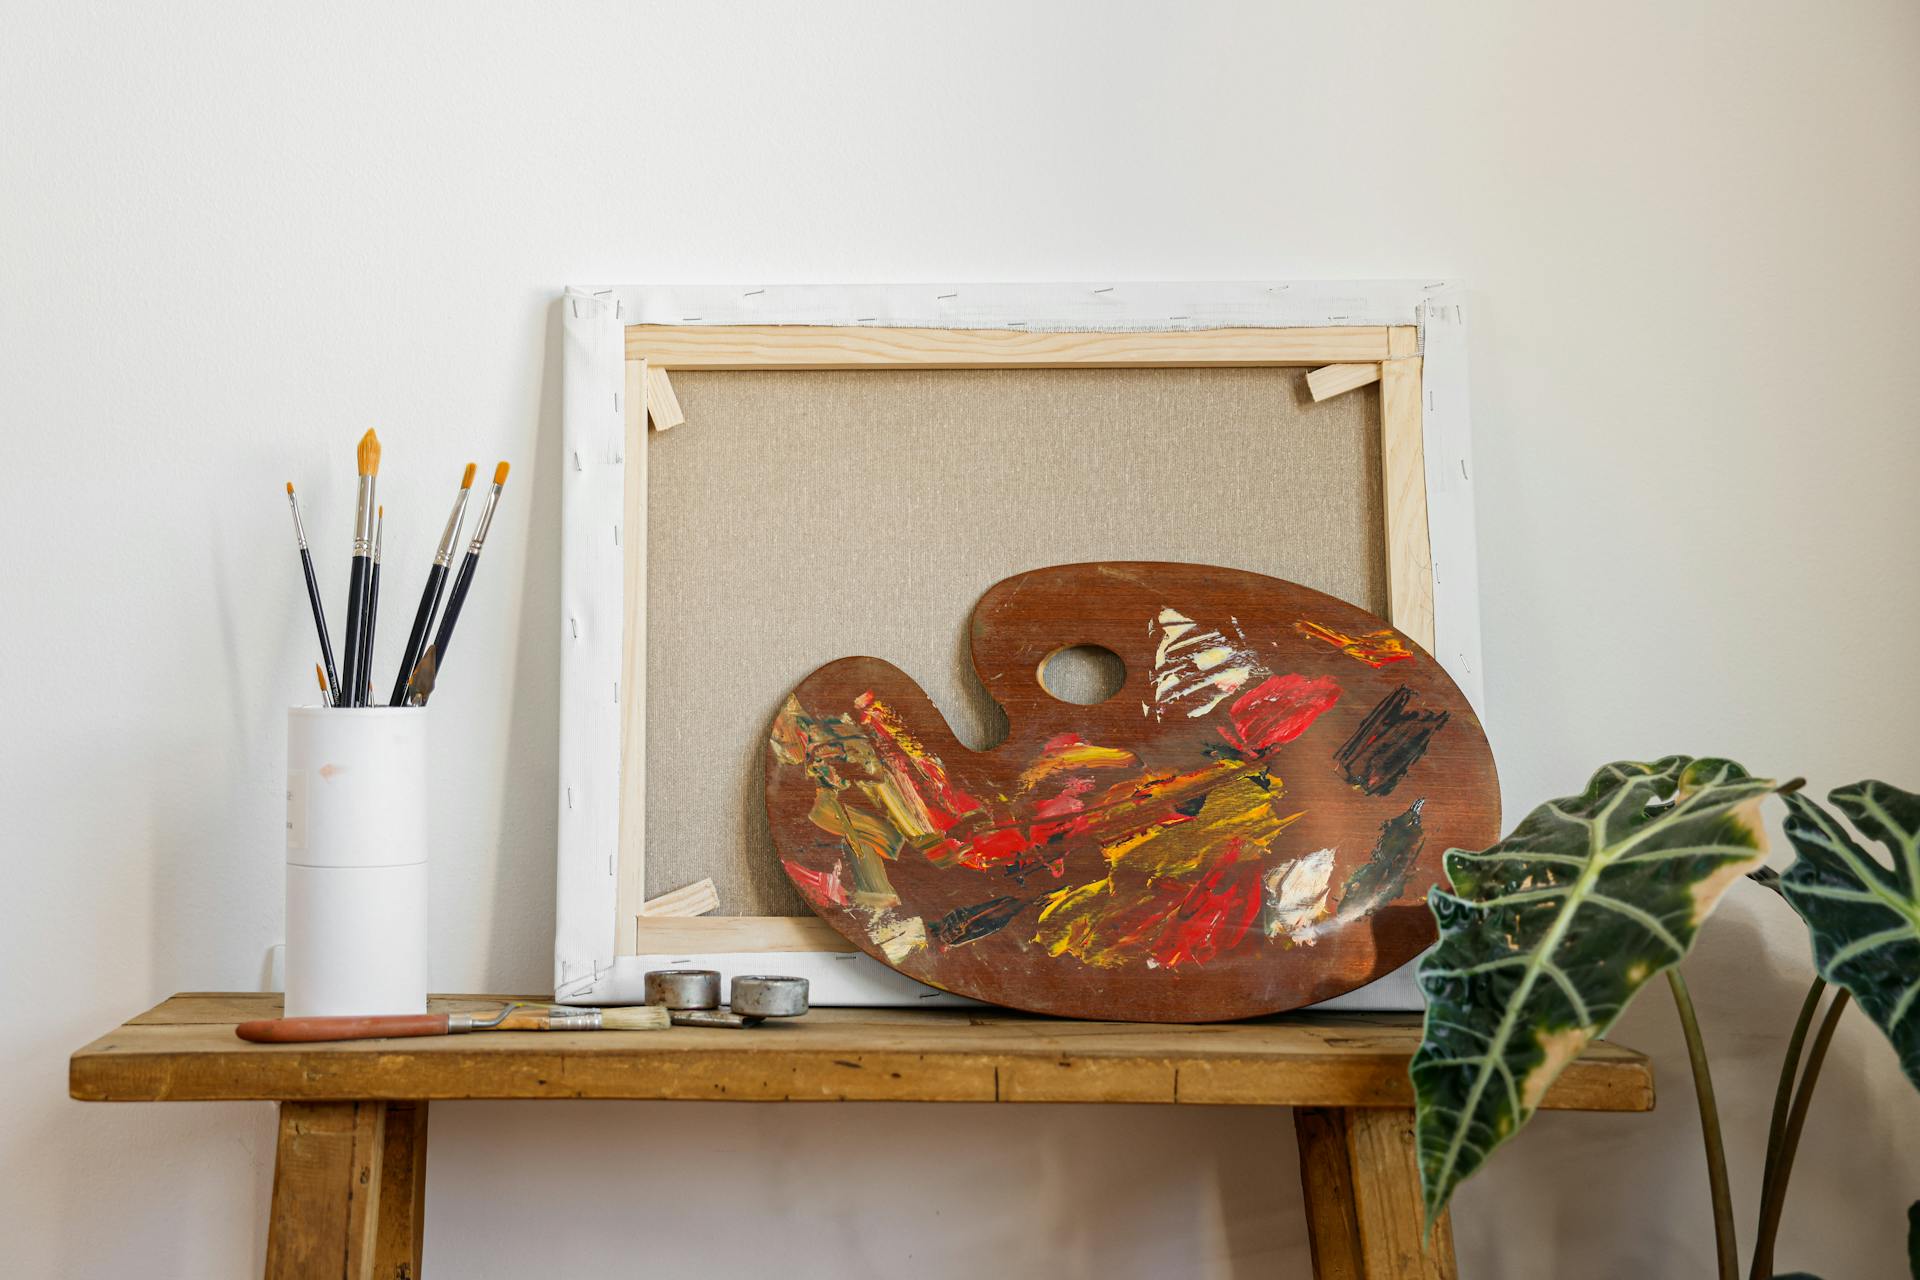
Traditional wooden palettes have been a classic choice for oil painters for centuries, made from durable materials like maple or mahogany.
They develop a natural patina over time that enhances mixing, giving oil painters a traditional feel and a sturdy surface for long painting sessions.
Wooden palettes need to be oiled to prevent paint absorption, and they're not ideal for water-based paints.
Oil painters who prefer a classic approach often choose wooden palettes for their traditional feel and durability.
A traditional wooden palette in one hand and brushes in the other is the classic image of an artist, allowing for a more hands-on painting experience.
Claude Monet's palette, for example, was a traditional wooden one, showcasing his broken color technique.
A fresh viewpoint: B Pallets
Affordable Lightweight
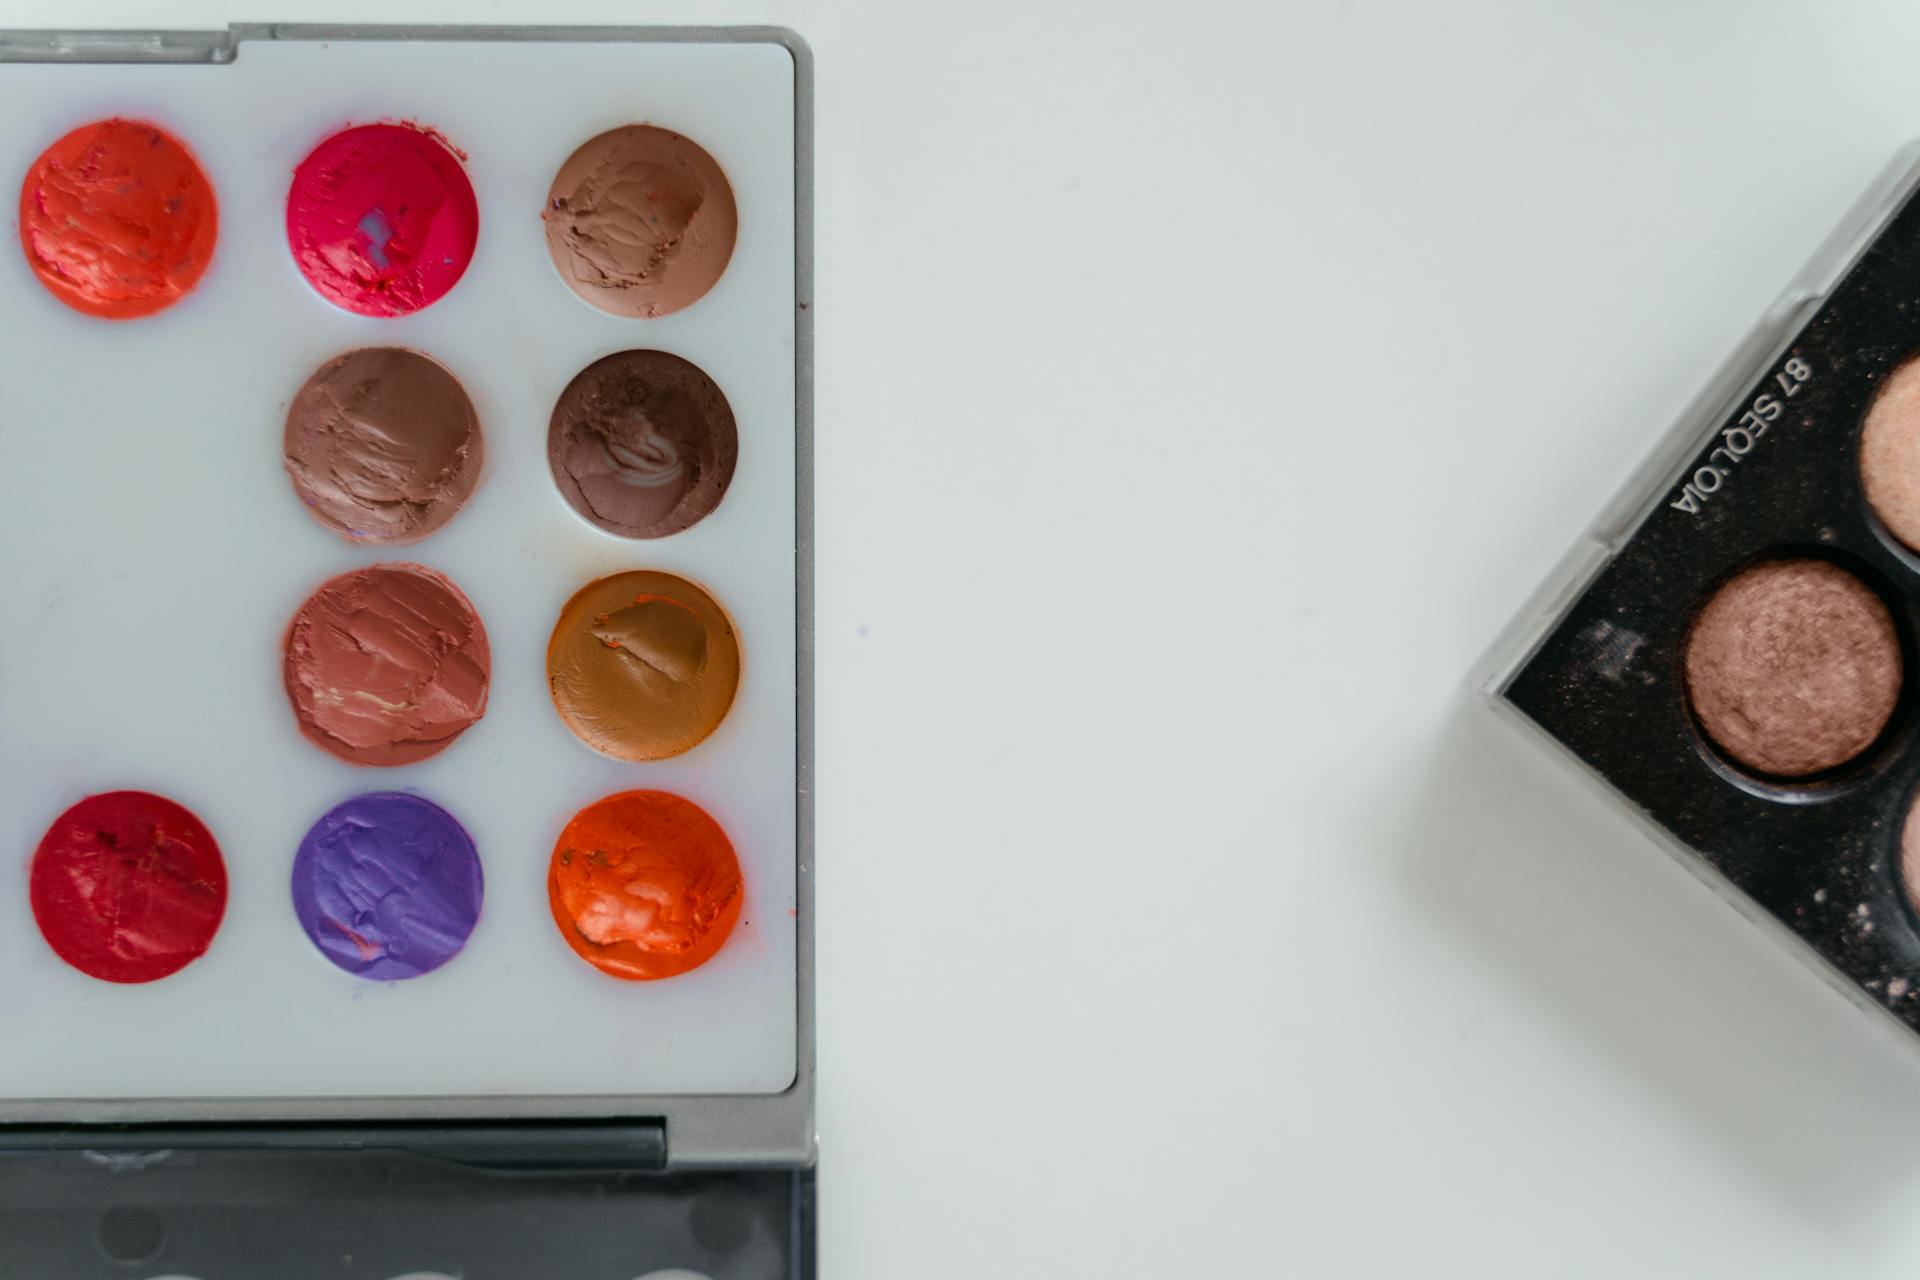
If you're looking for a palette that won't break the bank, consider an affordable lightweight option. Plastic palettes are a great choice for beginners or students who want to try out painting without investing in more expensive equipment.
They're usually flimsy, but very affordable. You can find plastic palettes in many shapes, from flat trays to well palettes. They're popular among watercolor and acrylic artists who need a portable option.
Some pros of plastic palettes include being inexpensive and lightweight. However, they can stain and may warp over time. If you're a watercolor or acrylic painter, a plastic palette might be the perfect choice for you.
Here are some features to consider when choosing a plastic palette:
To keep your acrylic paint wet while working, consider using a handy spray bottle. This will help prevent paint from drying out on your palette.
Ceramic for Watercolors
Ceramic palettes are perfect for watercolors and gouache. They retain moisture and have a smooth, weighty feel that makes mixing a dream.
Ceramic palettes are non-porous, which means they don't absorb paint like some other materials can. This makes them easy to clean and prevents stains from setting in.
One of the downsides of ceramic palettes is that they're heavier and more fragile than some other options. However, this added weight can actually be a benefit for artists who want precision and control over their colors.
For watercolor and gouache artists who want durability and precision, ceramic palettes are a great choice. They're perfect for mixing subtle hues and creating delicate, nuanced washes.
Tips for Using Your Pallet
Using your palette effectively is crucial for a smooth and enjoyable painting experience. Clean up the middle area after each session to prevent dried-on paint from becoming a hassle.
If you want to keep your paint wet, you can place a sheet of baking paper over the top to slow down the drying process. This will save you time and effort in the long run.
To keep colors fresh, it's essential to know the right techniques for different types of paint. Here are some tips to keep in mind:
Tips
Cleaning up your palette after each session is a must, especially if you're working with acrylics. Try to wipe away the paint when it's still wet, as it's much easier to clean up that way.
To keep your paint wet on your palette, you can place a sheet of baking paper over the top. This will slow down the drying process and keep your colors fresh.
If you're using a stay wet palette, you'll find it's particularly useful for acrylic painting. However, it's not as effective for oil painting.
To keep your colors fresh, you can use different methods depending on the type of paint you're working with. Here are some options:
- Acrylics: Mist with water or use a wet palette.
- Oils: Use clove oil or palette covers to slow drying.
- Watercolors: Allow them to dry in wells and rewet as needed.
Color Mixing Strategies
Color mixing is a crucial aspect of using your palette. It's essential to understand how to mix colors effectively to avoid wasting paint and create vibrant, intentional hues.
Organizing your colors in a logical order can speed up mixing and prevent muddy results. For oil and acrylic artists, this means arranging colors from warm to cool. For watercolor artists, a well-organized palette is key to clean washes.
To keep colors fresh, you'll want to mist acrylics with water or use a wet palette. Oils, on the other hand, can be slowed down with clove oil or palette covers. Watercolors should be allowed to dry in wells and rewet as needed.
Complementary color mixing is a great technique to try. Take two complementary colors, such as blue and orange, and mix them in various ratios to see how neutral tones emerge.
Gradient Mixing Practice
If you want to create a smooth gradient with your paint, try mixing a color with white or black. This technique is a great way to achieve a subtle transition between colors.
Mixing a color with white will lighten it, while mixing it with black will darken it. To master these techniques, practice mixing three different colors to get a feel for how they change when lightened or darkened.
Here are some tips to keep in mind:
- Mix a color with white to create a lighter version of the color.
- Mix a color with black to create a darker version of the color.
Maintenance and Care
Proper maintenance and care of your art palette is crucial to ensure it lasts long and performs optimally. Regular cleaning prevents paint buildup and maintains the palette's conditioned surface.
For oil paint, wipe your palette with a knife and cloth, then clean with solvent or linseed oil. This will keep your colors true and your palette in great condition.
Acrylic paint requires a damp paper towel to clean before it dries. If dried acrylic paint is stuck to a glass palette, you can peel it off.
Watercolor and gouache palettes can be rinsed with warm water and mild soap. This gentle cleaning method will keep your colors vibrant and your palette clean.
Glass palettes offer a sleek, non-porous surface that's perfect for acrylics and oils. However, they can be fragile and require a neutral backing color for accurate mixing.
To clean your wooden palette after each use, start by removing excess paint with a palette knife. Then, wipe the surface with a lint-free cloth or paper towel to remove residual paint.
A unique perspective: Pallets of Paper
For stubborn stains on plastic palettes, try using a Magic Eraser. You can also soak the palette in a gentle cleaner.
Here's a step-by-step guide to cleaning your wooden palette:
- Remove Excess Paint: Use a palette knife to scrape off any leftover paint.
- Wipe the Surface: Wipe the palette to remove residual paint with a lint-free cloth or paper towel.
- Use Solvent or Oil: Dampen a cloth with a small amount of solvent (like odorless mineral spirits) or a drying oil (such as linseed oil) to clean any remaining paint.
- Final Wipe: Dry the palette with a clean cloth to remove any remaining solvent or oil.
- Conditioning: After cleaning, apply a thin layer of drying oil to maintain the wood's condition. Wipe off any excess oil to prevent a sticky surface.
By following these simple steps, you'll keep your palette in great condition and ensure it lasts for a long time.
Color Management
Organizing your colors is key to a smooth painting experience. Arrange your paints in a logical order, such as from warm to cool, to speed up mixing and avoid muddy results.
For oil and acrylic artists, this means grouping colors like yellows, oranges, and reds together, followed by blues, greens, and earth tones. Watercolor artists, on the other hand, benefit from separating colors on a well-organized palette to prevent unwanted mixing.
To keep your colors fresh, different mediums require different care. Acrylics can be misted with water or used with a wet palette to prevent drying, while oils can be slowed down with clove oil or palette covers. Watercolors, however, should be allowed to dry in their wells and rewet as needed.
Here's a quick guide to color management for different mediums:
Organizing Your Colors
Organizing your colors is a crucial step in the creative process. A well-organized palette can save you time and prevent mistakes.
For oil and acrylic artists, it's essential to arrange colors from warm to cool, starting with yellows, oranges, and reds, followed by blues, greens, and earth tones. This order makes sense because warm colors are typically mixed first.
Watercolor artists, on the other hand, can benefit from using a well palette to separate colors. This allows for clean washes and prevents colors from bleeding into each other.
Gouache artists should keep key colors in small, airtight containers to prevent drying. This is especially important for colors that tend to dry out quickly.
Here's a quick reference guide to help you organize your colors:
By following these simple tips, you can create a color roadmap that will help you work more efficiently and effectively.
Keeping Colors Fresh
Keeping colors fresh is crucial for any artist, and there are several ways to do it. Acrylics can be misted with water or used with a wet palette to keep them moist.
Using a wet palette is a great way to keep acrylics and gouache fresh, as it prevents them from drying out and allows for longer blending times. The Masterson Sta-Wet Palette is a popular choice for acrylics and gouache, and it comes with a sponge and special paper to keep paints moist.
Oils, on the other hand, can be kept workable for days to weeks with a Masterson Palette Seal. This airtight plastic box fits a traditional palette inside and prevents oils from drying out.
Here's a quick rundown of some popular tools for keeping colors fresh:
Whether you're working with acrylics, oils, or watercolors, keeping your colors fresh is essential for achieving the best results.
The Secret to Neutral Tones
Neutral tones are a staple in any artist's palette, and creating them is simpler than you think. Mixing complementary colors is the key to producing muted, natural tones that add depth and warmth to your artwork.
By combining two colors that are opposite each other on the color wheel, you can create a wide range of neutral tones. For example, red and green mix to create a rich brown, while blue and orange produce a warm gray. This technique is a game-changer for artists looking to add some nuance to their work.
Here are some specific examples of neutral tones you can create by mixing complementary colors:
These neutral tones can be used to create a sense of balance and harmony in your artwork, and they're especially useful for creating backgrounds or adding subtle depth to your compositions.
Outdoor and Travel Painting
If you're planning to paint outdoors or travel, you'll want a palette that's compact and lightweight.
For plein air painting, a glass or plastic palette with a cover is a good option to prevent dust and debris.
New Wave Pochade Box Palettes are a great choice as they combine a mixing area with a built-in easel.
To save time when painting on location, consider pre-mixing colors in a small airtight palette.
For watercolor and gouache, folding plastic or metal palettes with built-in wells and mixing areas are a good choice.
If you're working with oils, glass palettes inside an airtight container or disposable paper palettes for minimal cleanup are good options.
Here are some specific palettes that are well-suited for travel:
- For acrylics, the Masterson Handy Sta-Wet Palette is a compact and keeps paints fresh.
- For oils, consider a glass palette inside an airtight container or a disposable paper palette.
Advanced Techniques
Art pallets can be used to create unique and personalized pieces of art.
You can use a combination of paint, markers, and stencils to add multiple layers of color and texture to your pallet.
A great way to add depth to your art pallet is by using a technique called "layering", which involves building up layers of paint and medium to create a rich, dimensional look.
The key to successful layering is to allow each layer to dry completely before adding the next, which can take anywhere from a few hours to overnight.
Experimenting with different materials and techniques is essential to creating a truly one-of-a-kind art pallet.
For example, you can use natural materials like leaves, twigs, and flowers to create a unique and earthy design.
Final Thoughts on Elevating Painting
Your painting palette is a crucial tool that can either streamline or hinder your creative process. A well-organized palette can make all the difference in your workflow.
Your palette is a mixing studio that shapes your entire painting process, and finding the right setup is essential.
Experimenting with different palettes can help you discover what works best for you, whether it's a clean and organized setup or a more chaotic one.
A clean, organized palette can help you stay focused and avoid mistakes, while a more experimental setup can encourage creativity and spontaneity.
Ultimately, the right palette is one that complements your unique style and workflow, allowing you to focus on what matters most – creating art.
Frequently Asked Questions
What is a palate in art?
A palette is a surface used by artists to mix and arrange paints, made from various materials such as wood, paper, or plastic. It comes in different sizes and shapes to suit individual artistic needs.
What is the best palette for painting?
For oil and acrylic painting, a glass palette is a top choice due to its durability and ease of use. It's a versatile option that can handle both mediums with minimal cleanup.
Sources
- https://trembelingart.com/a-guide-to-different-types-of-artists-paint-palettes/
- https://drawpaintacademy.com/artist-palettes/
- https://www.dickblick.com/categories/painting/palettes/
- https://indispensableartist.com/products/indispensable-artist-palette
- https://www.alabamaart.com/blogs/studionotes/the-artist-s-guide-to-paint-palettes
Featured Images: pexels.com